


 Thanks:
  Likes:
  Dislikes:
 The correct way to apply RaggTopp Fabric Protectant to a canvas convertible top
Video: Mike's Technique Tip for applying RaggTopp Fabric Protectant
RaggTopp How-To Article
In addition to the above video, here is a step-by-step tutorial with pictures showing you how to clean and protect your car's canvas top.
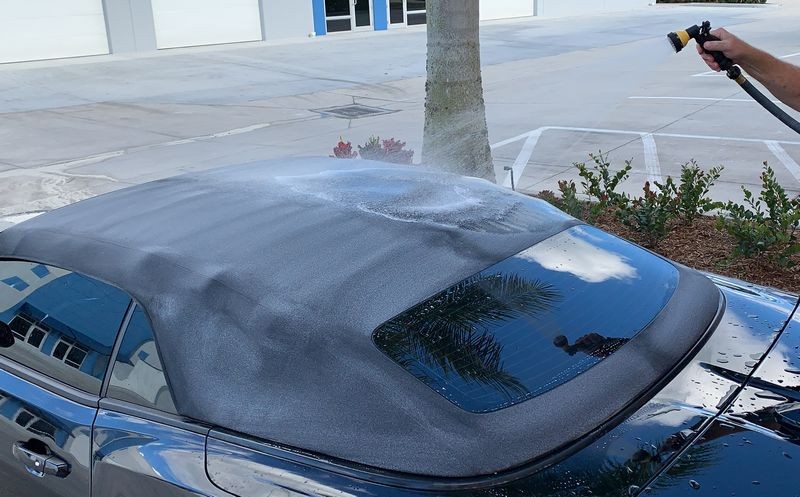
Step 1: Flush off all loose dirt with a strong spray of water.
Dirt builds-up in the weave of the fabric. You should start by rinsing the top to remove this dirt build-up before applying the cleaner and agitating it. If you don't flush the loose dirt off the top first you could drive the dirt deeper into the weave when brushing.
Options: You can also start by vacuuming a dry top. Lifting the dirt out of the weave is preferred over flushing with water. Another option is to blow loose dirt out of the weave using forced air like a Tornador Air Blow Out Tool.
Flushed and rinsed - ready for application of the RaggTopp Fabric Cleaner
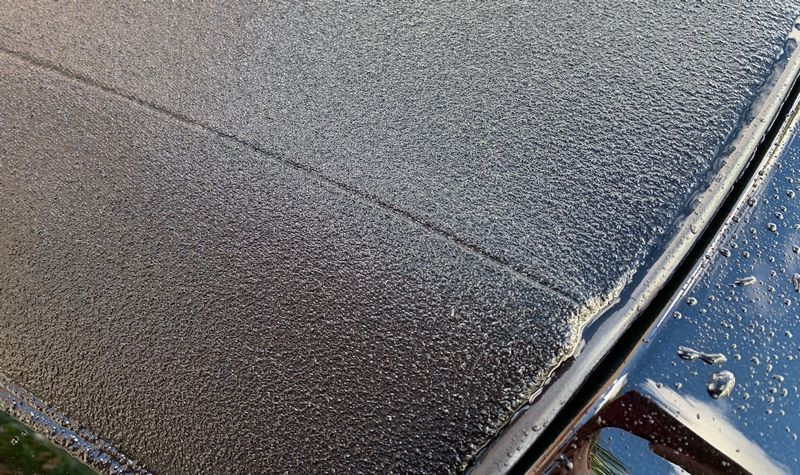
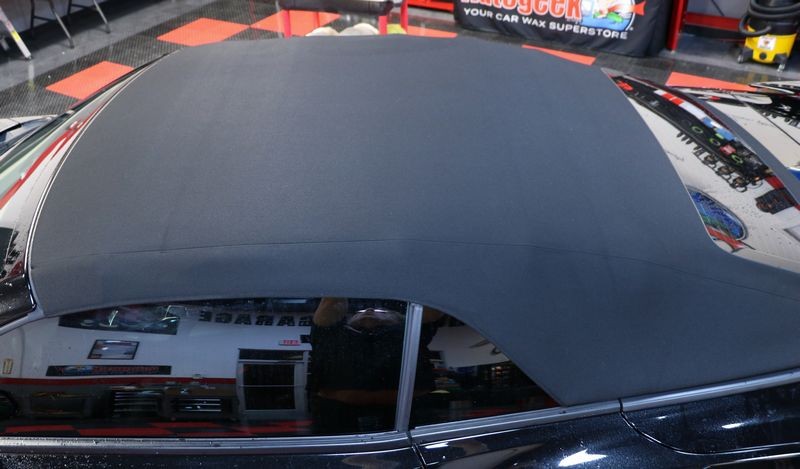
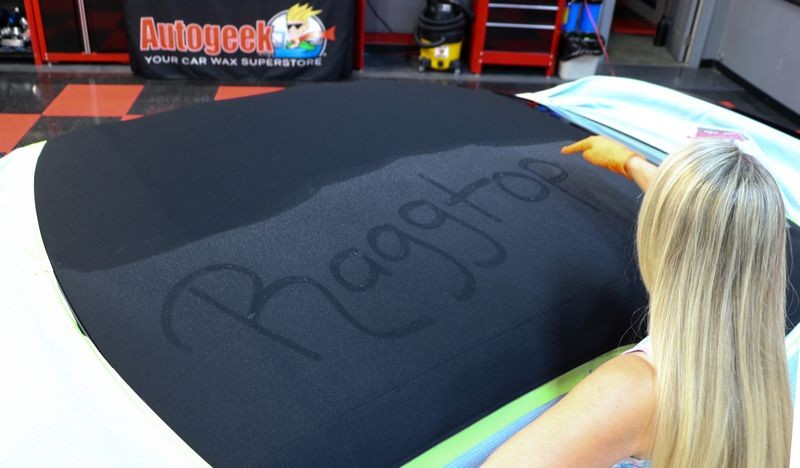
No water beading means the protection has worn off
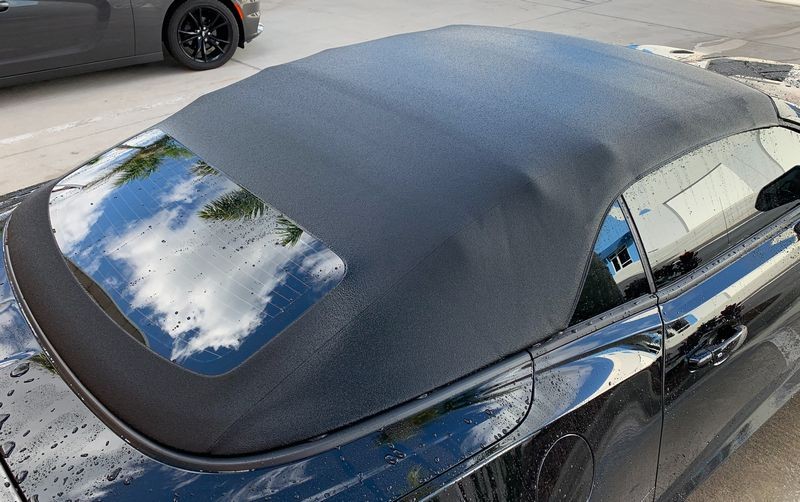
Before I started cleaning the top I took a few pictures to show you what a canvas top looks like when the waterproofing and UV protection has worn off. Visually, after wetting a top you should see water beading-up. When the water simply soaks in, this is a sure sign it's time to apply RaggTopp Fabric Protectant.
Zero water beading
This canvas top is acting more like a sponge and absorbing water than it is repelling it.
Step 2: Spray cleaner onto the top - agitate with brush
Spray the RaggTopp Fabric Cleaner generously over one half of the top and then gently agitate using the RaggTopp/Haartz Convertible Top Brush.
WARNNG: Do not use stiff bristle brushes as the bristles will tear up the fabric and make it more open. Too aggressive of a brush will also make your convertible top look fuzzy.
Agitate the cleaner in a back and forth motion like you see below. Do not over do it. Be sure to also agitate the side panels and the back portion below the window.
Move to the other side and repeat.
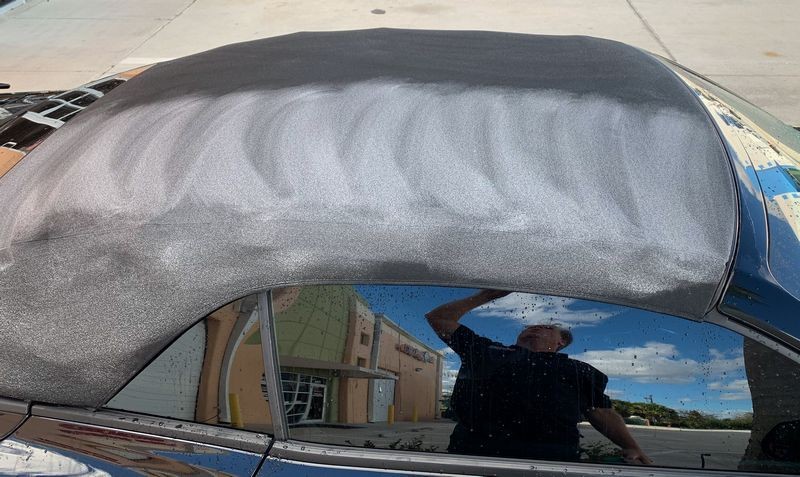
Step 3: Rinse and fully flush cleaner off top.
Thoroughly rinse the top to remove the cleaner and any loosened dirt off the top and out of the weave. Water should run off the top clear with no signs of suds or cleaner.
Here's how the top looked after washing it and also the rest of the car. Because there's no protection left on this top, much of the water has soaked into the canvas fabric. Although the fabric looks dry it is still wet inside.
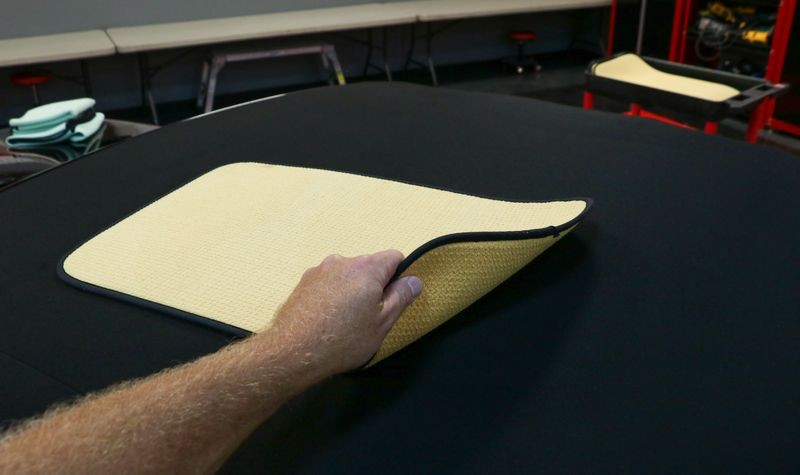
Technique Tip - Blot the top dry - don't WIPE the top dry.
As a best practice you should always avoid wiping a cloth top. Doing so wears on the fibers causing the fabric to tear. The result is a top that looks fuzzy. Instead of wiping a top dry, do this instead.
Blot the top dry
Apply a Guzzler HD Waffle Weave Drying Towel onto the top and then press down on the towel with your hands. The pressure from your hands will cause the water in the fabric of the top to move into the foam core of the Guzzler HD Waffle Weave Drying Towel via capillary action. This is the safest way to extract excess water out of the fabric. Most tops can be dried in this manner using 3 Guzzler HD Waffle Weave Drying Towel.
Step 4: Force dry the fabric top using forced air.
This is an option but if you don't have the time to wait for the top to air dry then you can dramatically speed up the drying process by using moving air. Any type of fan will work. You can also leave the car outside on a sunny day but keep in mind, dirt and dust in the air can and will land and settle back into the weave of the top you just washed and cleaned.
In the pictures below I'm using a Shop-Vac Air Mover on a raised tool cart.
Intermission
While the top is drying I needed to correct the paint in order to install a ceramic paint coating. To prevent compound and polish splatter from getting onto the now clean fabric I used some 3M green painter's tape to tape-off and cover-up the outer perimeter of the canvas. If you're not buffing out the paint you can skip this step.
Glass polishing
Besides machine polishing the paint I also machine polished the glass to remove road film. I normally do this when I wash the car but simply forgot this time. You can see how the green painter's tape would protect the black canvas in case I moved the buffing pad too close or if any excess compound were to sling off the pad. Take my experienced word for it - you don't want to get compound or polish splatter impacted into the weave of a black canvas top.
Step 5: Cover and protect surrounding glass and painted body panels.
This is an optional step.
The RaggTopp Fabric Protectant can be wiped off glass and paint and won't cause any harm. In my case, I had corrected the paint and installed a ceramic paint coating on the paint and a ceramic glass coating on the glass - so I didn't what to get any overspray onto either of these two surfaces. Thus I used Autogeek Cover-up Towels and some more 3M green painter's tape to cover-up and protect these areas from overspray.
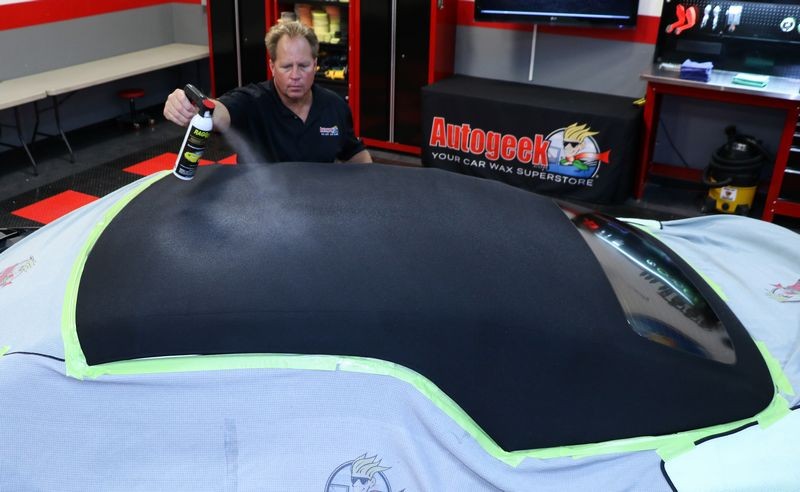
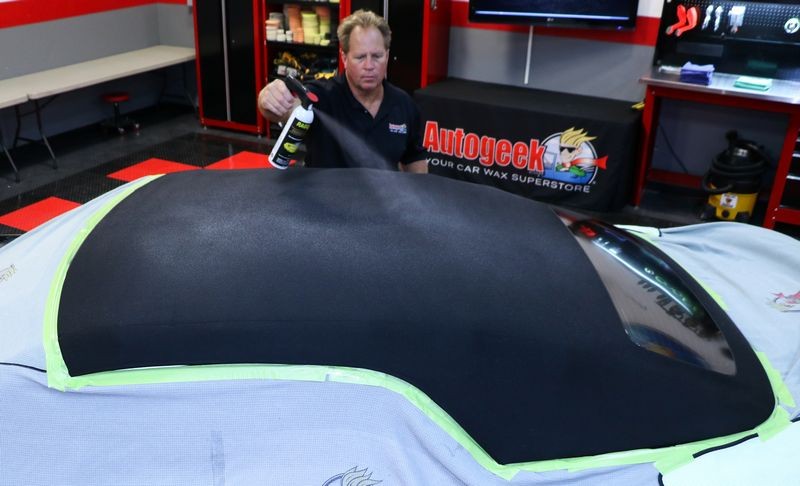
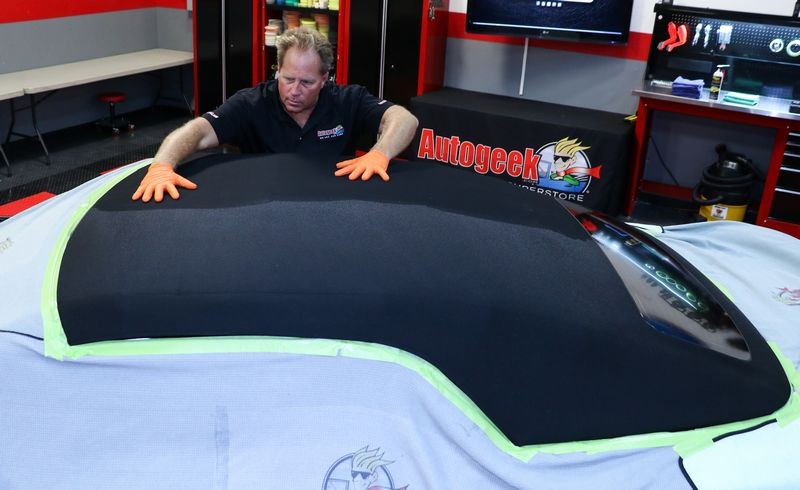
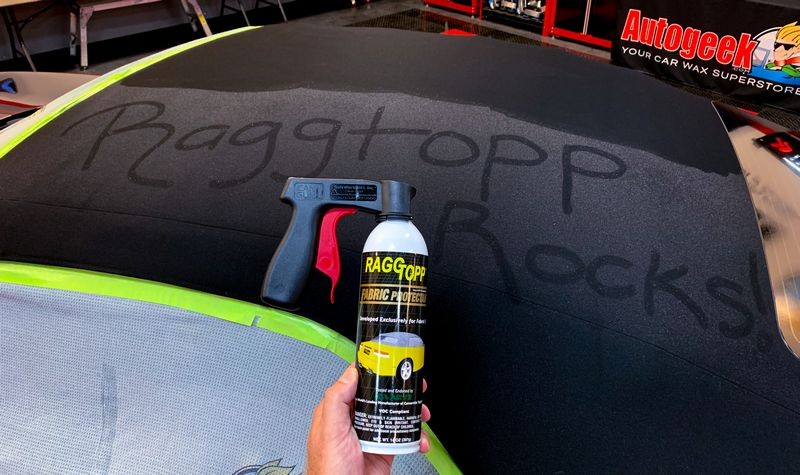
Step 6: Spray on the RaggTopp Fabric Protectant
You want to lay down a heavy or wet application during this step. I recommend using up an entire can of RaggTopp Fabric Protectant for an average size top.
On Autogeek.com
RaggTopp Premium Fabric Convertible Top Kit
3-Pack Cobra Guzzler HD Waffle Weave Drying Towels - 16 x 24 inches
Autogeek Detailing Cover-Up Towel
3M Premium Automotive Masking Tape 48mm x 32mm - (1 7/8" wide)


|


 Reply With Quote
Bookmarks