 Thanks: 0
 Likes: 0
 Dislikes: 0
-
Vintage motorcycle restoration
Hi, new member and great site. Been pouring over information and have formed a conclusion/direction and would like advice.
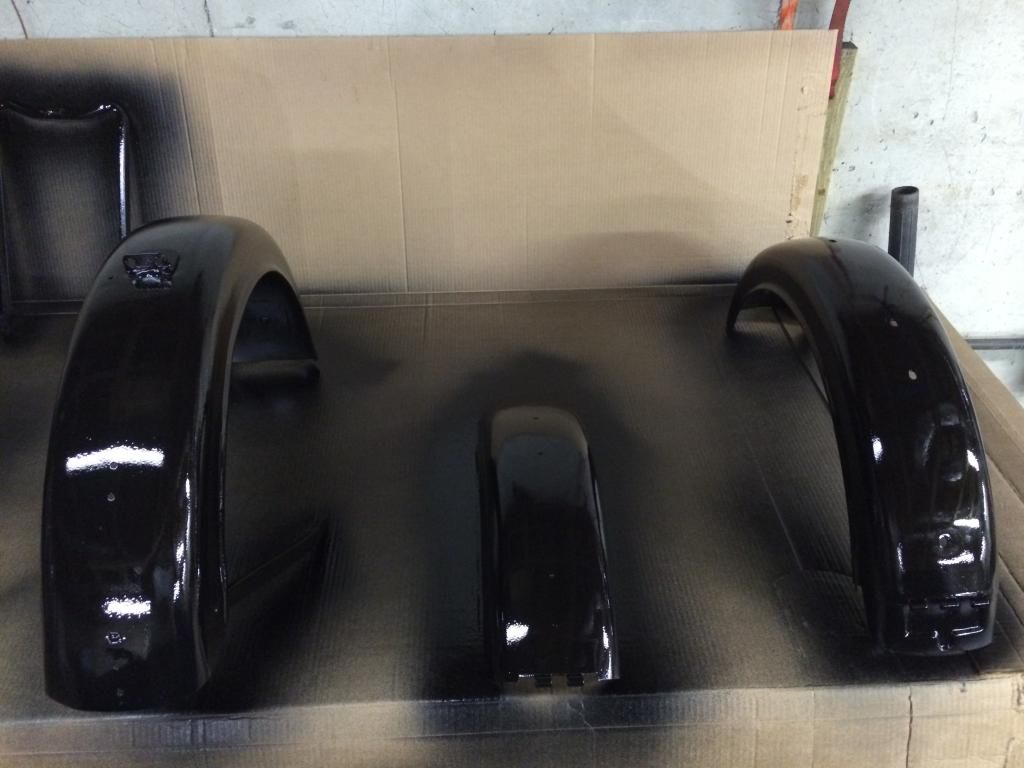
I have a serious "hobby" of collecting and restoring vintage bikes. Have not painted one before but am doing my first. In keeping aligned with originality I am using single stage high gloss enamel (no lacquer).
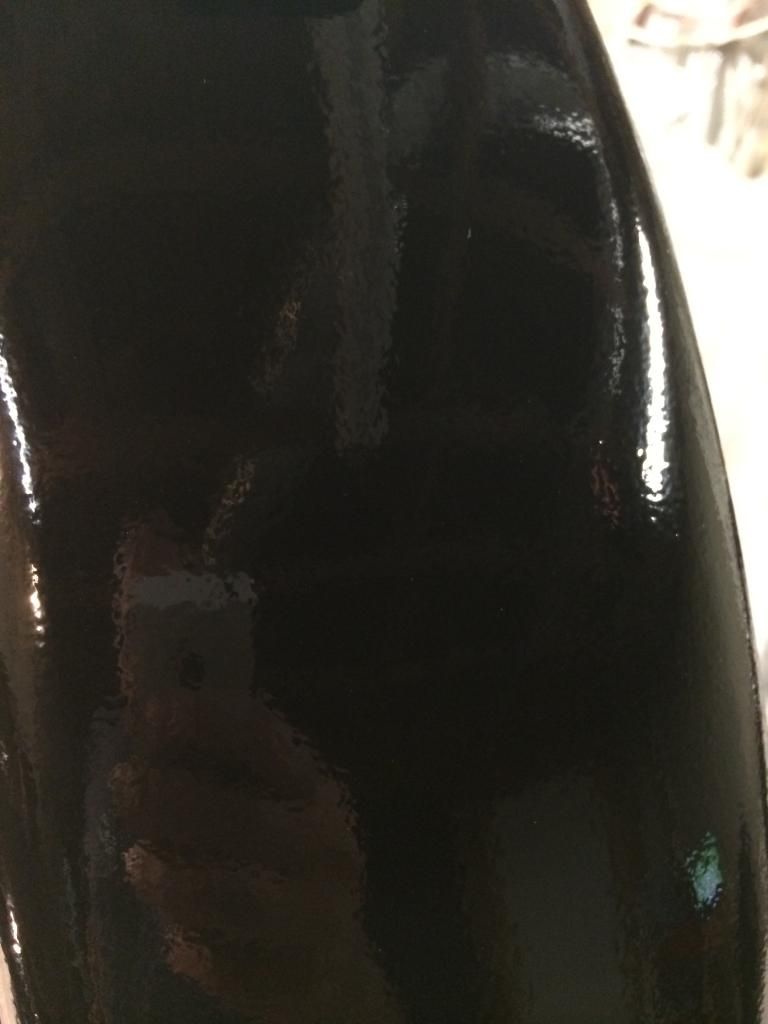
I have experimented with my mix of reducer/hardener and am getting a decent flow of color now on the frame and tins (panels). I have only what I would term mild orange peel. In earlier test sanding with 1000 I realized I needed more layers of paint and have corrected that. I also bumped up to a 2000 to start. Currently that seems to level out the peel nicely and I have plenty of color base to work with.
So I want to invest in the best beginning tools/products to use on this bike and going forward. I may occasionally use on cars but mainly on bikes.
I am thinking the PC7424xp with the starter kit in order to get the 3" backing plate. I also am thinking to get the 3M 3000 discs and then use Maguires 105/205 with the proper 3" foam pads before final polishing. I am not sure what foam and polish to use last.
Also, I thought about the Girots 3" tool, but if I ever want to go 6" the PC will give me that flexibility in one tool.
Thanks in advance for an insights.
-
Super Member

Re: Vintage motorcycle restoration
I would look at the Griot's Garage 6" with a 3" backing plate, as I believe, it is a more powerful than the PC.
-
-
Super Member

Re: Vintage motorcycle restoration
Welcome steveale! Nice looking project. In my opinion, i would probably agree with whavens and like to have both capabilities in one machine i.e. 3" and 5-6" to be able to work larger panels on the 4 wheeled subjects in your stable. I have a Porter Cable and have no experience with the Griots machine. I use both 3" and 5" backing plates on my PC and like that versatility. I do like the reports of more strength of the Griots however would replace my PC with a Flex in a heartbeat. That is, if my 10+ year old PC ever dies!
Again, welcome to a great community here and love your project!
-
Re: Vintage motorcycle restoration
Thanks for the replies and advice. I just ordered the 6" griots and the 3" backing plate, a bunch of foam pads, some wool, the 3m 1500 and 3000 discs, pad cleaning tools and the wolfgangs cleaner. I already had the Meguiars 105/205. Now just have to wait for it all to arrive.
Will 1 gallon ziplock bags be good to store the pads in when not in use?
-
-
Super Member
Re: Vintage motorcycle restoration
I use gallon bags for 5.5-6 inch pads and quarts for 3 inch. I usually use a Sharpie to note what the pads are used for.
Sent from my KFSOWI using Tapatalk
2009 Volvo S60 2.5T Black 2011 Mini Countryman Oxford Green Metallic
-
Re: Vintage motorcycle restoration
I hate it when threads play out without the results posting, so I'll try not to do the same.
first my AG order arrived today. Christmas came early! Put on the 3" backing plate, read all directions, conditioned the 2 pads I was going to be using and dove in.
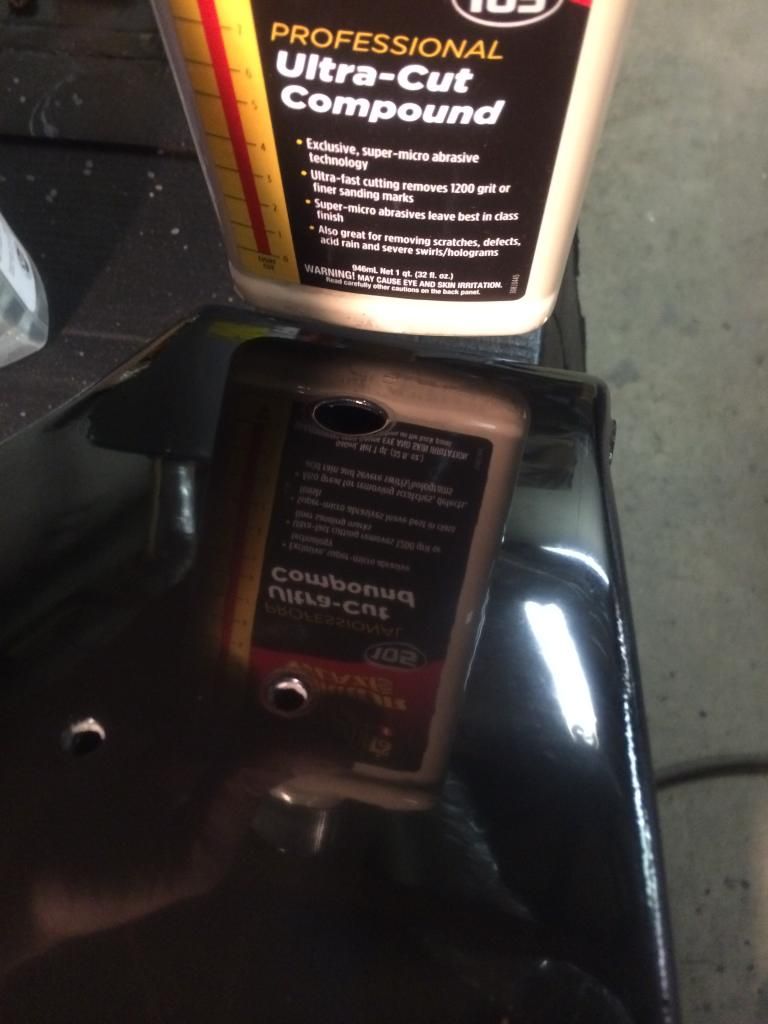
First I used the 3M 1500 discs to knock out most of the OP. Followed by the 3000 and the surface was cloudy but smooth as a baby's bottom. I did a small test area on the neck of the frame. As i pan you can see the OP at the edge in the beginning.
http://youtu.be/lVqe0aE5V0A
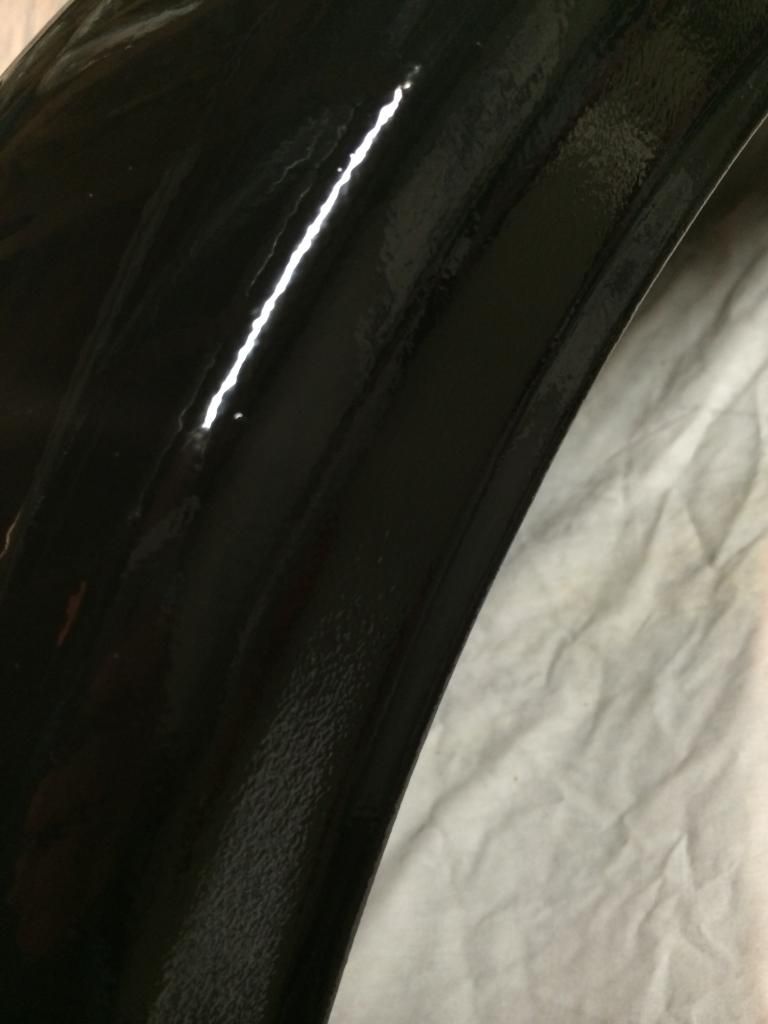
Then I put on a yellow LC foam pad and used the 105. I couldn't believe the transformation!
http://youtu.be/VCtg9MzLOO4
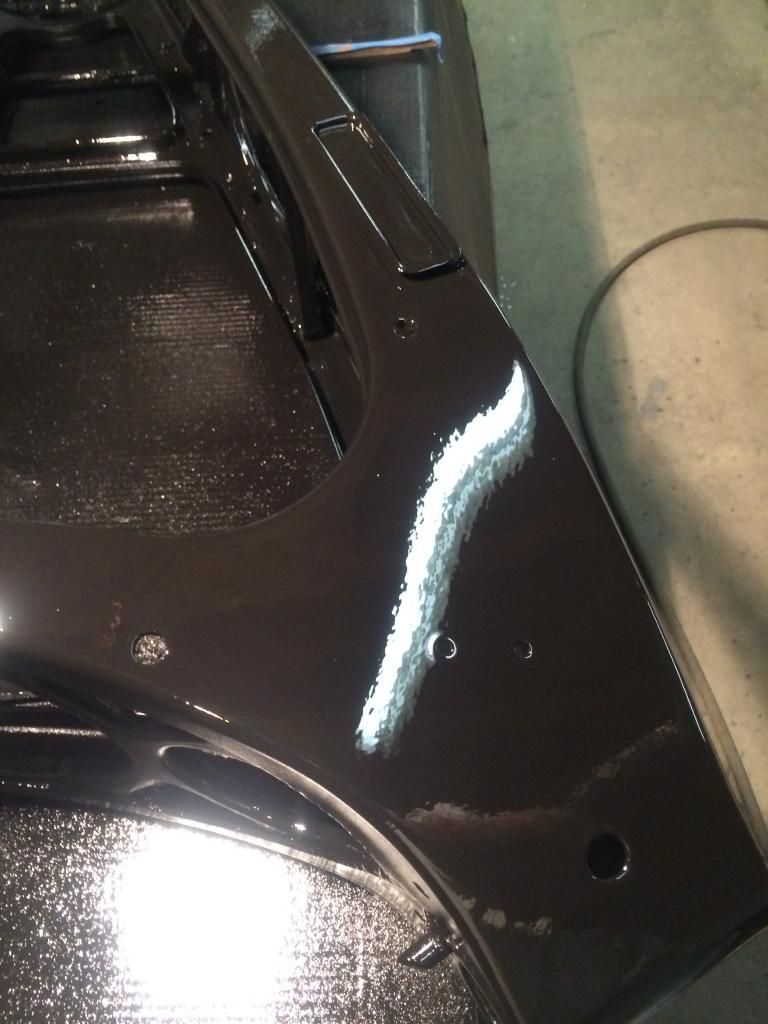
Next I used a white pad with the 205 meguiars, here is the result.
http://youtu.be/B-V5fKbpw8I
Unfortunately I also found out about needing to be careful when hand sanding some of the small surfaces. I went through the color coat so I will have to respray that area. I think I am going to try to go ahead and cut and buff everything then repaint only my flaw areas and blend...
My one last comment is this...I HAVE NEVER PAINTED A VEHICLE, WET SANDED, CUT AND BUFFED UNTIL NOW!!!!
This forum has been a great resource thus far...thanks to all the contributors.
I'll post updates as I progress, hope it helps someone else down the road.
-
-
Re: Vintage motorcycle restoration
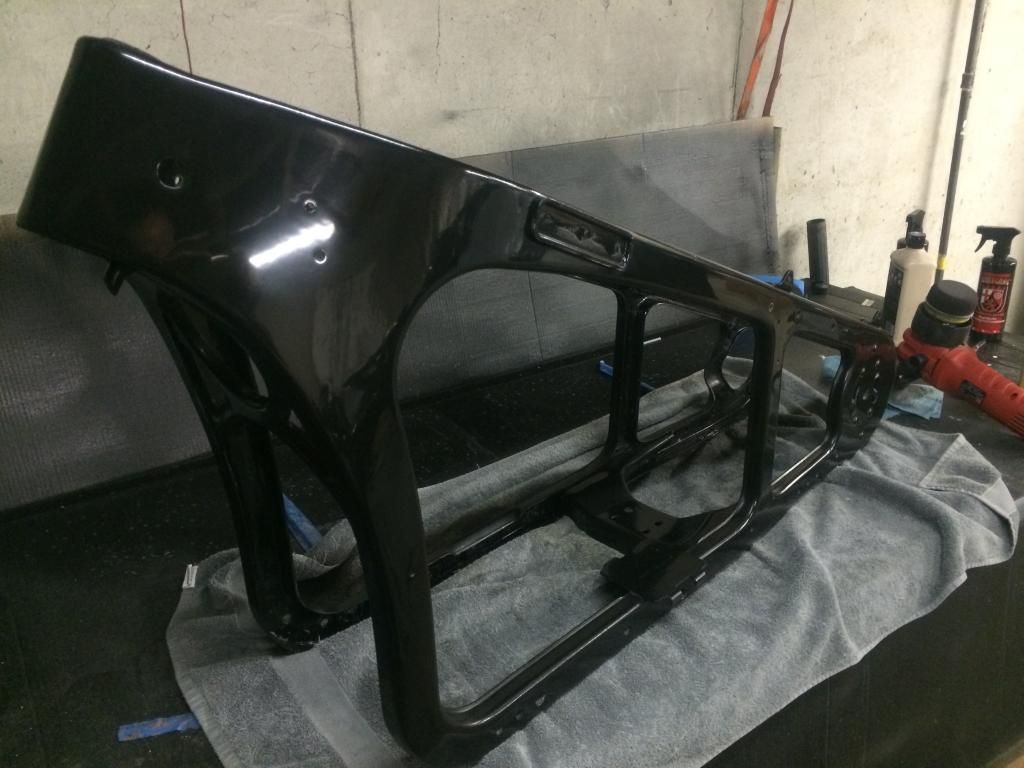
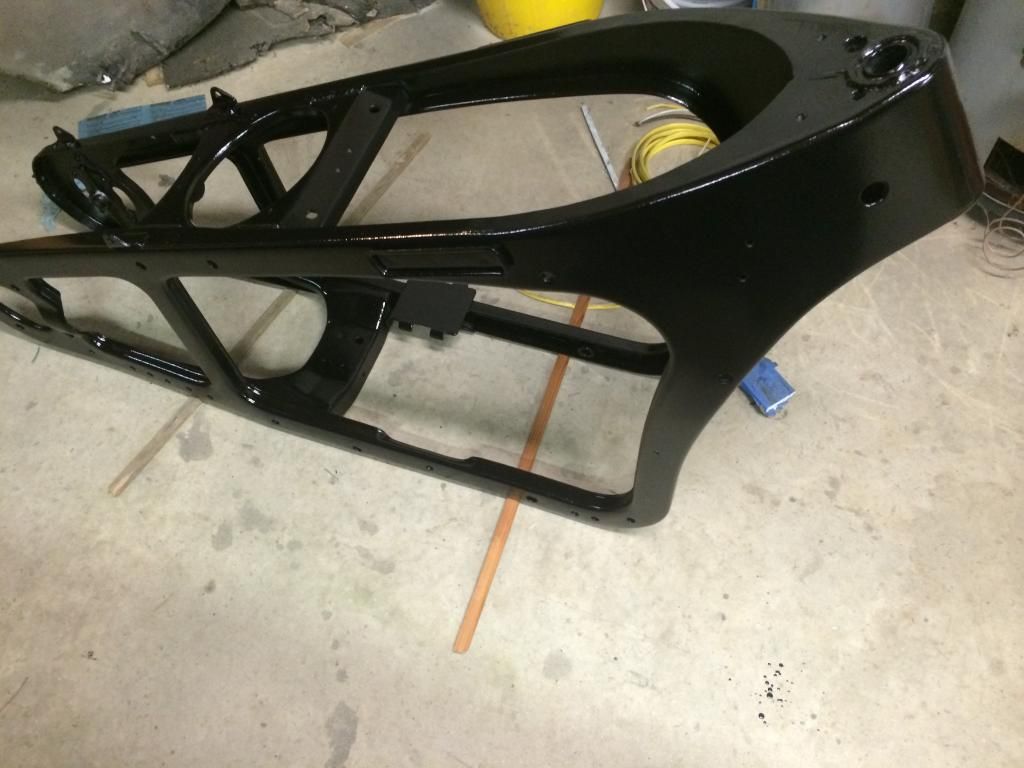
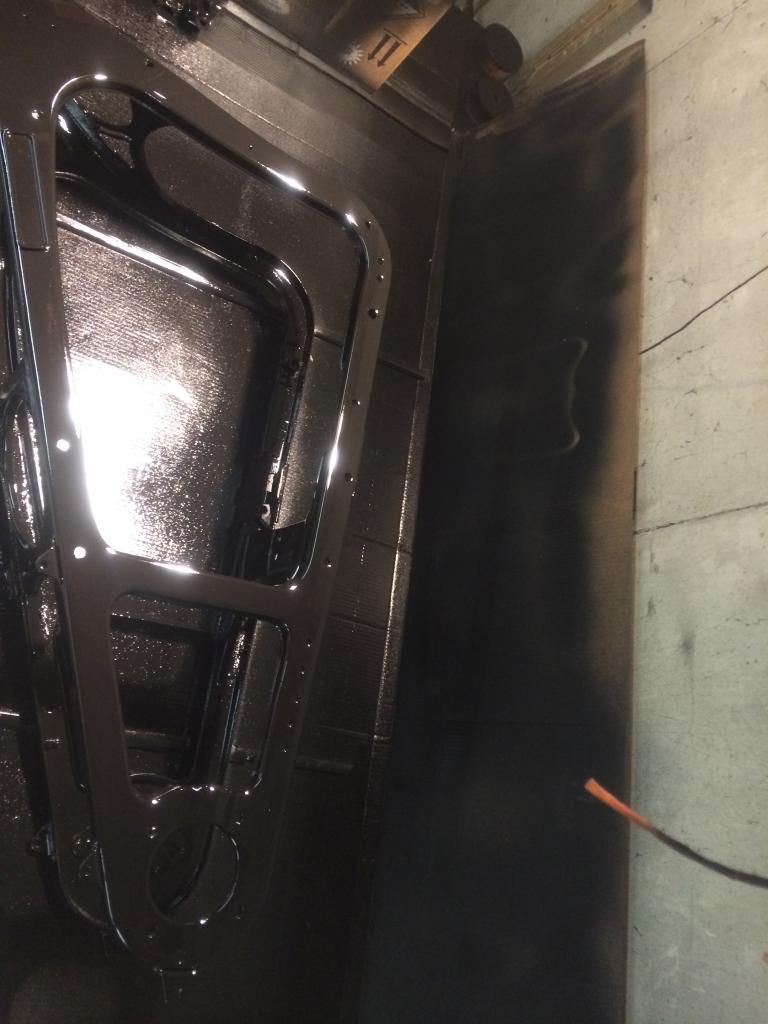
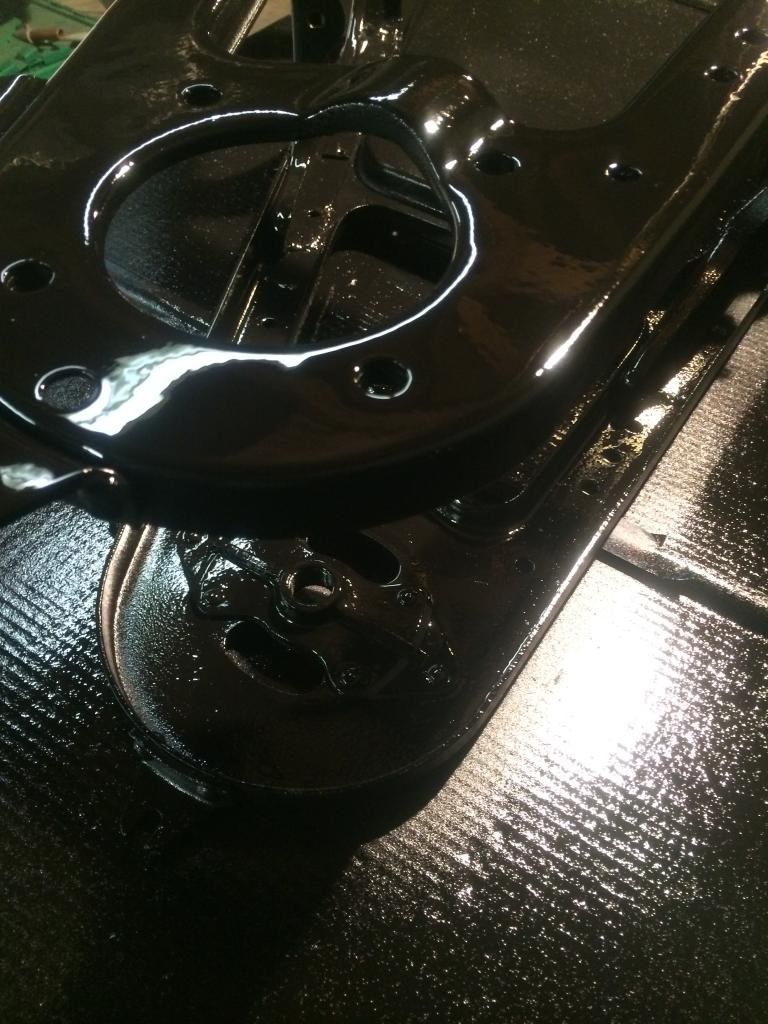
Have almost everything done. Here is the frame after 105/205. Have a couple of flaws to touch up but overall very pleased with the results of my first paint and finish work. I'll post some more updates as I assemble in the coming weeks.
Similar Threads
-
By MDX Detailing in forum Cyclo Polishers
Replies: 7
Last Post: 07-02-2014, 06:54 AM
-
By Sizzle Chest in forum Off-Topic
Replies: 1
Last Post: 03-11-2014, 01:05 AM
-
By SR99 in forum Off-Topic
Replies: 2
Last Post: 12-14-2013, 08:51 AM
-
By jhkunkel in forum Auto Detailing 101
Replies: 25
Last Post: 03-02-2012, 06:21 PM
-
By snowking724 in forum Auto Detailing 101
Replies: 3
Last Post: 04-18-2010, 05:46 PM
 Members who have read this thread: 0
There are no members to list at the moment.
Posting Permissions
- You may not post new threads
- You may not post replies
- You may not post attachments
- You may not edit your posts
-
Forum Rules
|
| S |
M |
T |
W |
T |
F |
S |
| 31 |
1
|
2
|
3
|
4
|
5
|
6
|
|
7
|
8
|
9
|
10
|
11
|
12
|
13
|
|
14
|
15
|
16
|
17
|
18
|
19
|
20
|
|
21
|
22
|
23
|
24
|
25
|
26
|
27
|
|
28
|
29
|
30
| 1 | 2 | 3 | 4 |
|


 Reply With Quote
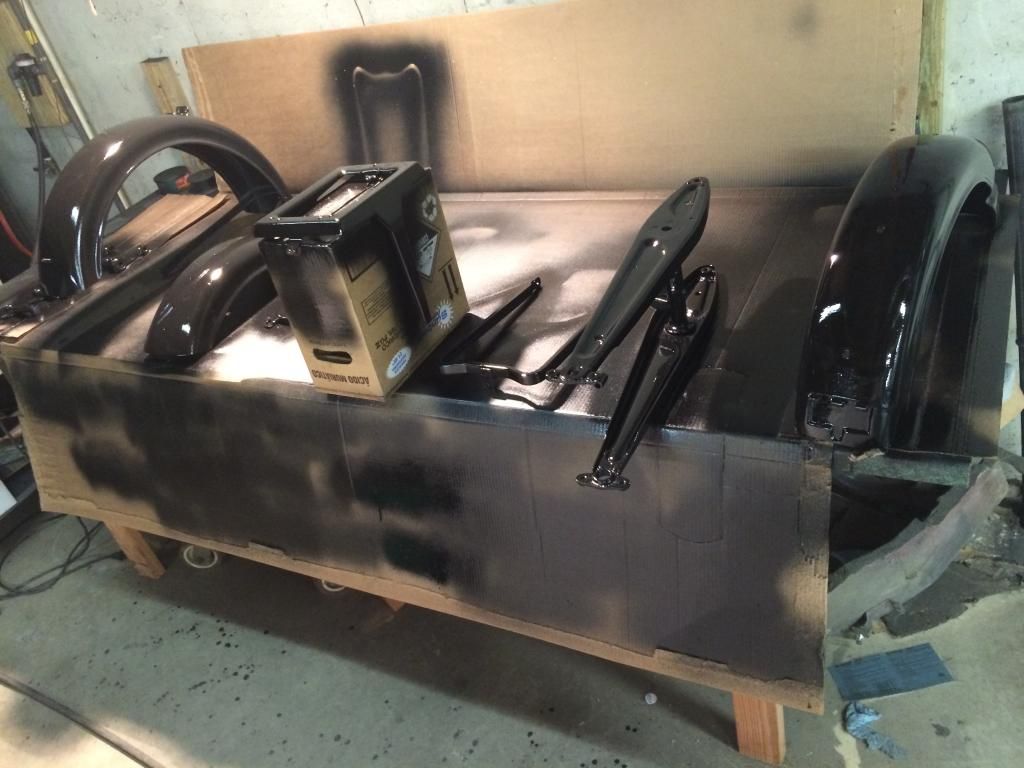


Bookmarks