-
Re: Need your suggestions - Final steps in a chip repair
Time stamp of the below post
09-07-2010, 10:20 AM

Originally Posted by
Mike Phillips

I'm the last person to claim someone else's idea as my own, but here's an instance where I had a similar idea but have never tried it. In keeping with the saying,
"You don't know what you can do until you try"
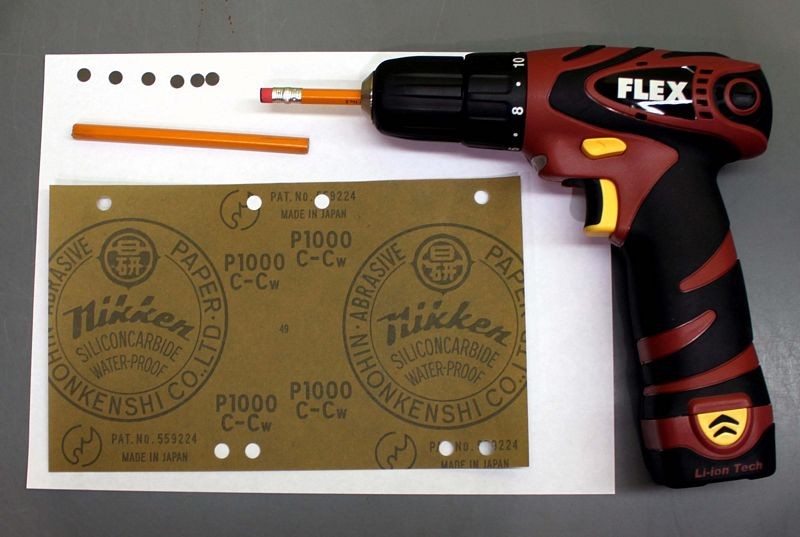
- Take a hole punch, punch out some holes in some sandpaper.
- Cut a pencil down to about 2-3 inches long on the erasure side.
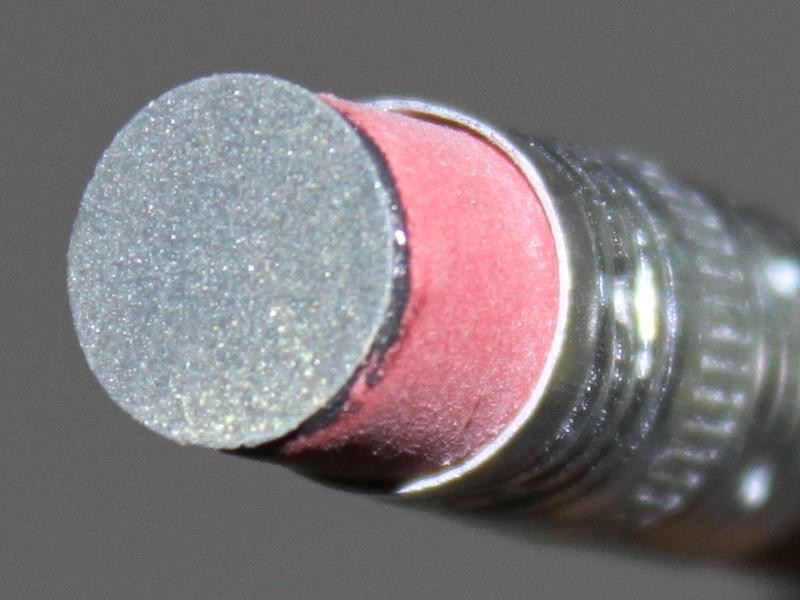
- Glue these onto the face of an unused pencil erasure.
- Place the pencil in a Drill.
- Carefully hold the drill in such a way to sand on top of a rock chip.
The goal is to take a ragged random shaped rock chip and turn it into a perfect circle with an even impression in the paint and now sanded clean for good adhesion.
Then apply your touch-up paint till the hole is level.
Allow to dry for about a week or two in warm temperatures.
Carefully sand the touch-up paint flat.
Remove sanding marks.
I'll give it a try on my Jimmy after the glue has dried that's holding the #1000 Grit Sandpaper to the Pencil Erasure.
I think a lower grit would actually work better, like #600 or #800 but #1000 is as low as I had at my desk.

Have a new article on this on the way...
-
Post Thanks / Like - 0 Thanks, 1 Likes, 0 Dislikes


 Thanks:
  Likes:
  Dislikes:


 Reply With Quote
Bookmarks