 Thanks: 0
 Dislikes: 0
-
Vinyl/stickers polishing
Vinyl/stickers polishing
So I'm pretty much a backyard warrior that is expanding to taking on a few customers.
I'm pretty good with a da on painted surfaces but know one of these days someone is going to show up with vinyl on their hood or body panels.
My question is....when using a da on the vehicle with like HD One, do you risk burning through the vinyl?
I'm pretty sure you want to speed up the process over vinyl and not go one inch per second over it but I may be wrong?
Even on a quarter panel of a ford pick up with the FX4 sticker on the back, what's the best process?
Any insight is appreciated.

-
Super Member

Re: Vinyl/stickers polishing
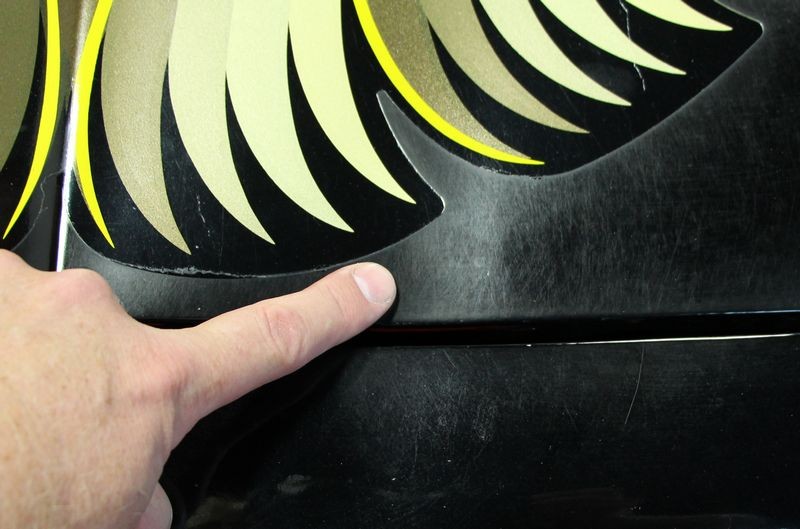
Just watch the edges and you will be ok. And try not to force a bunch of product under/along edges. Go easy on them!
Scott Harle
Autodermatology
#autodermatology
-
Post Thanks / Like - 0 Thanks, 1 Likes, 0 Dislikes
-
Re: Vinyl/stickers polishing
Thank you, I appreciate your response.
-
Re: Vinyl/stickers polishing
 Originally Posted by Offshoreracer51

My question is....when using a da on the vehicle with like HD One, do you risk burning through the vinyl?
I'm pretty sure you want to speed up the process over vinyl and not go one inch per second over it but I may be wrong? Even on a quarter panel of a ford pick up with the FX4 sticker on the back, what's the best process?
Any insight is appreciated.
I always buff over glossing graphics. It removes road film and oxidation. The result is a cleaner, brighter looking graphic.
Like Sizzle Chest said, just go easy on the edges.
I only use foam polishing pads and foam finishing pads - anything more aggressive like a foam cutting pad or any type of "fiber" pad will likely mar the graphic.
-
Re: Vinyl/stickers polishing
-
-
Post Thanks / Like - 0 Thanks, 3 Likes, 0 Dislikes
-
Re: Vinyl/stickers polishing
I have a saying that goes like this,
If you spend enough time with any polisher you can make it dance on paint -Mike Phillips
-
Super Member

Re: Vinyl/stickers polishing
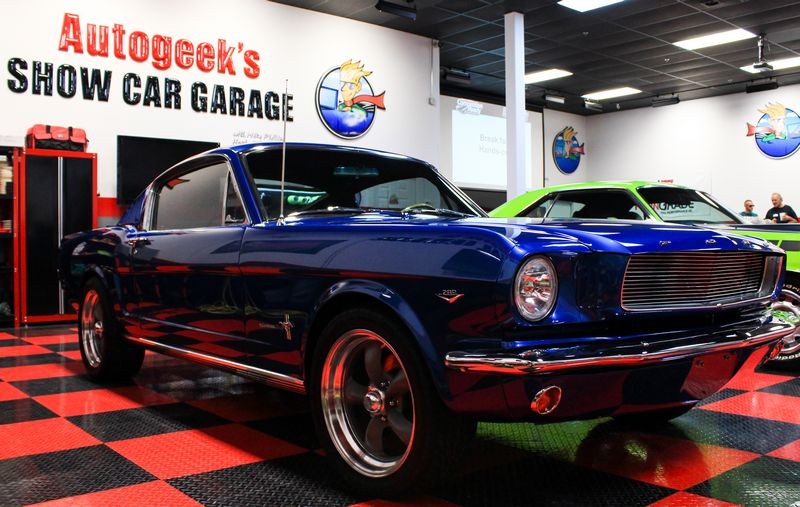
Great job on that Pontiac, Mike.
-
Re: Vinyl/stickers polishing
Originally Posted by Mike Phillips
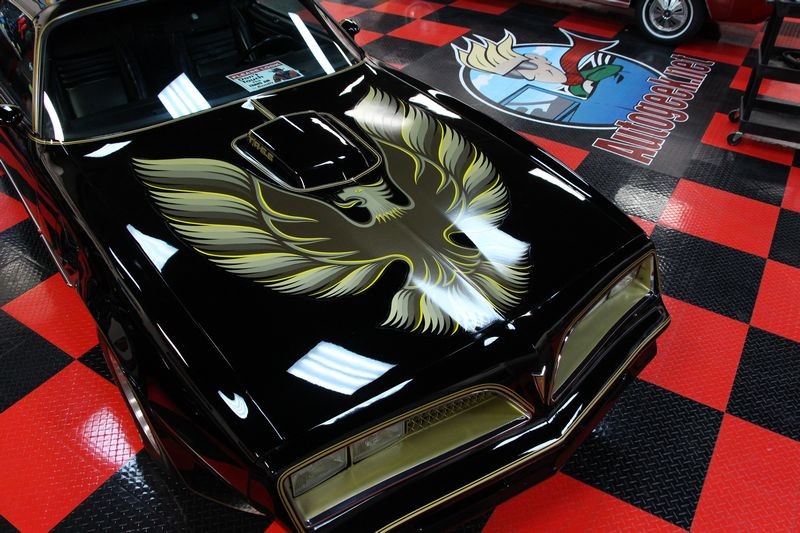
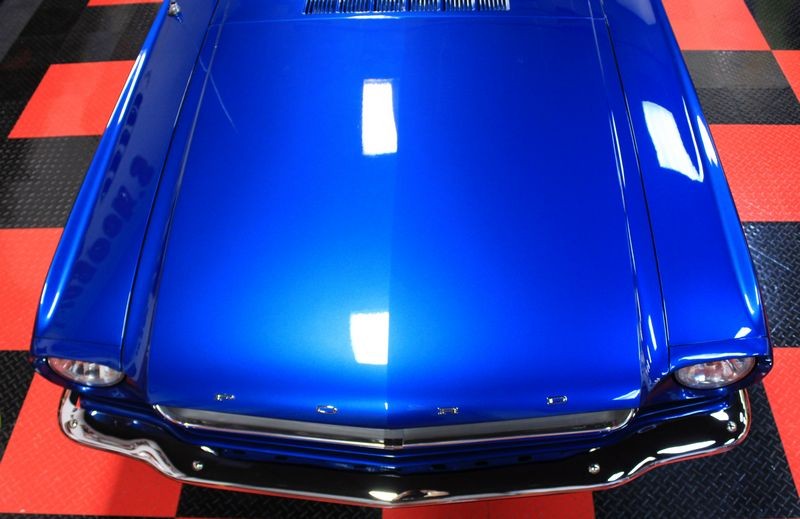
One more, this took me HOURS to restore without screwing up any of the TIPS on the Screaming Pheonix and this is the ORIGINAL vinyl graphic on a 1978 Trans Am.
I used a RUPES BigFoot 21 with the RUPES 7" white foam finishing pad and RUPES Diamond White Polish on the graphic itself. For the single stage black paint surrounding the graphic I remember using the RUPES green foam cutting pad and RUPES Zephyr Gloss Compound.
BEFORE
 AFTER
AFTER
Found these pictures and info here,
PADS: Is there really a discernible difference between Rupes WHITE and YELLOW finishing ability?
Not only was the paint oxidized on this original 1978 Trans Am but the original Screaming Phoenix vinyl graphic was dull, stained and lifeless.
I carefully machine polished all of the paint around the edges of the graphic using a green RUPES pad on edge like I share in my how to book and then machine polished the entire car and the graphics with the white RUPES pad and White Diamond Ultra Soft Foam pads on the BigFoot 21.
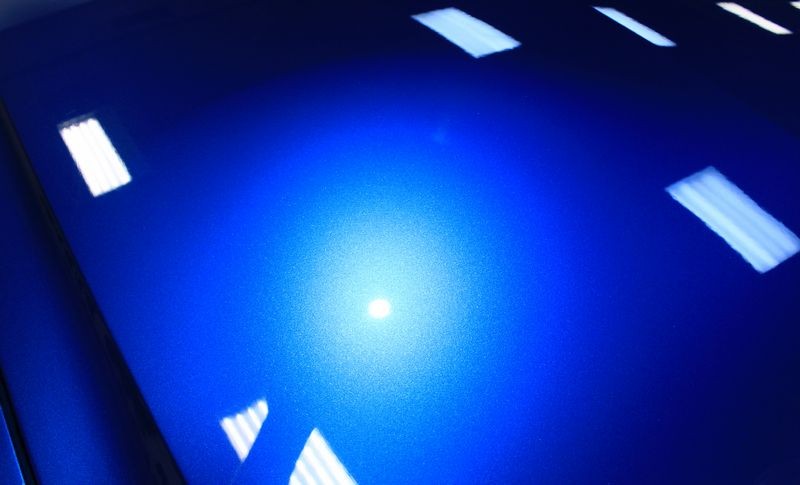
Look how dark black the original single stage paint is and how vibrant the Screaming Phoenix is in this after pictures...

I think you can get superb results stopping at the yellow pad but for dark colors, smooth glossy vinyl graphics and show car work I'd finish out with white/white.
Hope that helps...
Wow!!! Great job!! It's photos like these that turned me on to detailing in the first place, accomplishing things like that where most people would say it's too far gone and needs to be replaced/painted. Thanks Mike for your response and for getting back to me. Like I said, I haven't had the opportunity to work with graphics yet but I know it's coming one day soon, it's great to know anything can be accomplished with the right resources!
-
Post Thanks / Like - 0 Thanks, 1 Likes, 0 Dislikes
-
Re: Vinyl/stickers polishing
Originally Posted by Offshoreracer51
Wow!!! Great job!!
It's photos like these that turned me on to detailing in the first place, accomplishing things like that where most people would say it's too far gone and needs to be replaced/painted.
Thanks Mike for your response and for getting back to me.
Like I said, I haven't had the opportunity to work with graphics yet but I know it's coming one day soon, it's great to know anything can be accomplished with the right resources!
For what it's worth - it was incredibly challenging to restore that antique single stage paint (that had turned white with oxidation), without screwing up both the paint and the grapchis.
At the time I did this work - the RUPES Nano had not been invented as this would have made the oxidation removal work around the feathers a lot easier. So would the FLEX PiXiE.
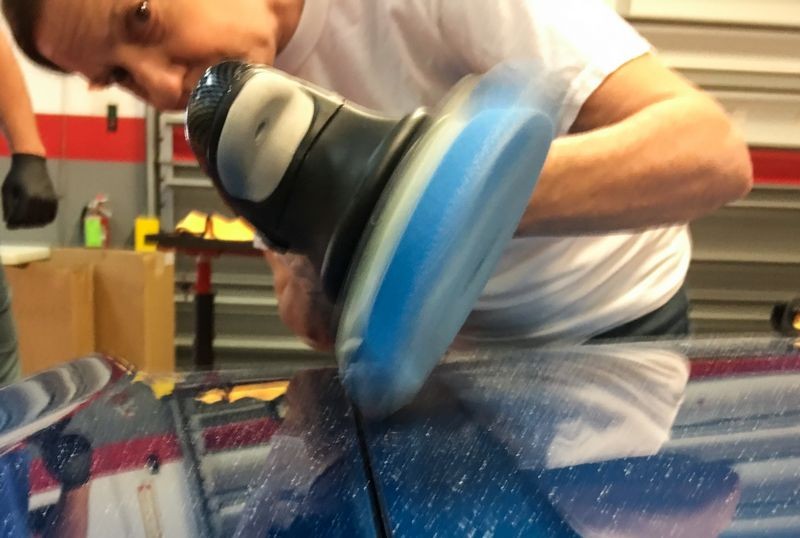
I actually did all the work with a 7" pad I put up on edge, like you see Louise doing here in one of my RUPES detailing classes.
Who attends a 3-day class at Autogeek at $1,495.00?
Anyone can use a 1" pad to buff a thin panel or buff next to an edge....
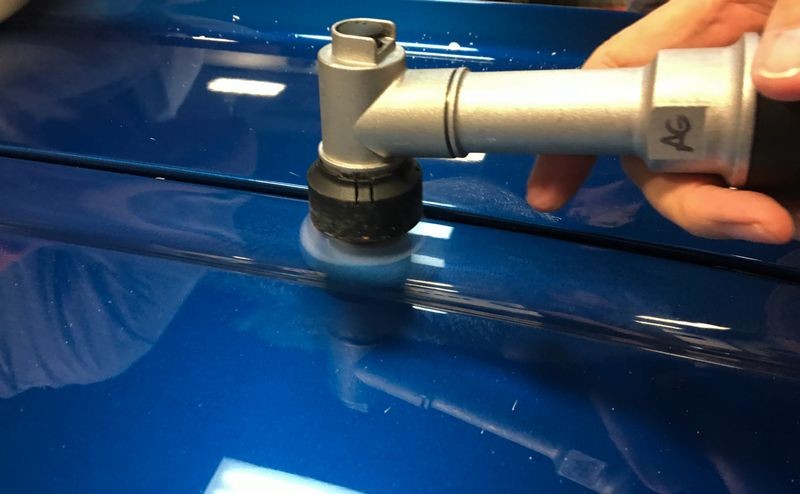
How to turn a 7" pad into a 1" pad
On page 64 of my RUPES how-to book, I share how you can go up on edge with the RUPES BigFoot 21 and a 7" pad and the isolated pressure to only a small section of the edge of the paint will cause the pad to REVERSE ROTATE but --> maintain pad rotation, as in NOT stall out.
Once you understand this unique characteristic to this free spinning long stroke orbital polisher you discover this enables you to buff the paint along an edge or buff out a thin section of paint between a raised body line and an edge.
This technique is NOT for the timid. This technique is not something you want to learn on another person's toy or expensive car. I discovered this unique characteristic while buffing out the 1998 Ferrari 355 F1 Spyder shown on the cover of the RUPES book and discussed in the book back when I detailed this Ferrari for this project back in in 2014.
NOTE: It is vitally important that if you choose to use this technique that the Velcro on the backing plate and on the back of the buffing pad is NOT worn out. If the velcro is worn out, it's possible that when you go up on edge and put increased pressure to a small portion of and edge of the face of the pad that the force can cause the attachment between the two velcro surfaces to let go and the pad can fly off. It's happened to me and after it happened one time I always test the attachment strength of the two velcro surfaces before attempting this technique.
Going up on edge with a RUPES BigFoot 21

Not the hand positions to hold the tool
If you have a copy of my RUPES book you've seen and read about hand positions. Sometime, the last thing you want to do is hold the hand grip at the head of the tool as it block your view of what the pad is doing and where the pad is touching.

Focused attention....
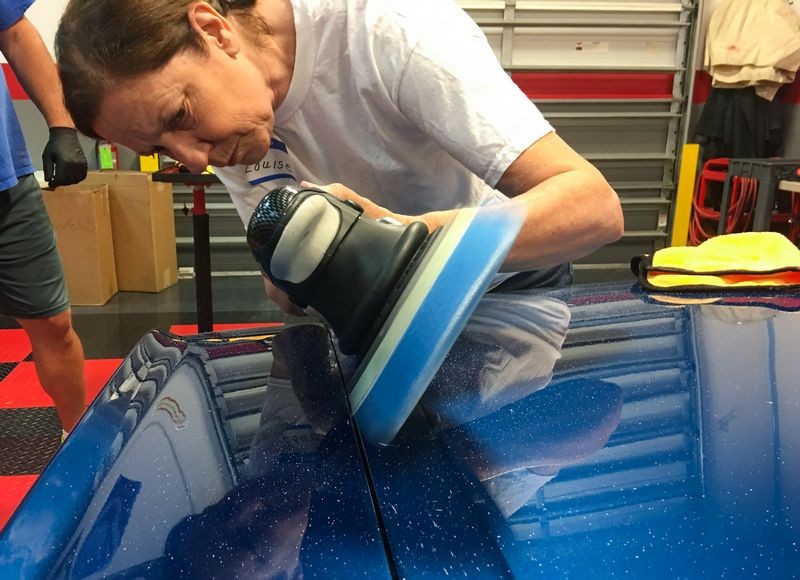
Eyes on the target...
If she can do it.... anyone can do it.
And while you can read this article and look at the pictures, when you come to one of our classes.... I'll show you in person,
How to make any polisher dance on paint.
Continued....
And here are the results!


Nice.....
Pictures from the class Louise attended can be found here - note I never have time to get ALL the pictures taken of ALL the cars - it's just too overwhelming. But there are a lot of pictures in this write-up.
Pictures & Comments from the September 2017 Competition Ready Detailing Class
Similar Threads
-
By JFire72 in forum How to Articles
Replies: 17
Last Post: 08-15-2018, 02:31 PM
-
By Wills.WindowsAndWheels in forum Auto Detailing 101
Replies: 2
Last Post: 03-27-2017, 08:21 PM
-
By RFrommann in forum Auto Detailing 101
Replies: 6
Last Post: 11-29-2015, 05:16 PM
-
By Redneckmafia in forum Ask your detailing questions!
Replies: 4
Last Post: 08-05-2013, 11:12 PM
-
By Swimmer in forum Ask your detailing questions!
Replies: 8
Last Post: 04-22-2011, 07:16 AM
 Members who have read this thread: 0
There are no members to list at the moment.
Posting Permissions
- You may not post new threads
- You may not post replies
- You may not post attachments
- You may not edit your posts
-
Forum Rules
|
| S |
M |
T |
W |
T |
F |
S |
| 31 |
1
|
2
|
3
|
4
|
5
|
6
|
|
7
|
8
|
9
|
10
|
11
|
12
|
13
|
|
14
|
15
|
16
|
17
|
18
|
19
|
20
|
|
21
|
22
|
23
|
24
|
25
|
26
|
27
|
|
28
|
29
|
30
| 1 | 2 | 3 | 4 |
|


 Likes:


 Reply With Quote

Bookmarks