 Thanks: 0
 Likes: 0
 Dislikes: 0
-
-
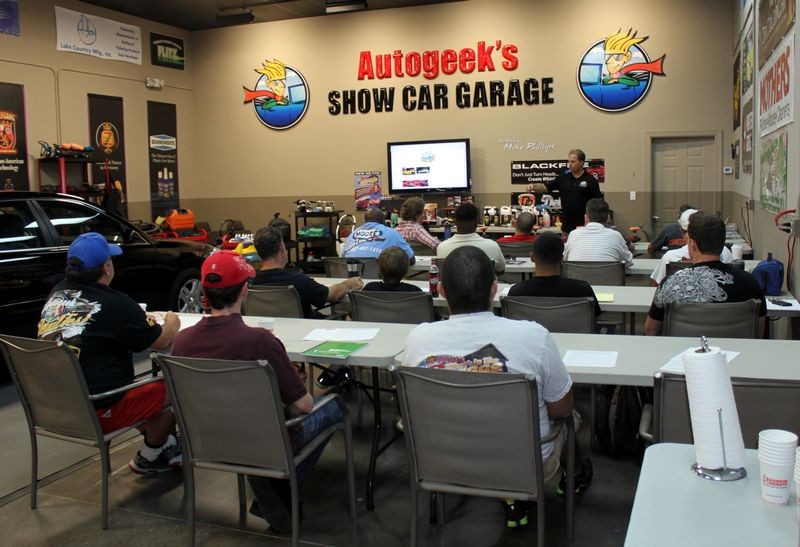
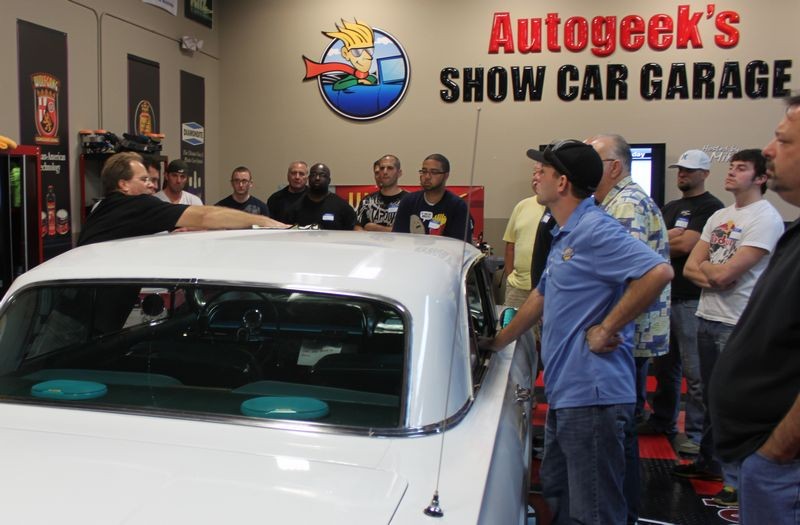
Re: Sign-up: May 2014 Detailing Boot Camp Class - Saturday May 3rd & Sunday May 4th
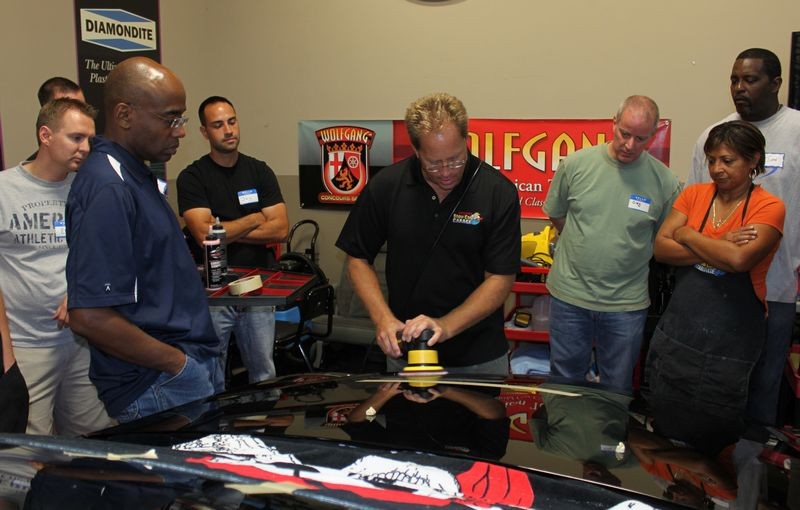
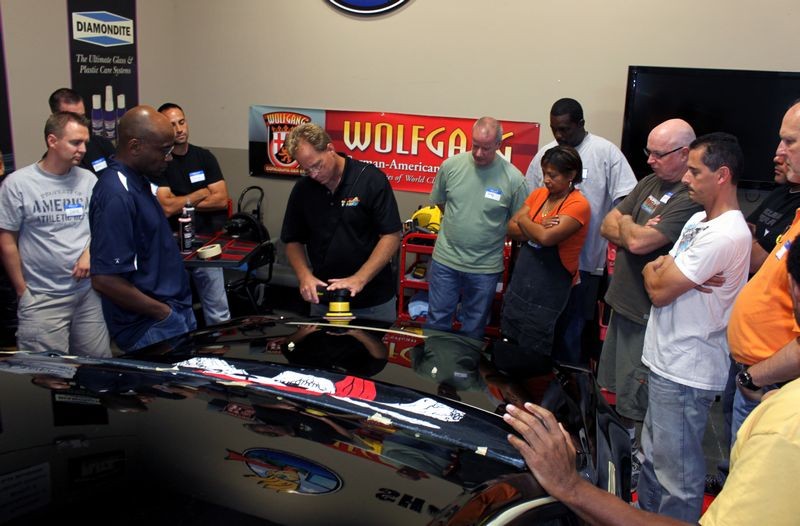
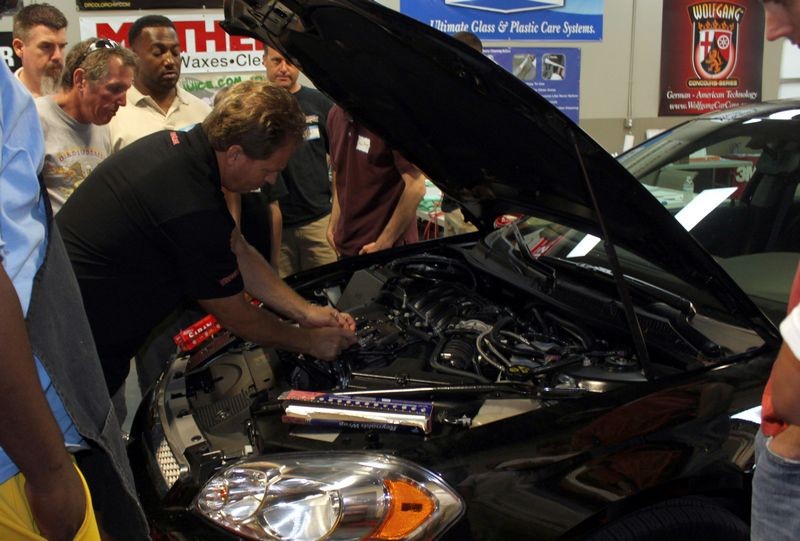
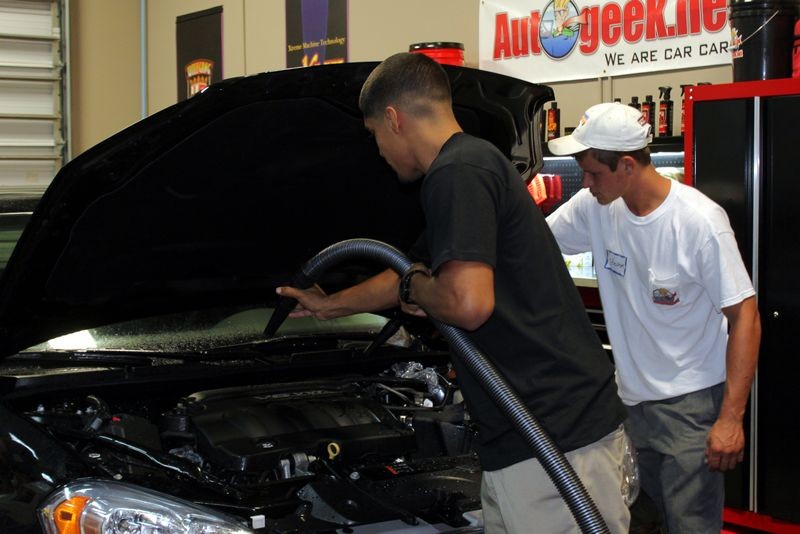
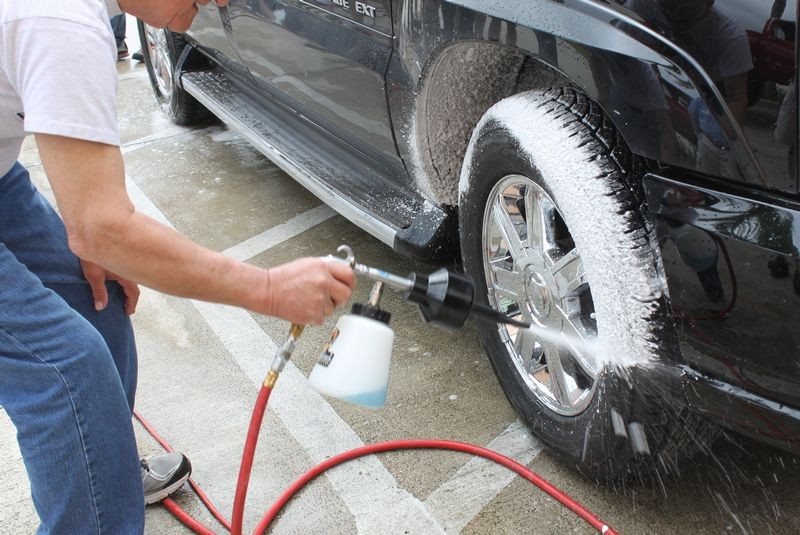
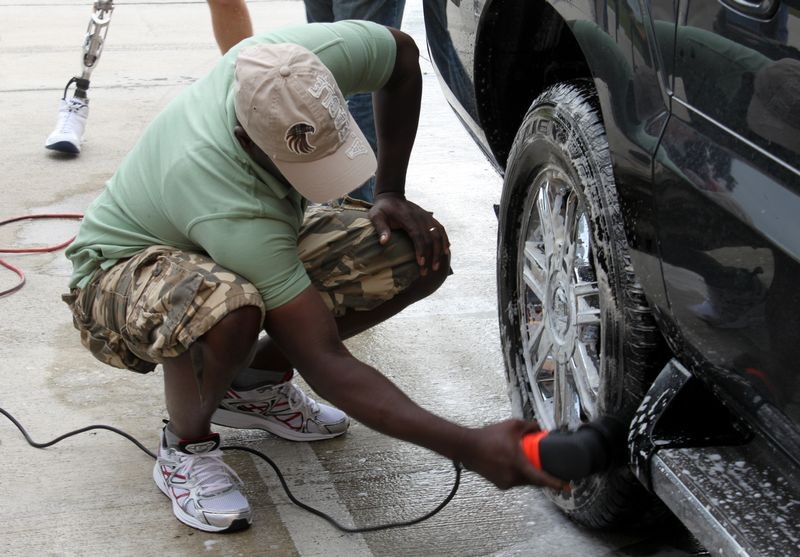
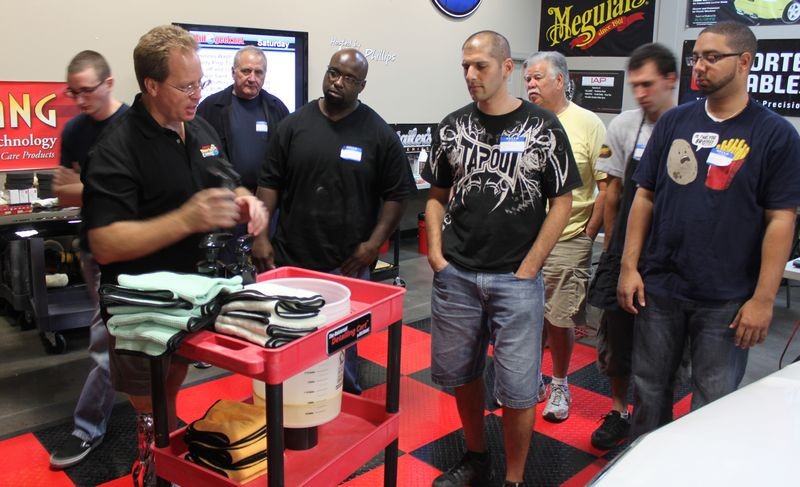
This course will cover the following tools on multiple cars
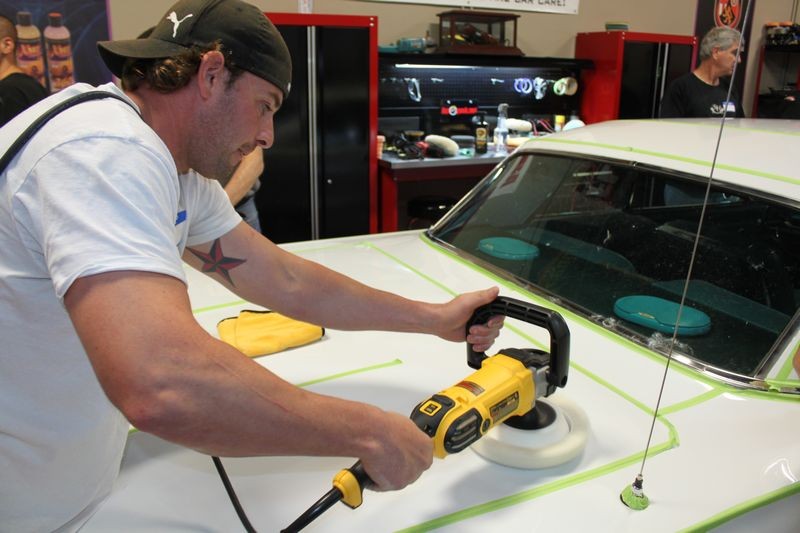
The NEW Rupes Duetto 12 and Mini 12
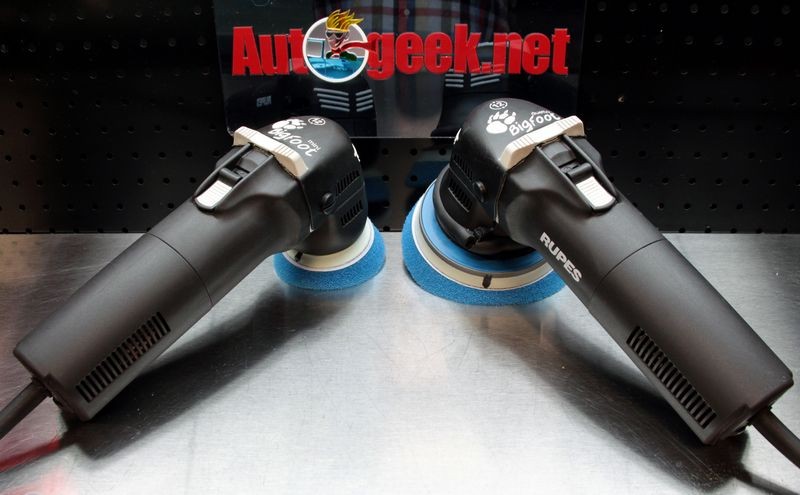
The Rupes Duetto 12
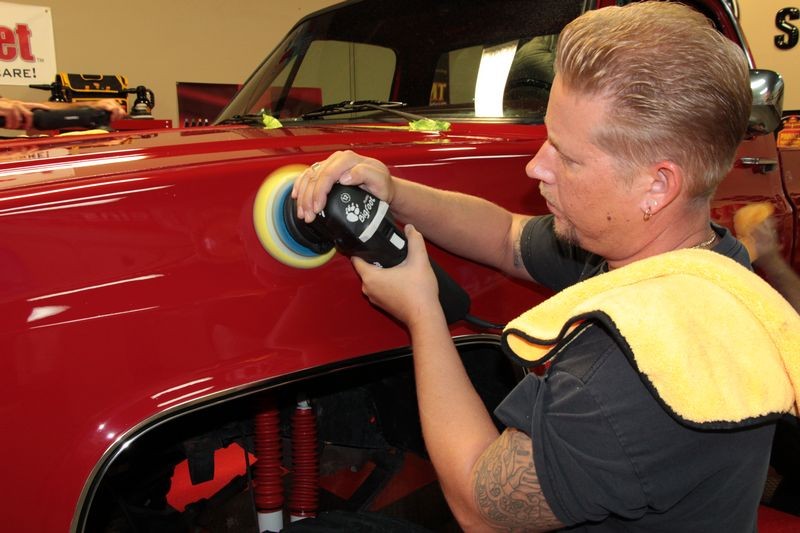
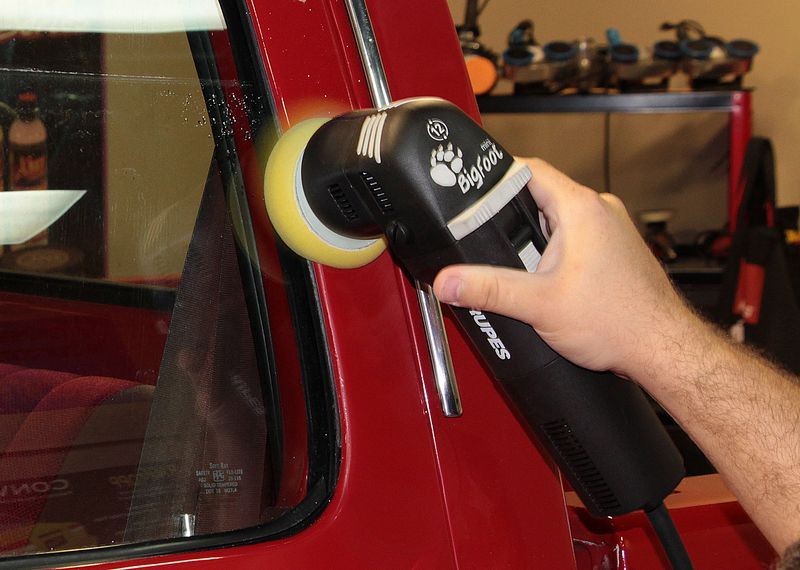
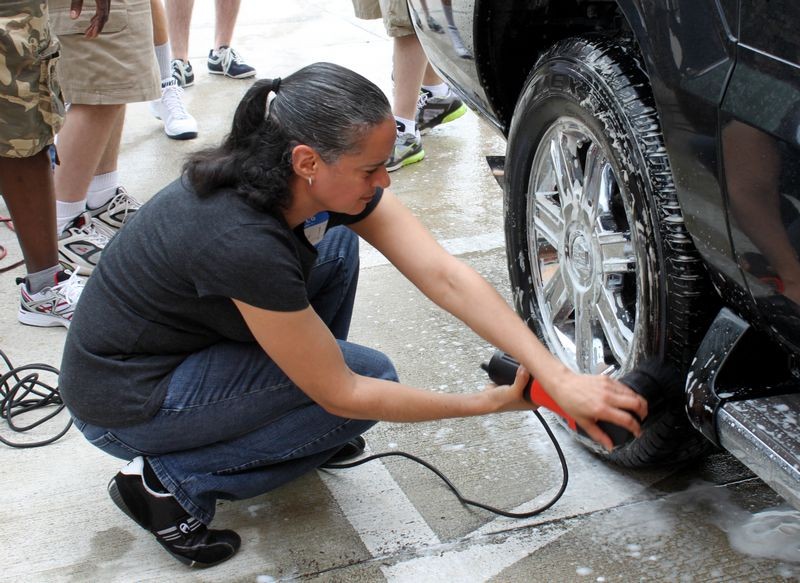
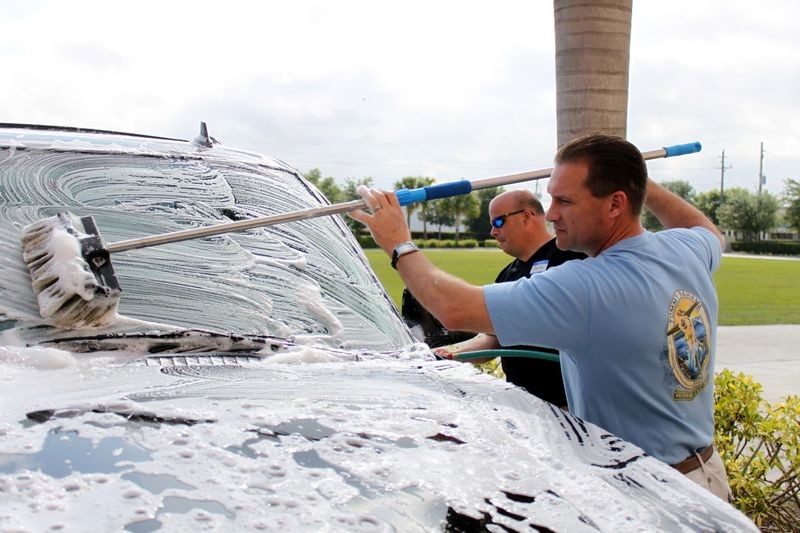
Here's my buddy Jay using the new Rupes Duetto 12 on my Silverado...

Rupes Mini 12
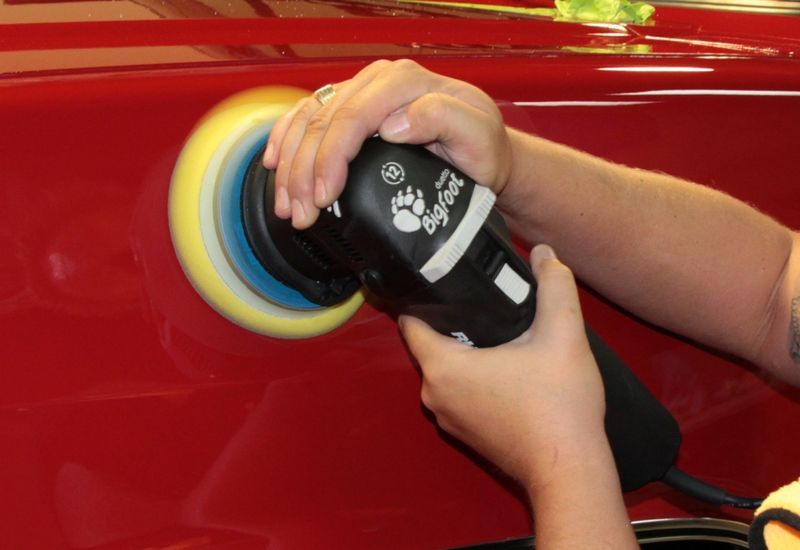
Here's my buddy Matt using the new Rupes Mini on thin panels...


Rupes LHR 15ES & LHR 21ES Random Orbital Bigfoot" Polishers
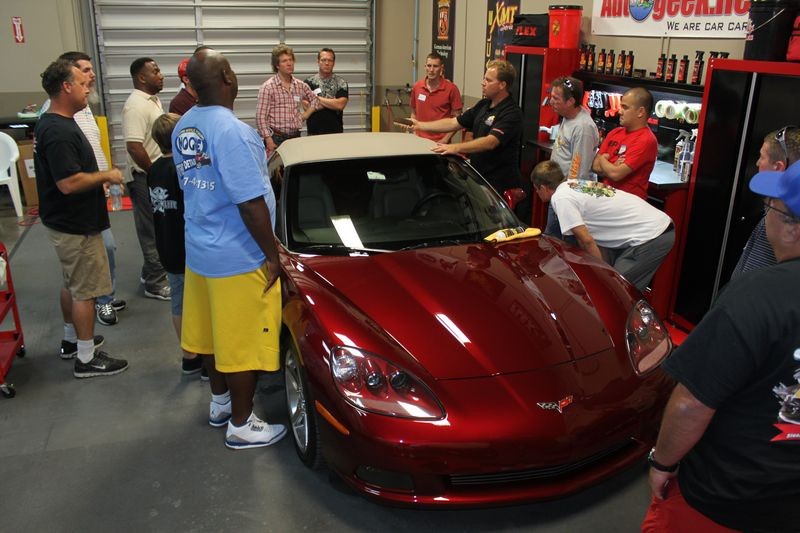
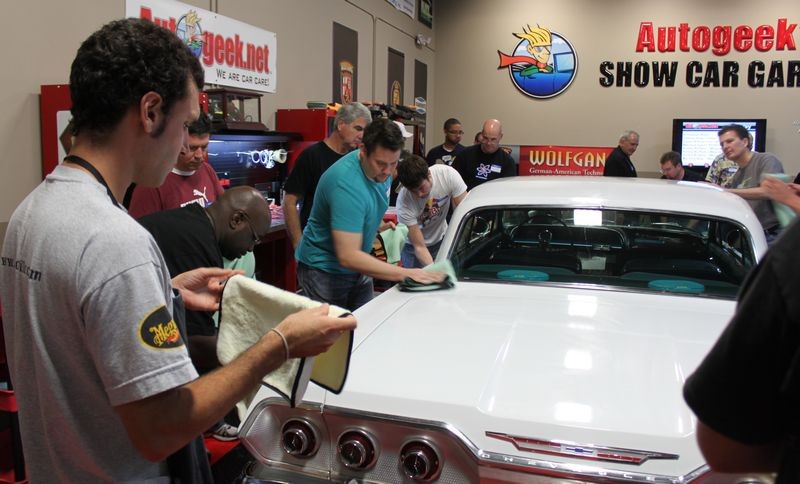
Students will use both the Bigfoot 15 and 21 Polishers with the Rupes pads, compounds and polishes to learn Show Car Detailing. Mike always brings classics and streetrods to his classes for students to work on. Students will learn how to hold and use the Rupes polishers to remove swirls, scratches and water spots and then polish the paint to a high gloss finish. Afterwards, the paint will be sealed with a wax, paint sealant or coating using the newest technology currently introduced to the market.
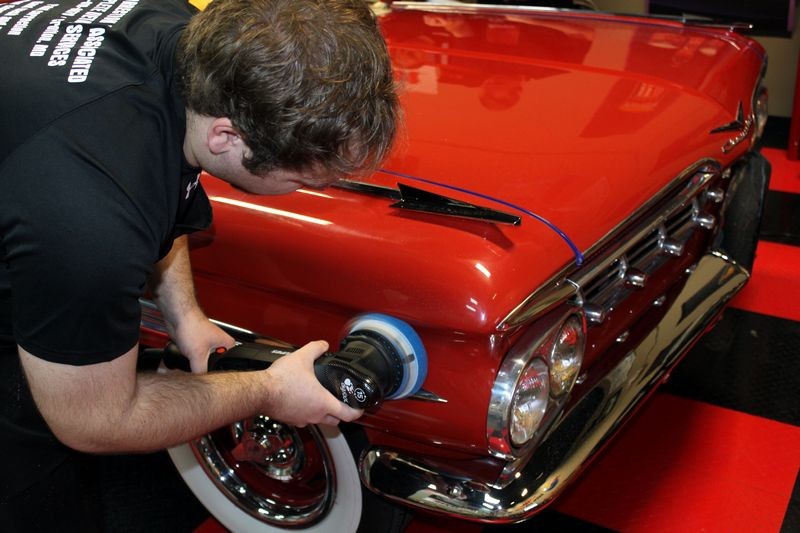
Using the Rupes Bigfoot 15 to remove swirls from a 1959 Impala
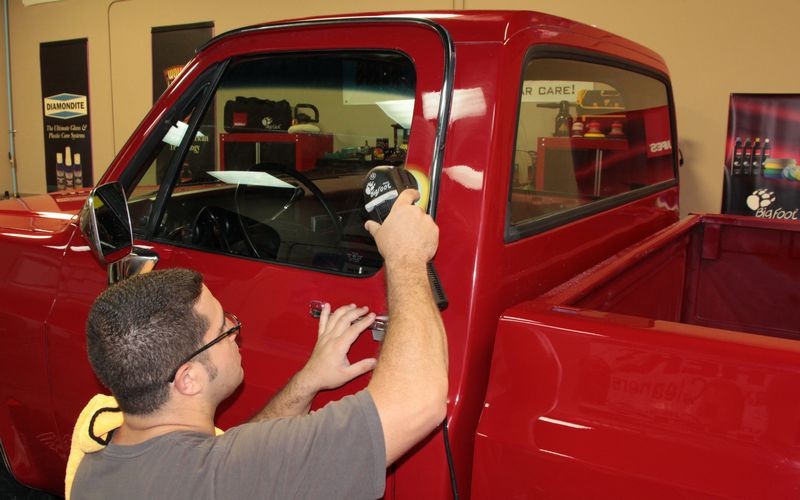
Using the Rupes Bigfoot 21 to remove swirls out of a 1947 Buick Slantback Sedan

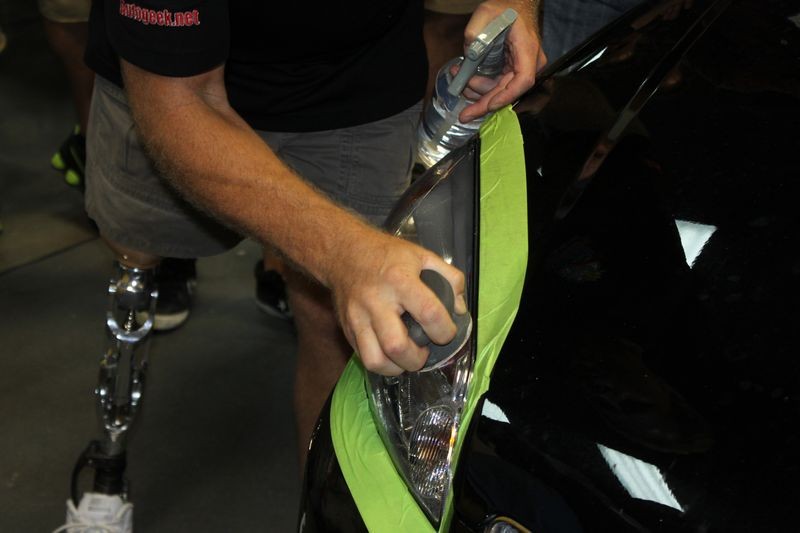
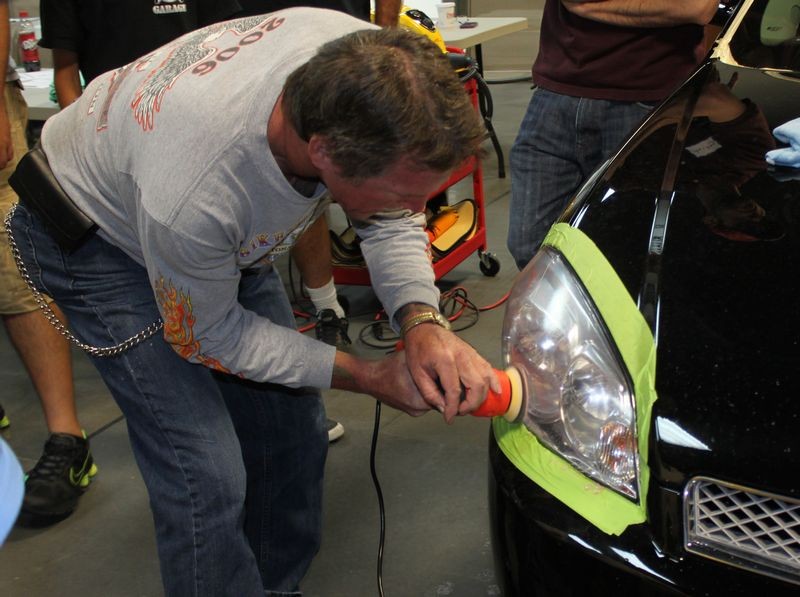
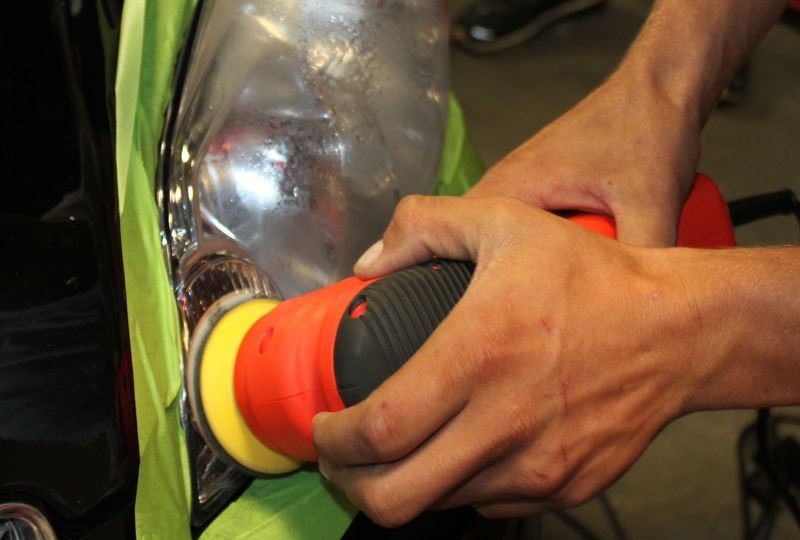
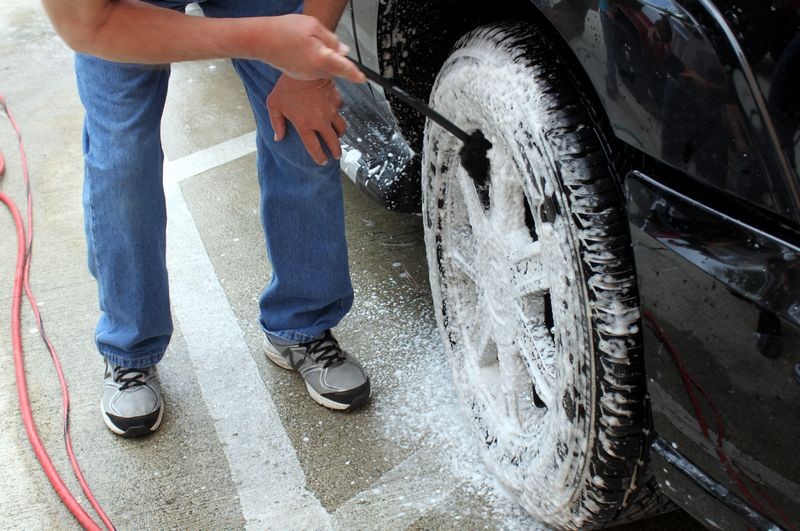
Flex 3401 Forced Rotation Dual Action Polisher
Students will use this tool set up with both 6.5" Hybrid Pads and 5" Hybrid Pads to do what Mike calls Show Car Detailing. Show car detailing is using a multiple step approach using dedicated compound and polishing steps to create a show car finish and then applying either a wax, sealant or coating to create a perfect shine. The choice of waxes, sealants or coatings will change as new products are introduced with the newest products on the market being showcased.
Using the Flex 3401 with a 5" Hybrid Pad on a 1940 Ford Coupe

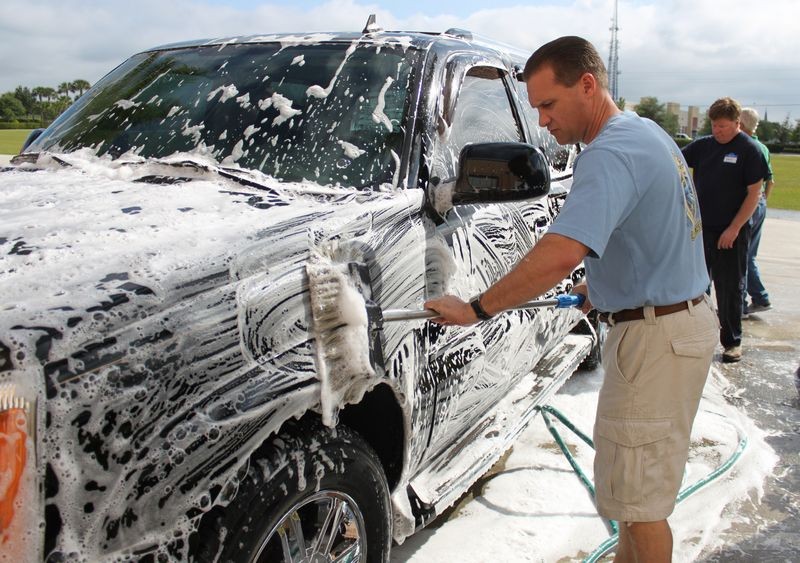
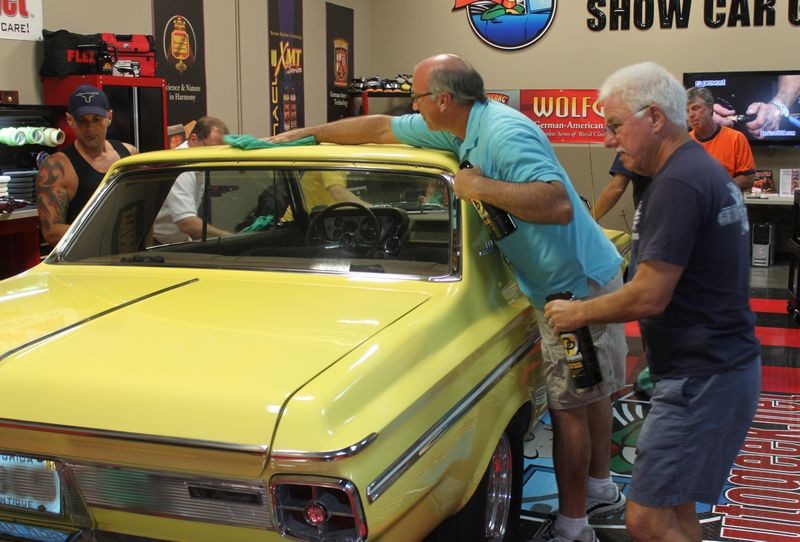
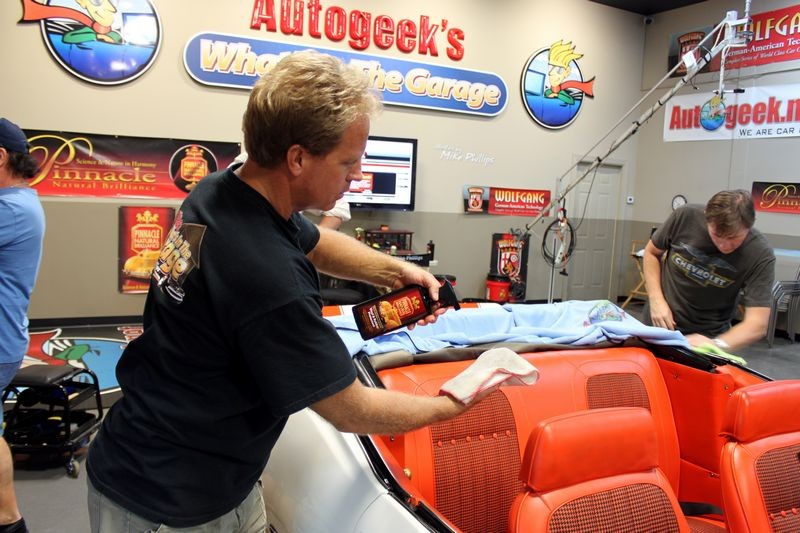
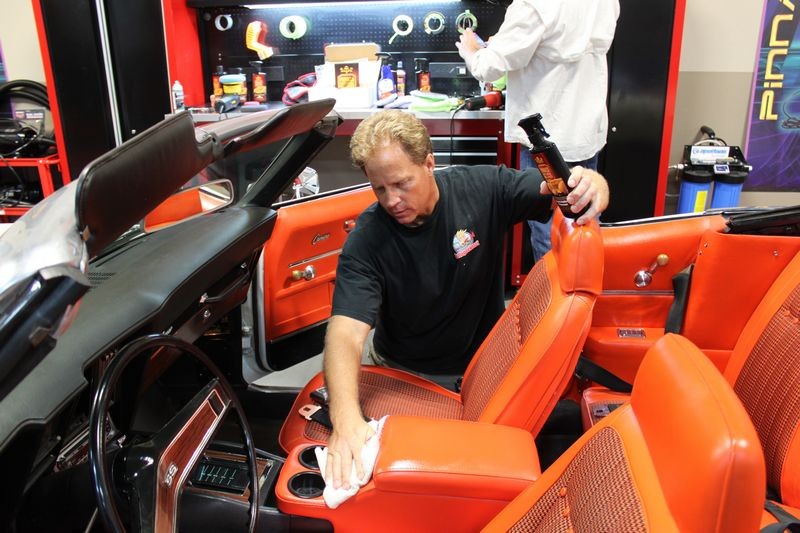
Using the Flex 3401 with a 6.6" Hybrid Pad on a 1965 Mustang Convertible

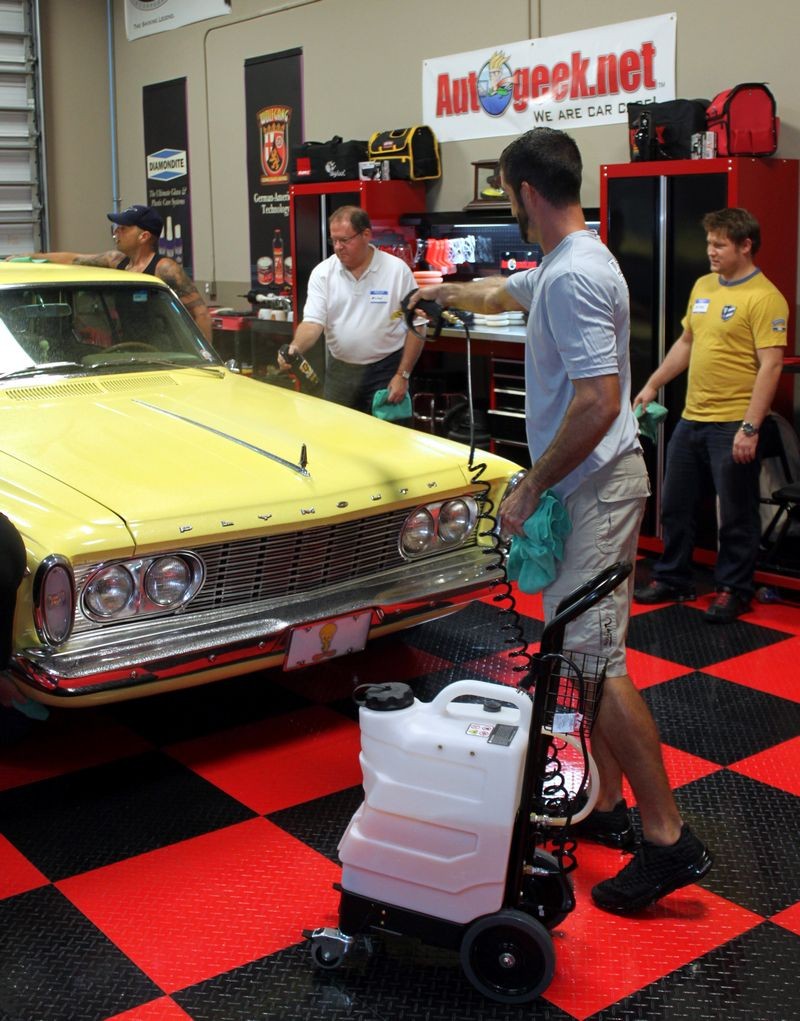
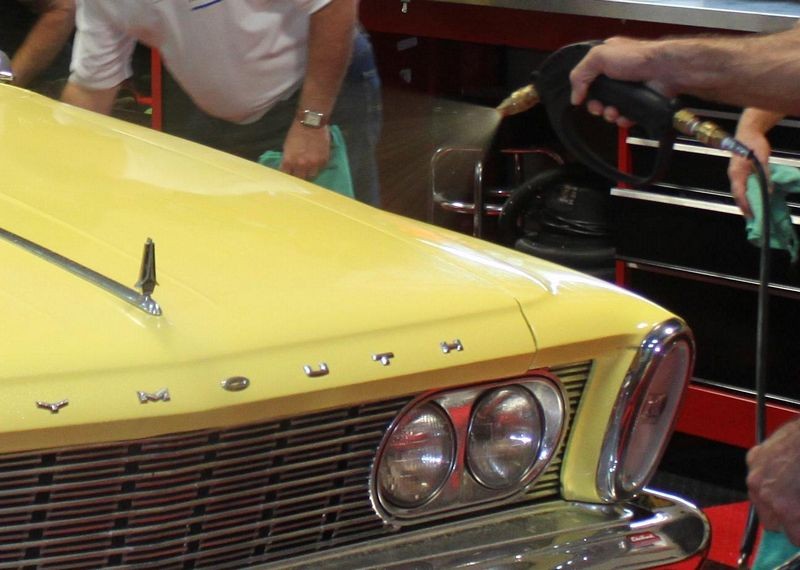
Using the Flex 3401 with Nanoskin Autoscrub Pads on a 1963 Plymouth Fury Drag Racer
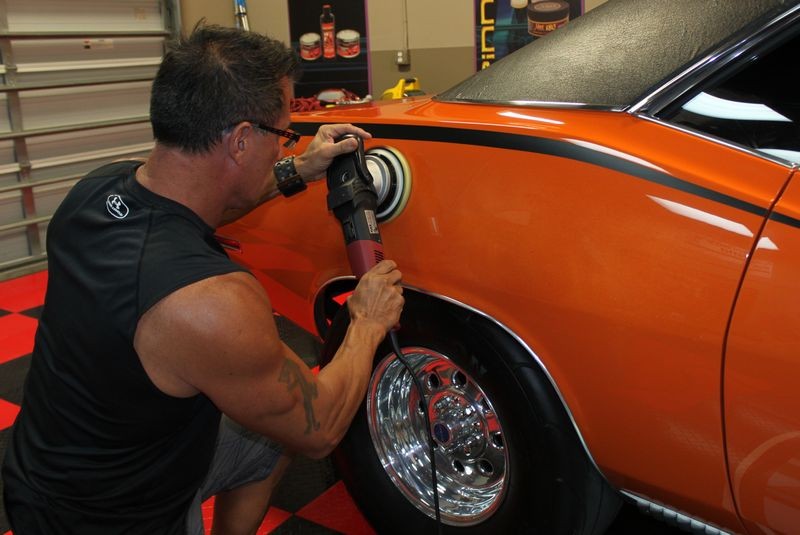
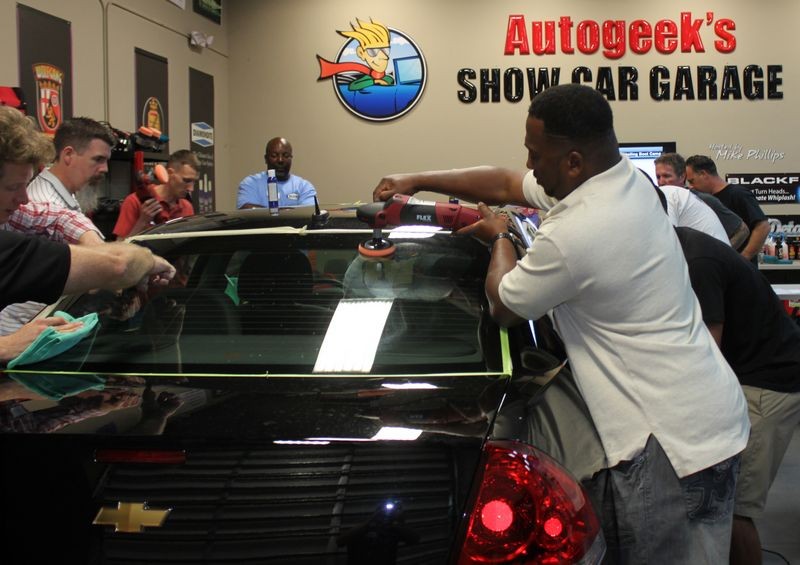
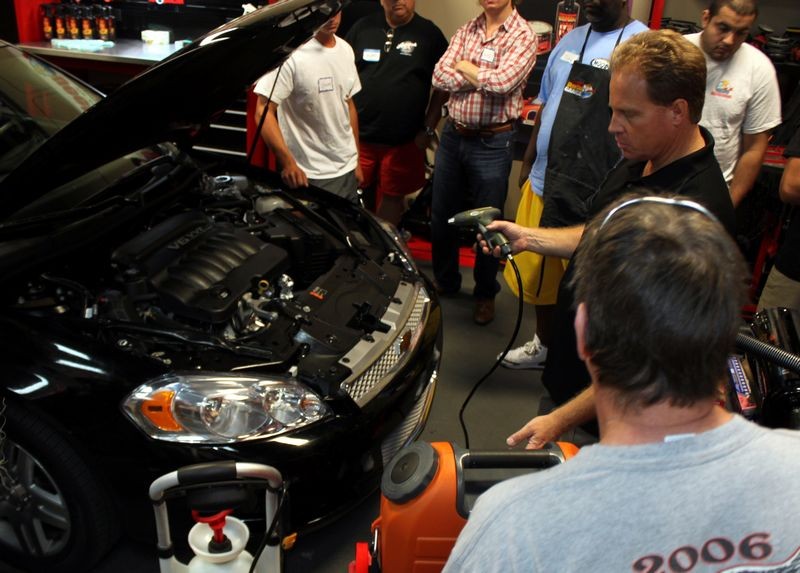
Rotary Buffers - Flex PE14 - DeWALT 849X - Makita 9227c
The rotary buffer is still the most powerful tool in the car detailing world and the tool able to remove the most serious of paint defects the fastest. It's also capable of polishing the paint and then jeweling the paint to a super high gloss finish.
Mike will take all the mystery out of using the rotary buffer as well as all of the risk associated with this favorite tool among professional detailers.
Each student will learn how to properly clean and spur wool pads plus how to use the 10 @ 10 Technique to pick up a bead of product. Correct technique for buffing out a car section by section will be learned for removing defects like sanding marks, water spots, swirls and scratches. Next students will learn to use foam pads to refine the results created by the wool pad step to a high gloss finish followed by learning to jewel the paint for a hologram-free finish. Afterwards, the car will be sealed using the latest technology in either a wax, sealant or coating.
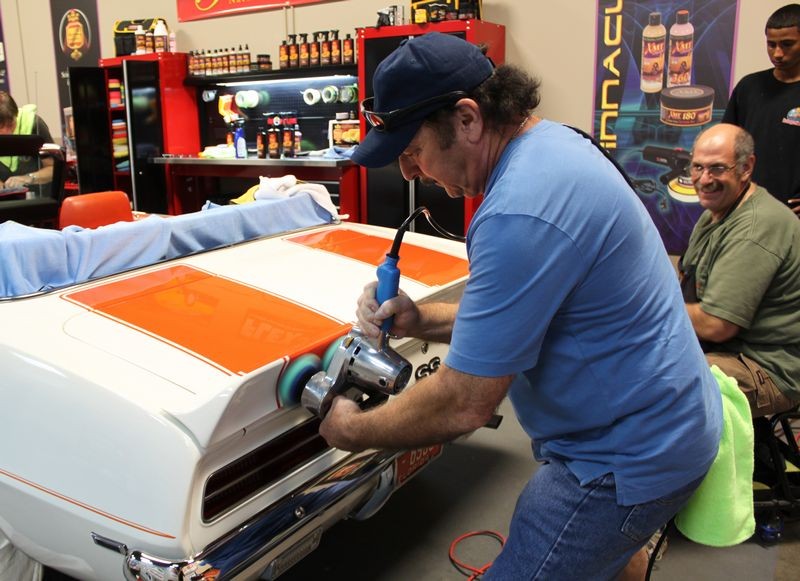
Using the Flex PE14 to Jewel the paint to a high gloss on the original paint on a 1987 Corvette
Using the DeWALT 849X to remove sanding marks out of a 1963 Impala SS
Using the Makita Rotary Buffer to remove sanding marks from a 1987 K5 Blazer

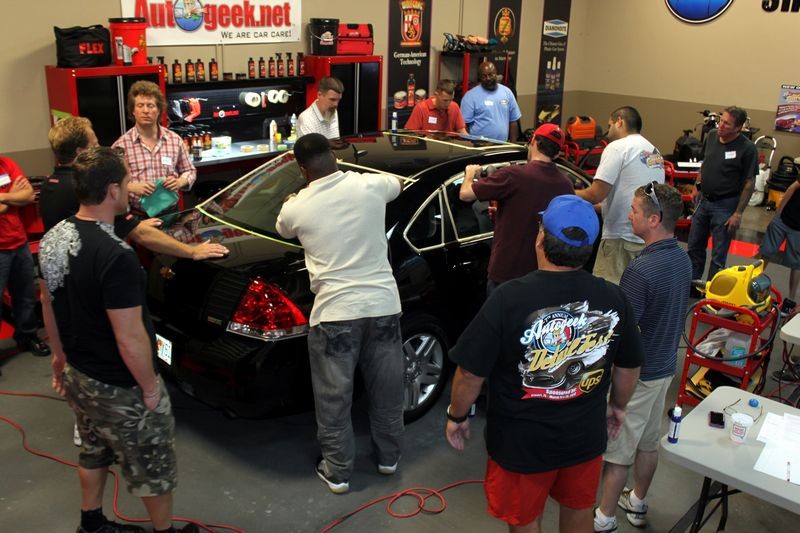
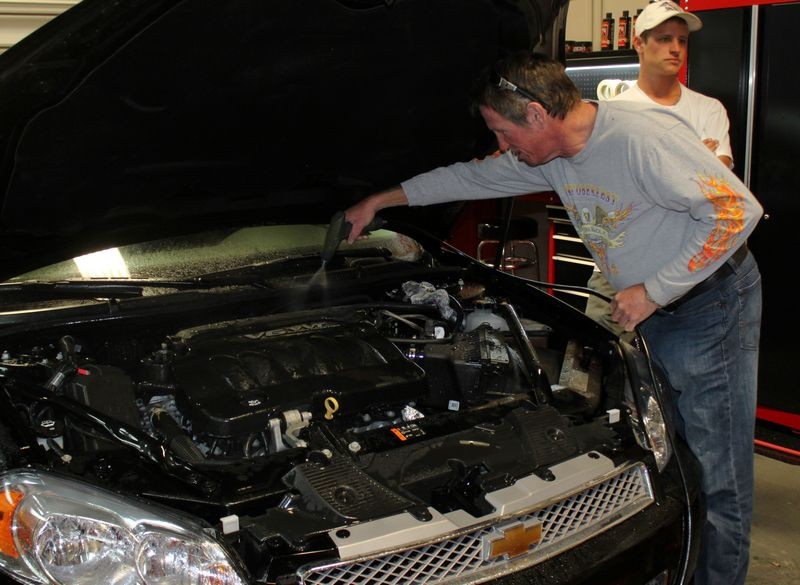
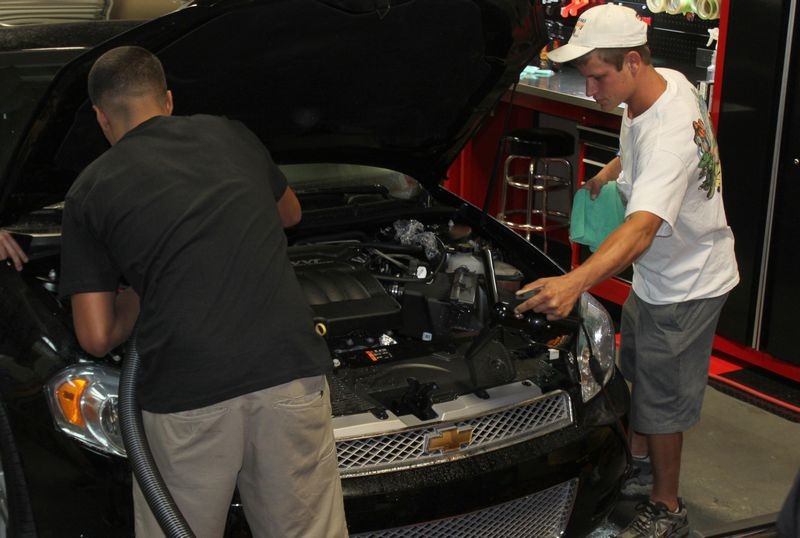
Dual Action Polishers - Porter Cable 7424XP - Griot's Garage - Meguiar's G110v2
The dual action polishers is an amazing tool capable of incredible work when used correctly with the right pads, products and most important technique. Mike Phillips was working as a Trainer in the body shop industry when the Porter Cable polisher was first introduced to the paint polishing world. He has more articles, books, videos and hours as both a professional detailer and Instructor on how to use these versatile and capable tool.
Student will learn how to use these dual action polishers with both foam pads and microfiber pads to do both show car detailing and production detailing. They will also learn how to use these dual action polishers to machine wetsand to remove orange peel and other surface imperfections followed by how to use rotary buffers to remove sanding marks.
Using a Porter Cable 7424XP with Optimum Microfiber Pads to remove holograms from a 1954 Ford F100 
Machine Wetsanding the roof on a 1963 Impala SS with a Porter Cable 7424XP

Using the Meguiar's G110v2 and the Griot's dual action polishers to remove swirls out of a 1936 Ford Roadster

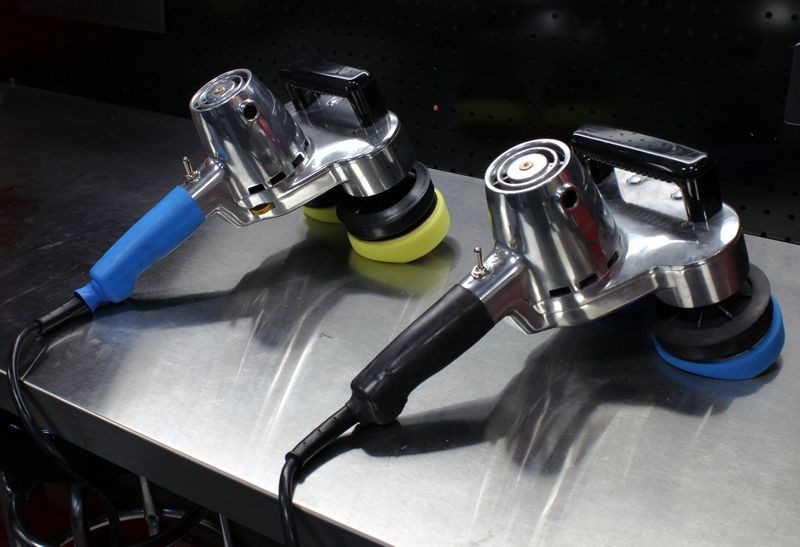
Cyclo Polishers
The new Model 5 Pro Series is on the left with the blue grip...
The synchronized movement of the Cyclo Polisher's dual orbiting heads effectively mirrors the overlapping, circular motion of fine hand polishing. The result is perfectly balanced machine that produces less vibration and leaves a mirror-like finish without swirl marks or risk of damage to paint.

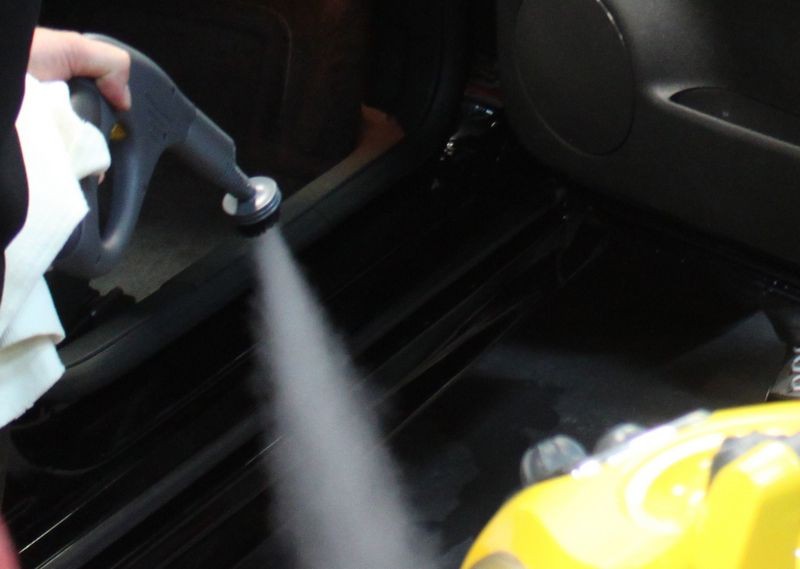
Cyclo Polishers are also very versatile in that they can be used with an assortment of brushes to clean all types of surfaces including, leather, vinyl, carpet and upholstery, even non-skid boat surfaces in boats.
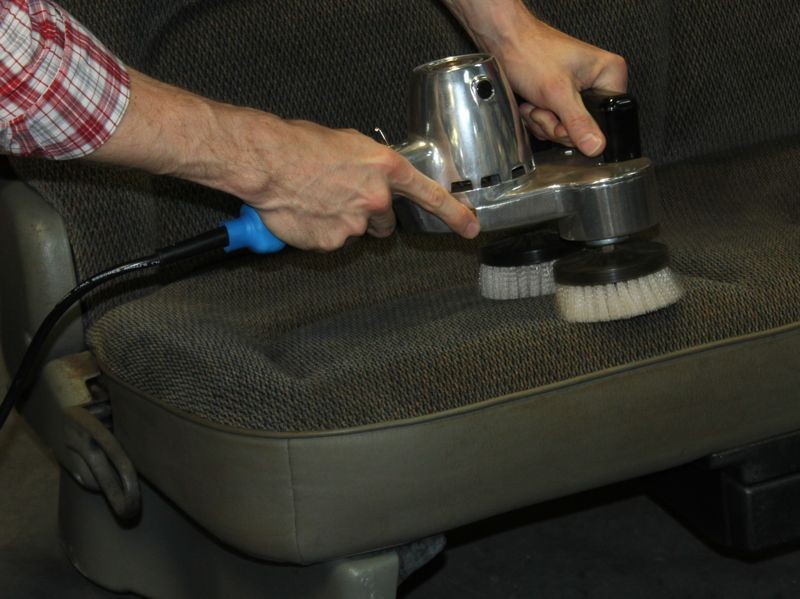
Cyclo Polishers can also be used as a mechanical means of removing above surface bonded contaminants like overspray paint, tree sap mist, industrial fallout and other air borne contaminants.


-
-
-
-
-
-
-
-
Re: Sign-up: May 2014 Detailing Boot Camp Class - Saturday May 3rd & Sunday May 4th
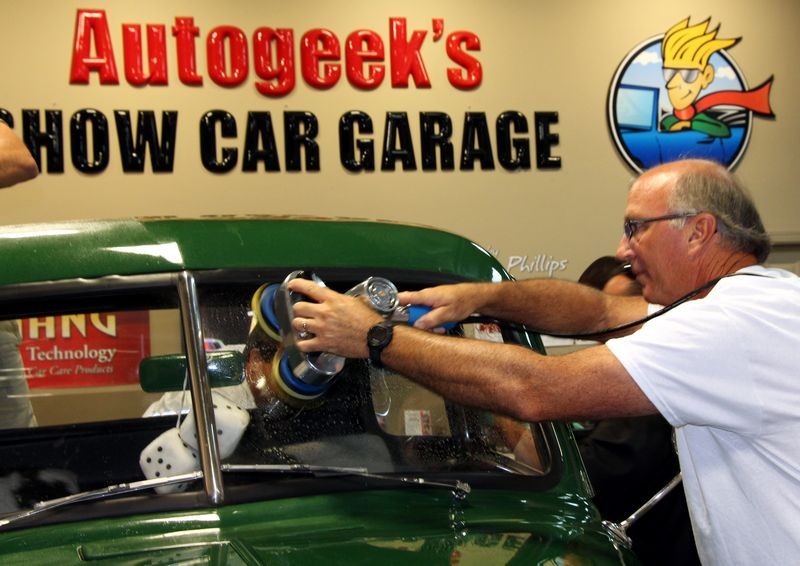
We'll also be going over the new additions to the Meguiar's Microfiber DA Correction System
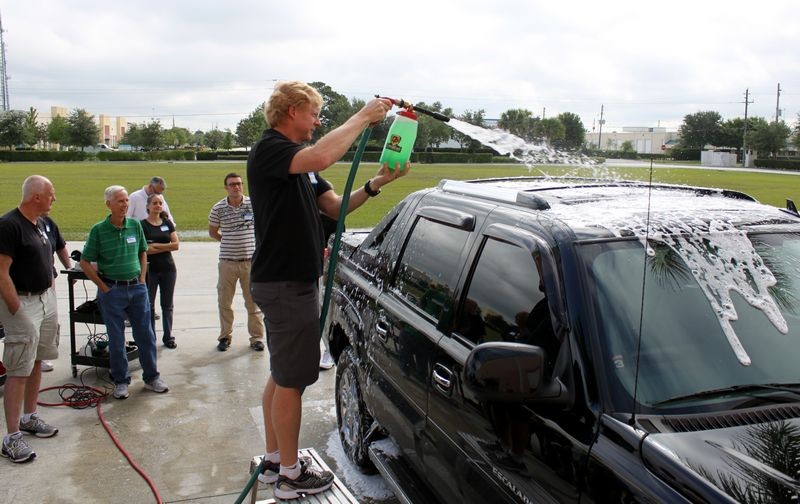
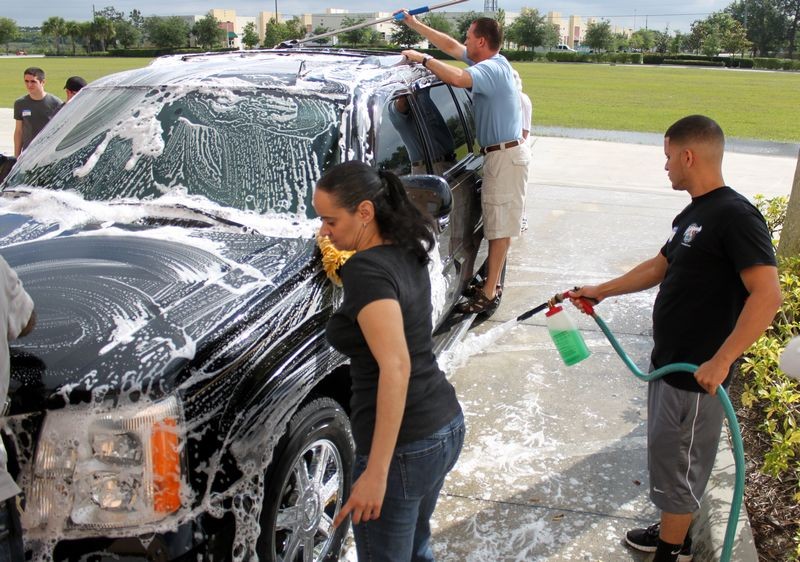
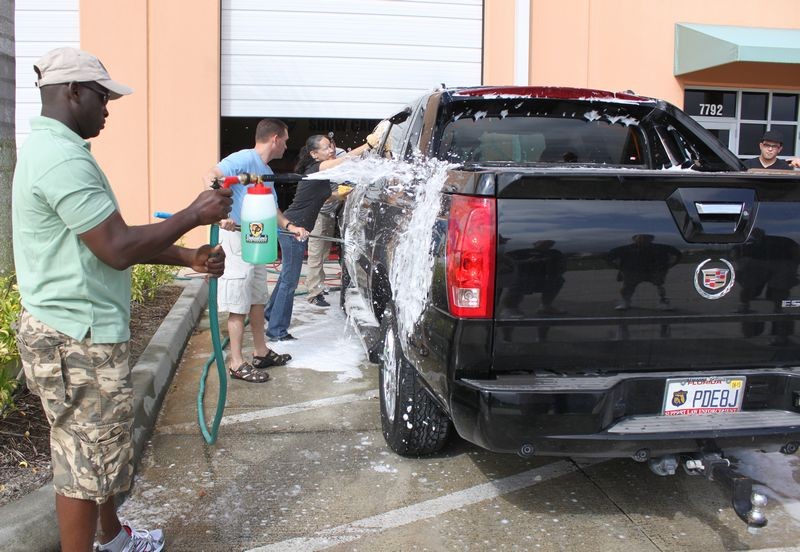
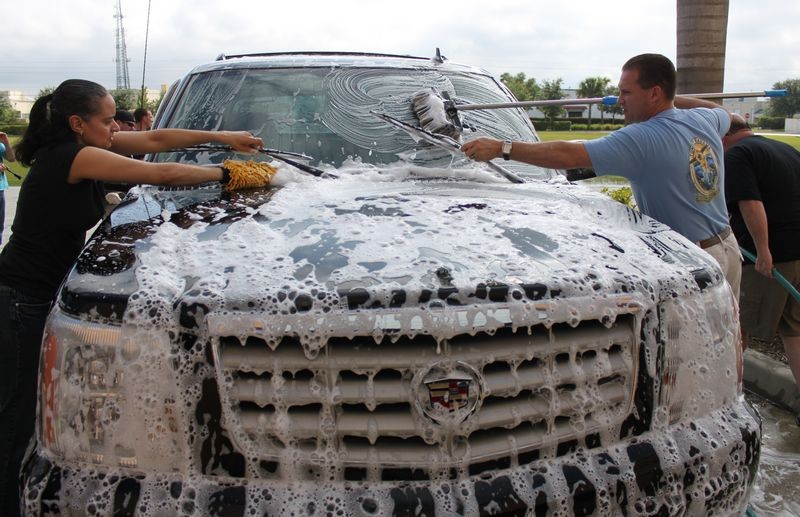
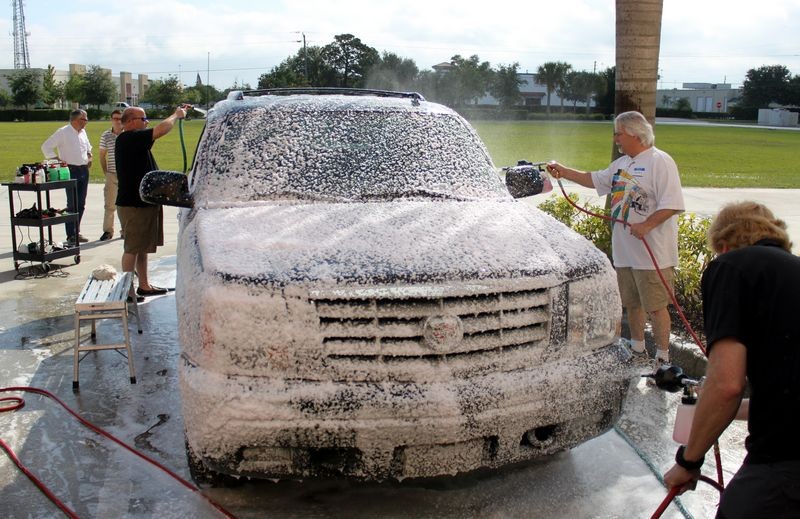
The below is from a last class where my class took a trashed BLACK Cadillace and turned it into a show car using the Meguiar's MF System.
Before
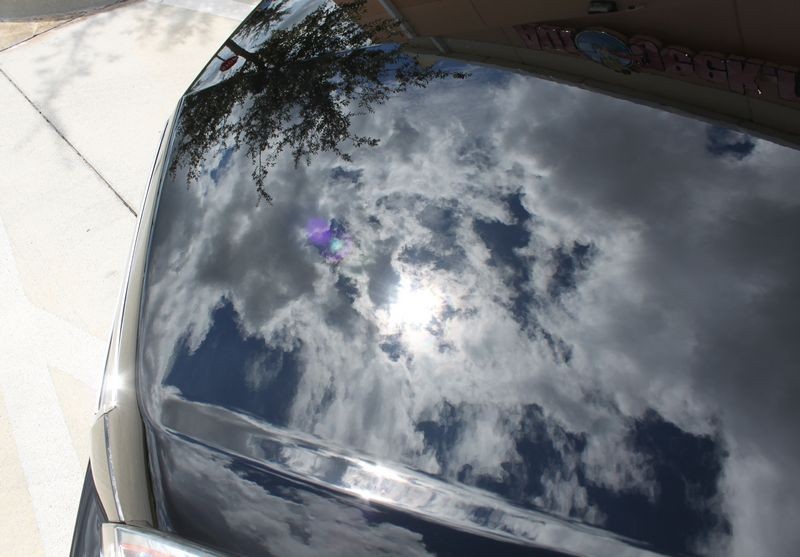
Swirls in full sun


Here's what the paint looks like in the studio under the florescent lights...

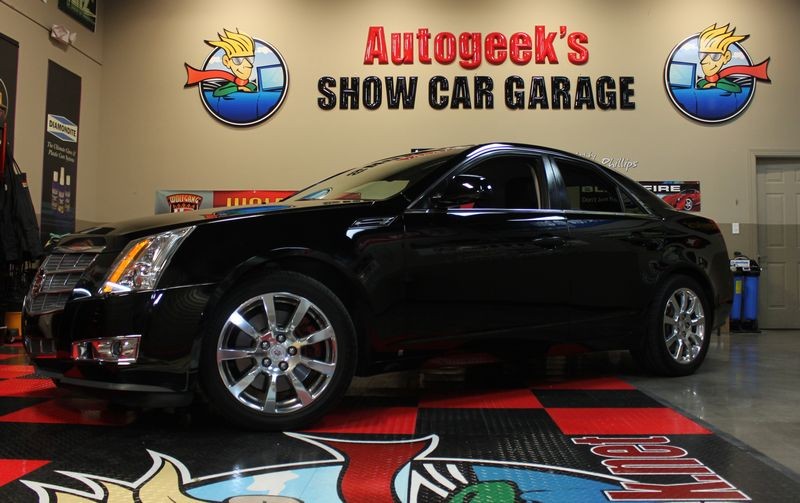
After


How to use the Meguiar's Microfiber DA Correction System
Next up... we'll see how the class does using the Meguiar's Microfiber DA Correction System to remove the swirls and scratches out of a 2008 Cadillac with factory black basecoat/clearcoat paint.
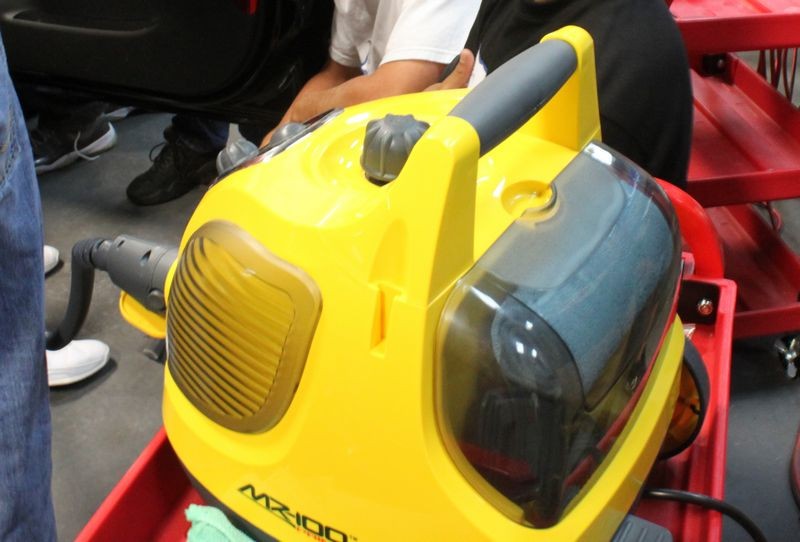
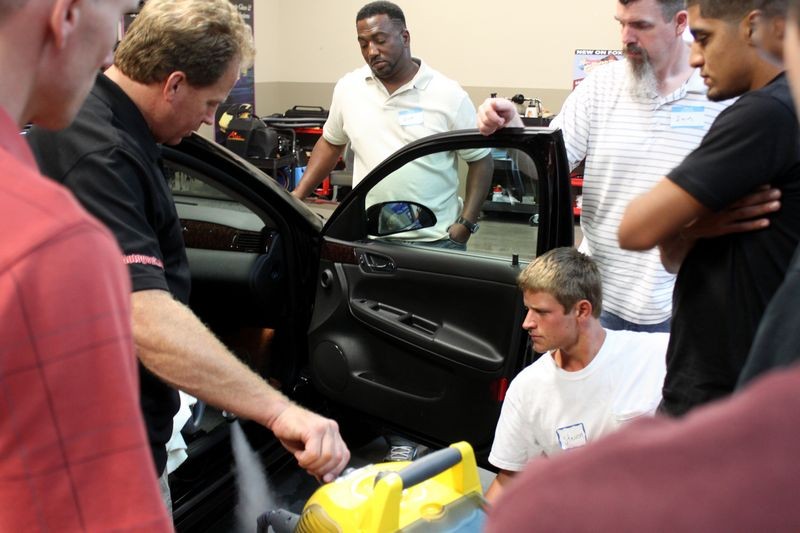
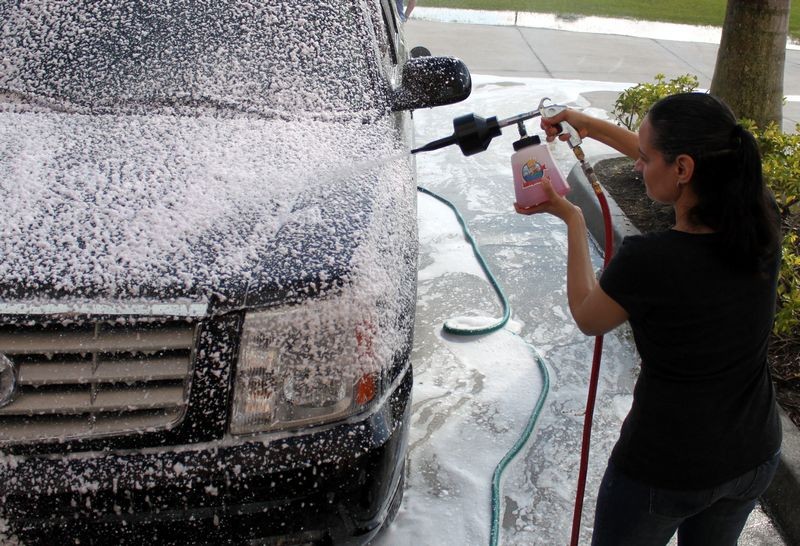
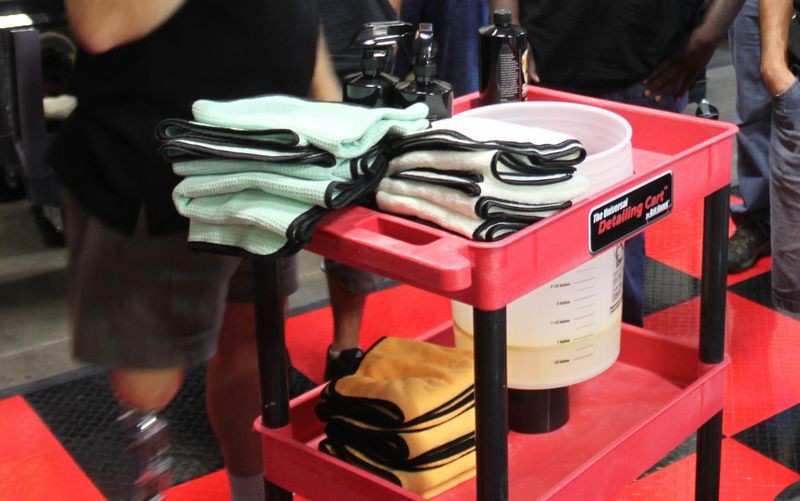
Here's the system our students get to learn how to use in entirety...

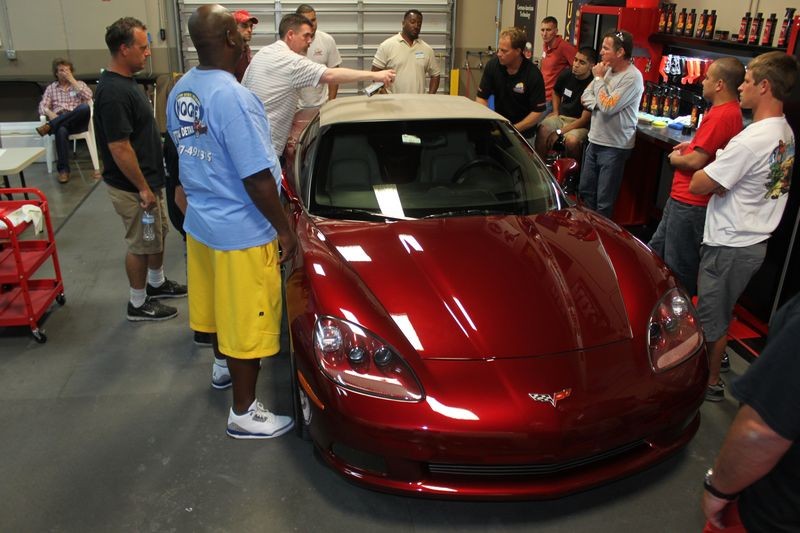
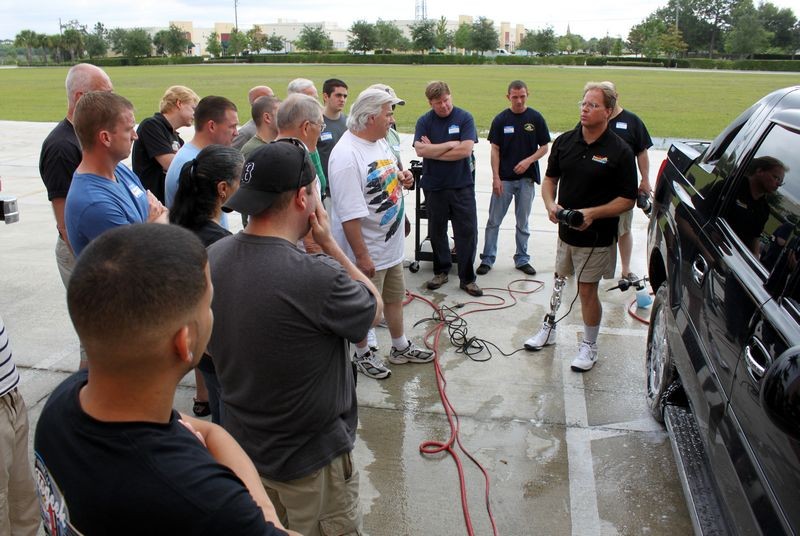
Here's our victim... a trashed 2008 Cadillac CTS. Looks good in the shade huh?

Doesn't look as good in full sun...
Here's what the paint looks like in the studio under the florescent lights...
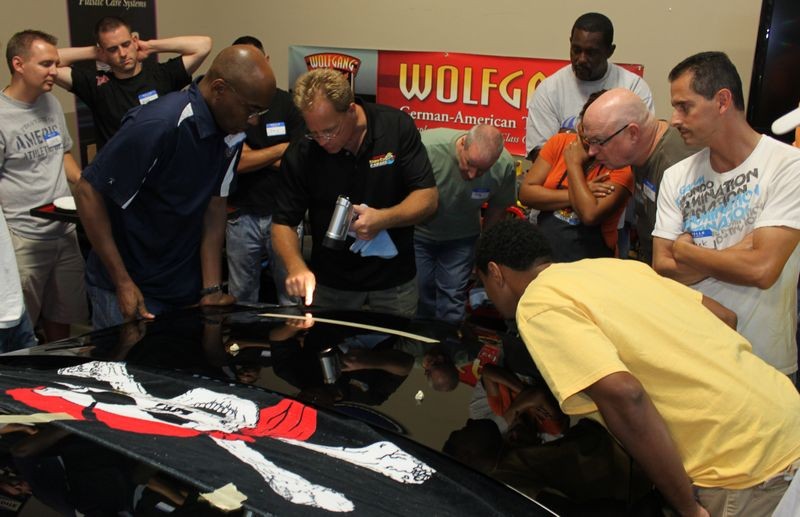
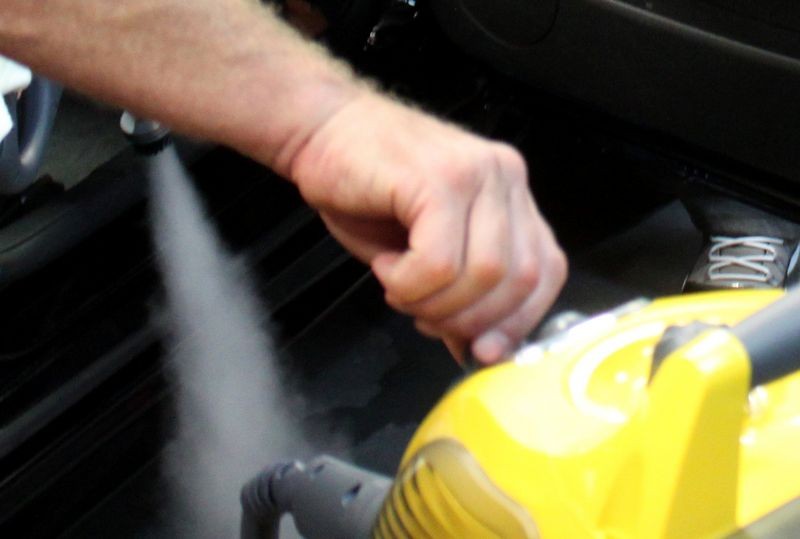
A clean approach
One of the benefits to the D300 and the D301 is you don't have to tape and cover everything off.
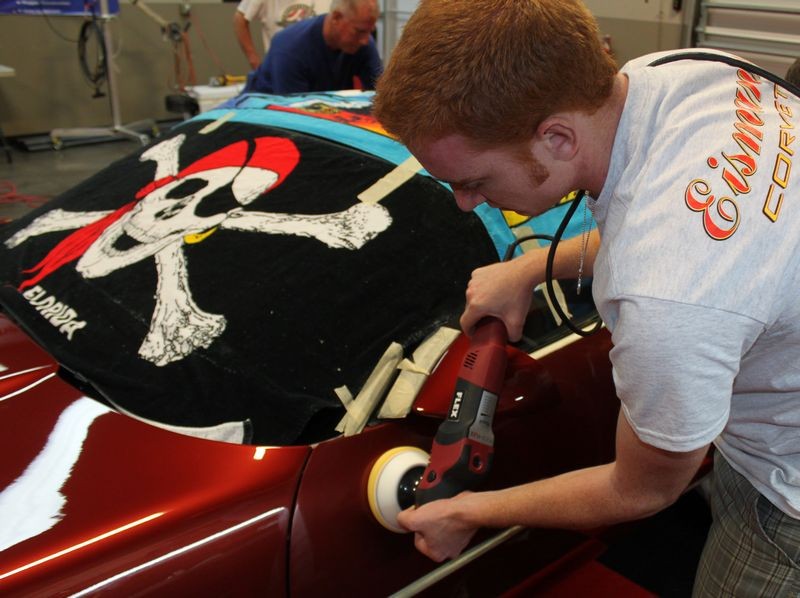
That said I have my students for 2 days so I like to share as many tips and techniques as possible and that includes the Beach Towel Tip to cover the wiper arms and the plastic surrounding the wiper arms common to new cars.
They can use this technique to cover these areas and avoid getting splatter on everywhere no matter what product line they're using, they can make this decision, my job is to just show the technique.

The Beach Towel Tip does come in hand for anytime you're using a rotary buffer to reduce clean-up of the windshield, fresh air grills, wipers and plastic around the wipers.

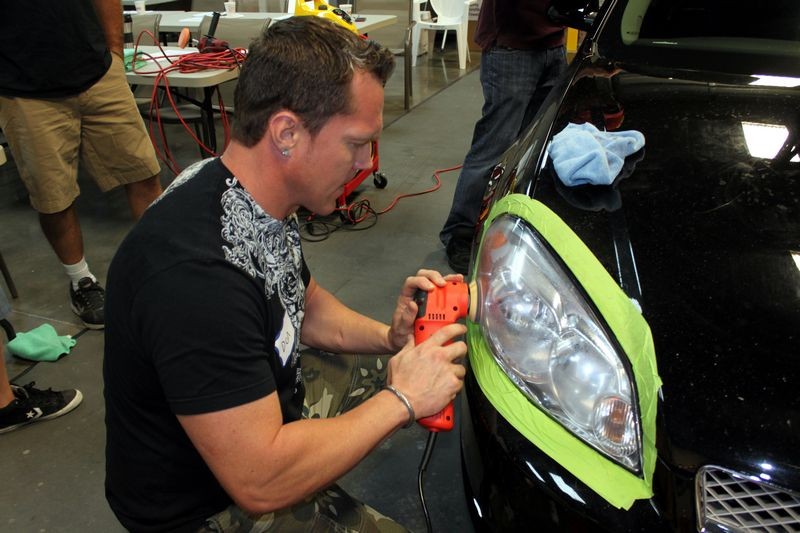
New to machine polishing
Since some of the people attending this class have never worked by machine before including a Meguiar's G110v2 Dual Action Polisher, one of the things I like to do is to show them in a very dramatic way how safe they actually are for your car's paint by turning the polisher on and then,
Holding the pad against my hand...

Actually holding the pad with my hand with the tool turned on...
Pressing it against my hand in the same way it would be pressed against paint - point being it's a completely safe tool even for a beginner.

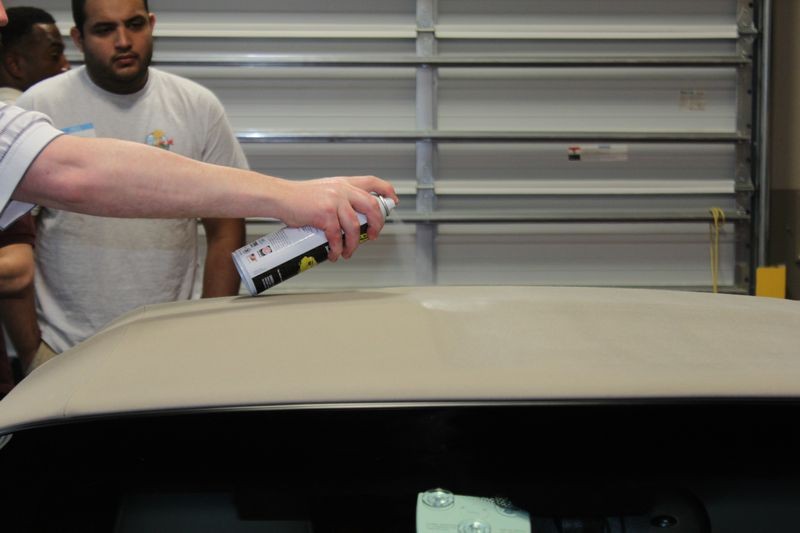
After centering and placing the pad onto the matching backing plate, the next thing you want to do is prime your pad.

Apply some product directly to the face of the pad and then spread it over the face and work it in well to the microscopic fibers that make microfiber what it is...

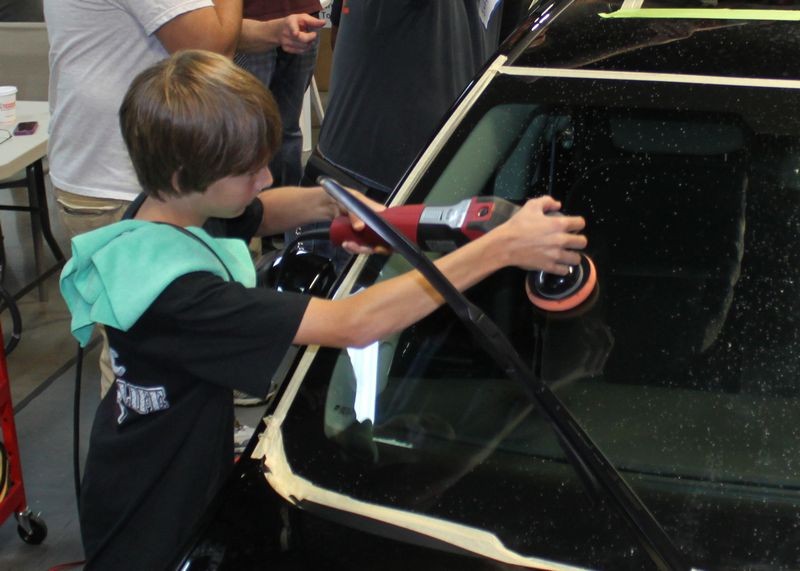
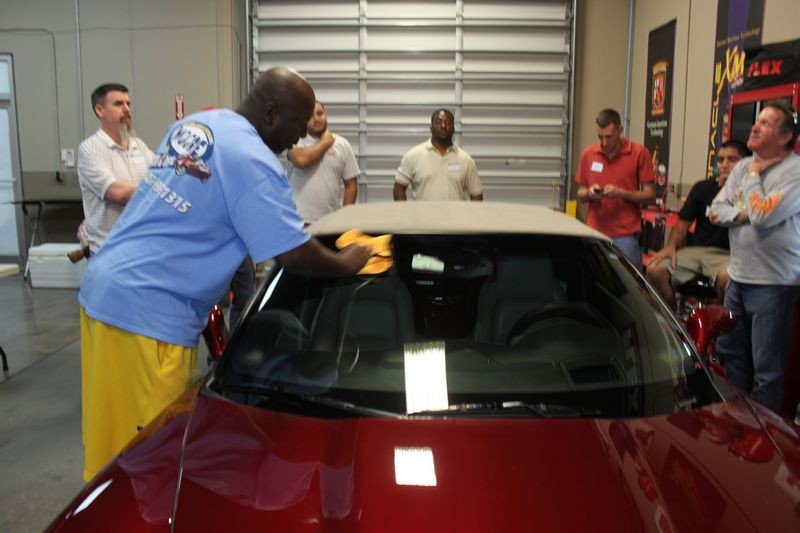
You know your students are paying close attention to any topic with pictures like these...

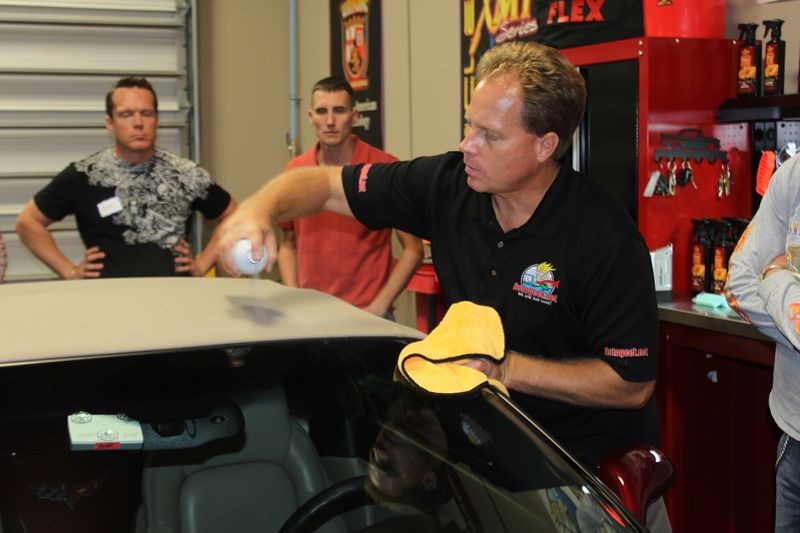
After priming the pad and thoroughly working the D300 Correction Compound over and into the fibers then add 3 small drops of product to the face of the pad and you're ready to start removing swirls and scratches.

Speed Setting 4
Meguiar's recommends 4800 OPM's for removing defects and on the Meguiar's G110v2 you would put the speed setting on the 4 on the variable dial.
Hold the pad flat to the surface, this is done best by using your forward hand to apply pressure directly over the top of the head of the polisher.

Make slow overlapping passes
Then make slow, overlapping passes working a small section of paint at one time. a two foot squared section is usually too large to tackle at one time, especially for a finish with as many swirls and scratches as this Cadillac had, so use good judgment and divide each panel up into smaller sections and then work one section at a time.
When you finish with one section, inspect your results and if the results look good move onto a new section and overlap a little into the previous section.
Inspect Results
After demonstrating how slow to move the polisher over the surface, the size of a section to tackle at one time and what "Section Passes" are and how to do them we turned the polisher off and inspected the results from the compounding step.

RIDS = Random Isolated Deeper Scratches - Not to worry...
In this picture I'm pointing out a random, deeper isolated scratch still remaining while pointing out the millions of swirls and scratches in the paint before we started are now completely removed. No matter what car you buff out you will always tend to have a few deeper scratches that remain and after removing the thousands of scratches that were surrounding them these remaining deeper scratches will tend to stick out like a Sore Thumb.
Second Step - D301 Finishing Wax
Although the results look great there is some light hazing which is really easy to see on black colored cars, but that's okay because the first step is the aggressive compounding step, the next step refines the results from the compounding step to produce a clear, swirl-free finish.

Finishing out...
For the D301 Finishing Wax you don't need to move as slow, use as much speed or as much downward pressure. The Finishing Wax offers light cleaning ability, just enough to remove any haze left by the D300 Correction Compound while leaving a layer of protection behind on the finish. So this step should go a lot quicker and you can tend to tackle a larger section. For speed setting, for the Meguiar's G110v2 set the variable speed dial to the 3 setting.

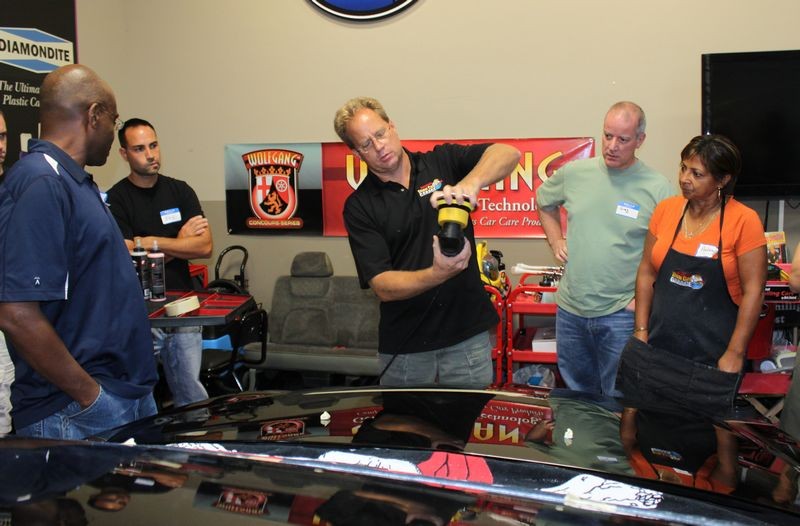
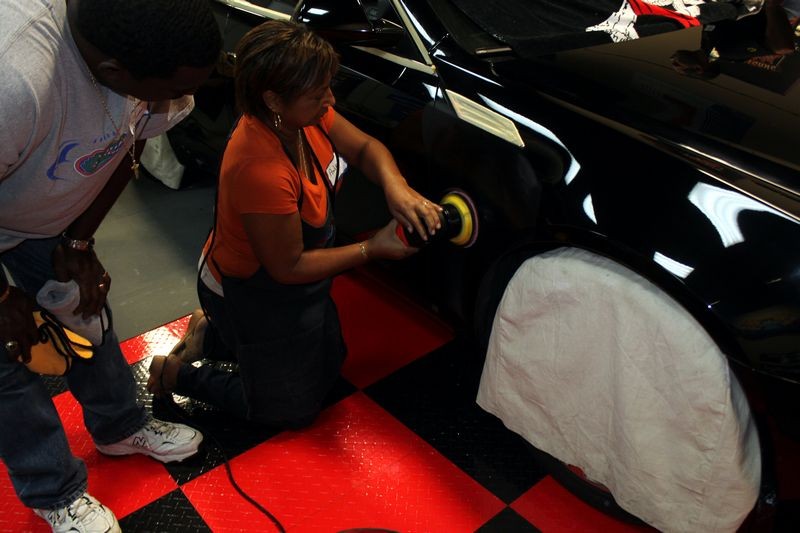
Here's Audry removing swirls and scratches out of the passenger side fender using the D300 Correction Compound
Here's Erik removing swirls and scratches out of the hood, note how he places his hand inside the D-Handle to position his hand directly onto the head of the polisher.

Similar Threads
-
By Mike Phillips in forum PICTURES: 3-Day CAR Detailing Bootcamp Classes
Replies: 65
Last Post: 10-28-2014, 10:10 AM
-
By Mike Phillips in forum Ask your detailing questions!
Replies: 38
Last Post: 05-04-2014, 09:24 PM
-
By Mike Phillips in forum Ask your detailing questions!
Replies: 1
Last Post: 02-04-2014, 02:26 PM
-
By Mike Phillips in forum 3-Day CAR Detailing Bootcamp Classes - Info & Dates
Replies: 23
Last Post: 01-03-2014, 08:55 AM
 Members who have read this thread: 0
There are no members to list at the moment.
Posting Permissions
- You may not post new threads
- You may not post replies
- You may not post attachments
- You may not edit your posts
-
Forum Rules
|
| S |
M |
T |
W |
T |
F |
S |
| 31 |
1
|
2
|
3
|
4
|
5
|
6
|
|
7
|
8
|
9
|
10
|
11
|
12
|
13
|
|
14
|
15
|
16
|
17
|
18
|
19
|
20
|
|
21
|
22
|
23
|
24
|
25
|
26
|
27
|
|
28
|
29
|
30
| 1 | 2 | 3 | 4 |
|


 Reply With Quote


Bookmarks