 Dislikes: 0
-
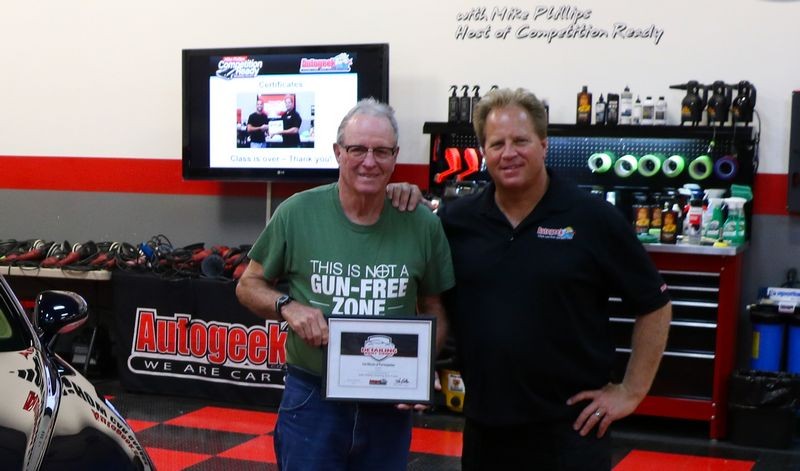
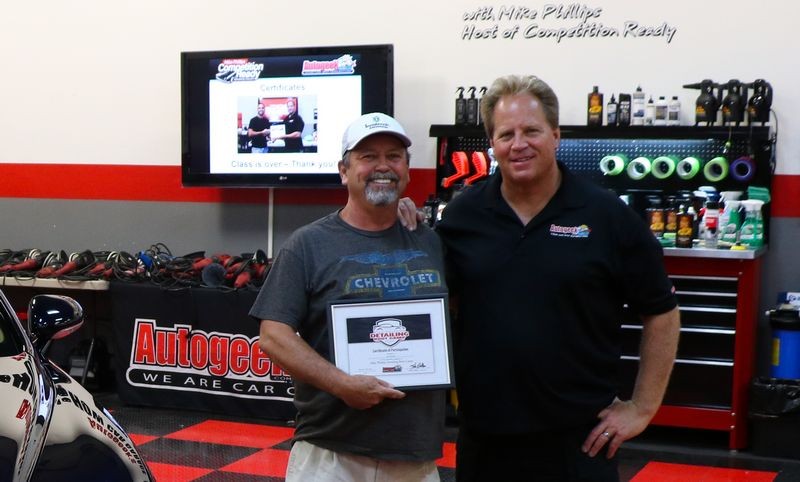
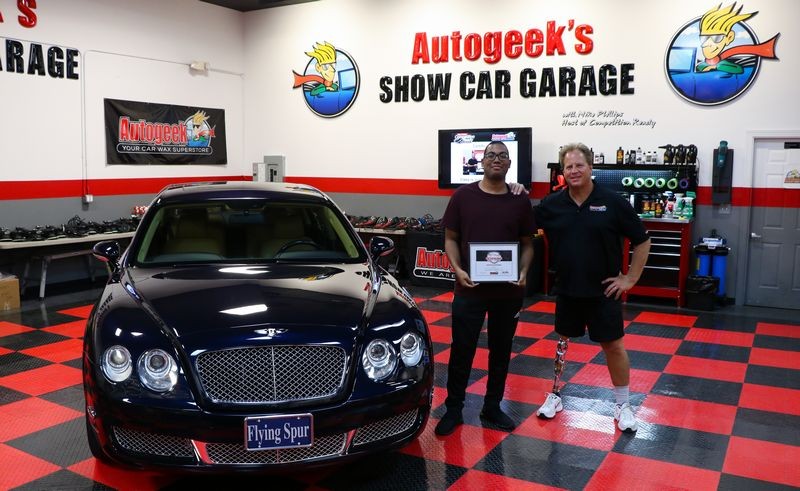
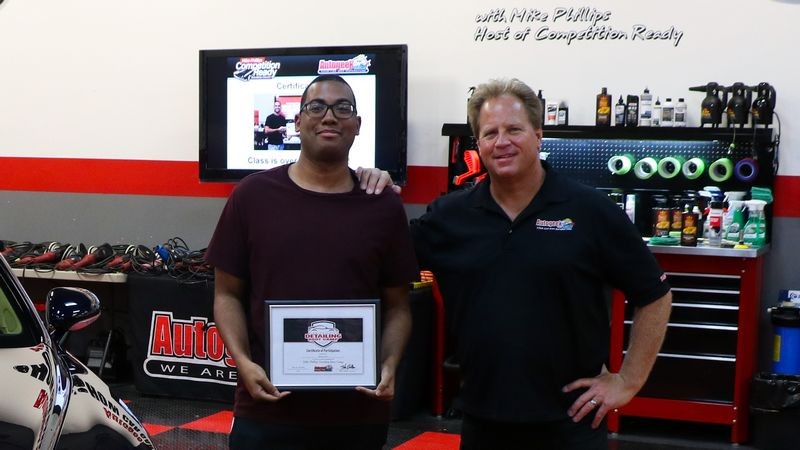
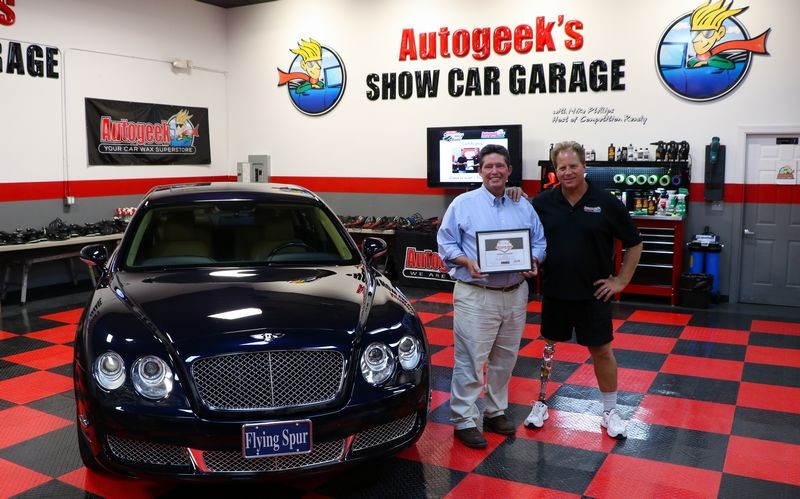
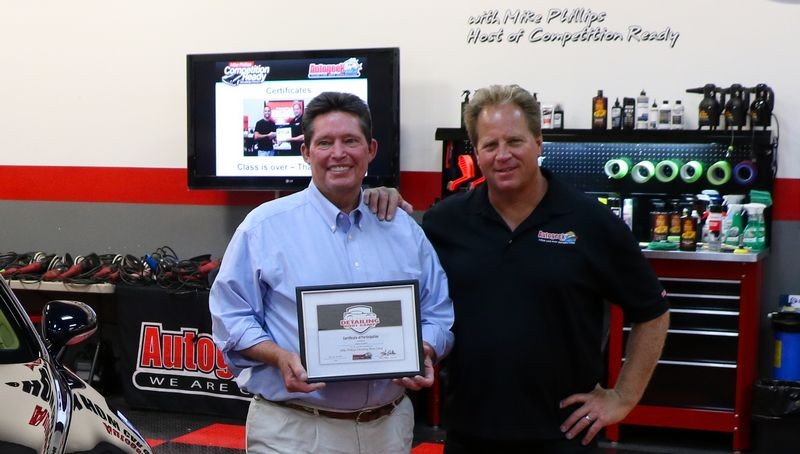
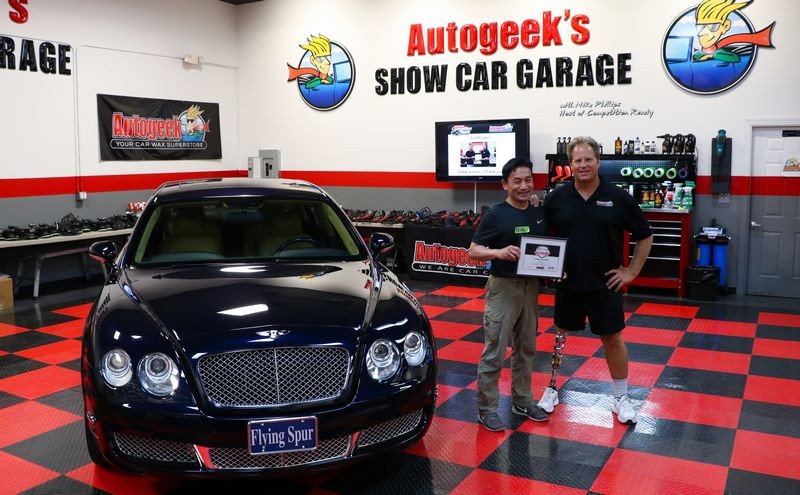
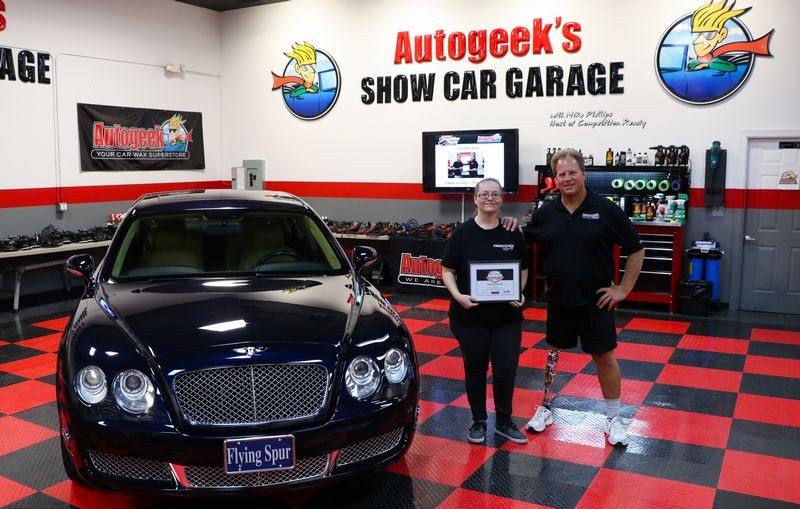
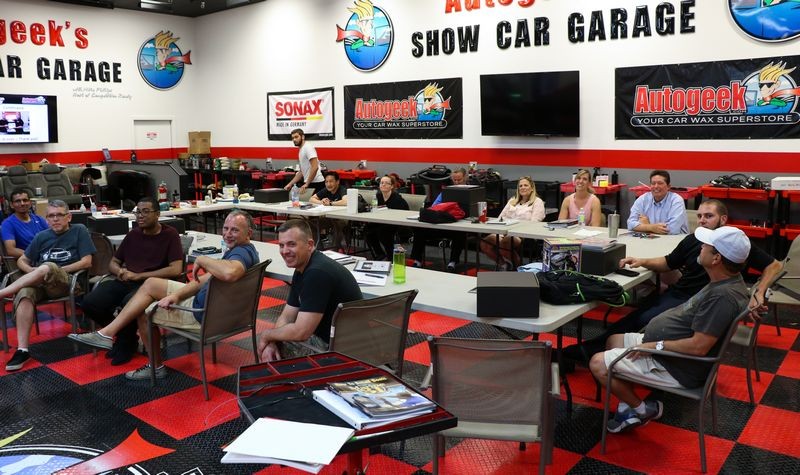
Pictures: May 2019 Detailing Bootcamp Class at Autogeek with Mike Phillips
Pictures: May 2019 Detailing Bootcamp Class at Autogeek with Mike Phillips
If you attended this class and you're NEW to a discussion forum - look at the below pictures


Now onto the pictures from your class.
Also - anyone reading this coming to a future class here at Autogeek in Stuart, Florida or to one of my Roadshow Classes - this is what you get to do too.
Friday
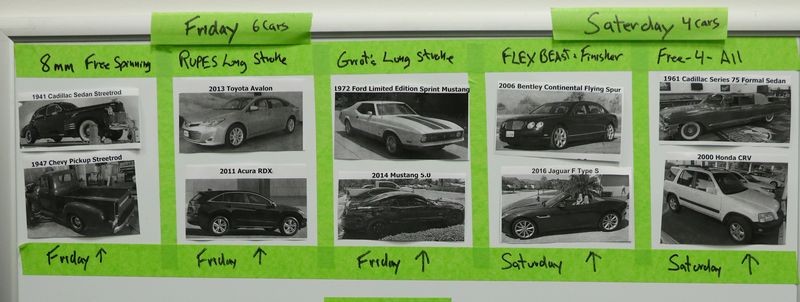
Here's is the Flow Chart that kept us on track.
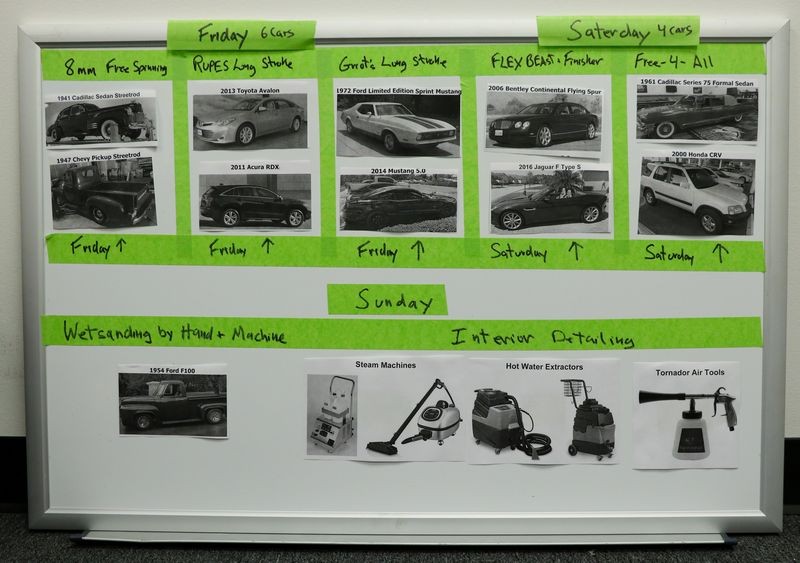
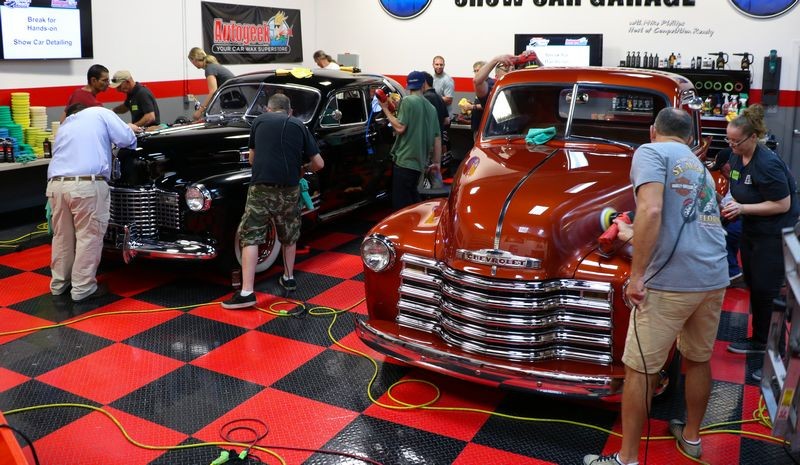
Here you can see the cars to be detailed on Friday and Saturday
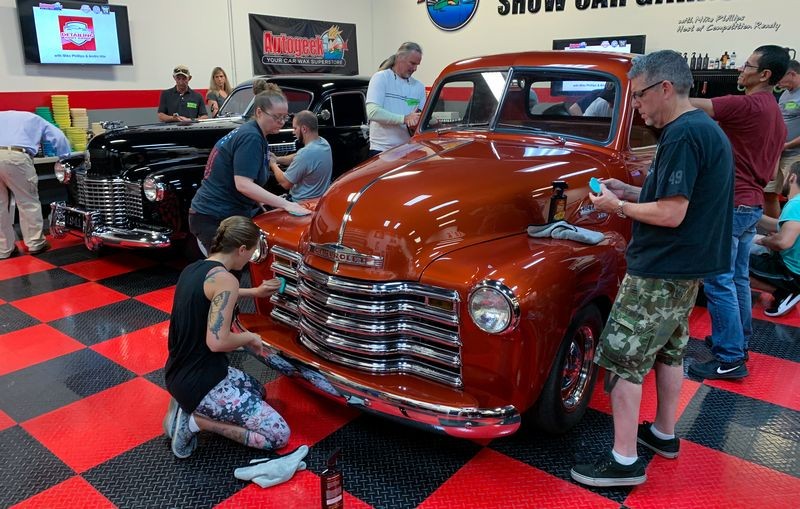
And according to the plan, here's the first two cars you detailed starting at 8:00am Friday morning.
Griot's Garage 6" Random Orbital Polisher, which as you all learned is a 8mm Free Spinning Polisher. The 6" in the name of the tool has to do with the size of the backing plate that comes with the tool and nothing to do with the tool itself. We also used Pinnacle products and Buff & Shine Pads
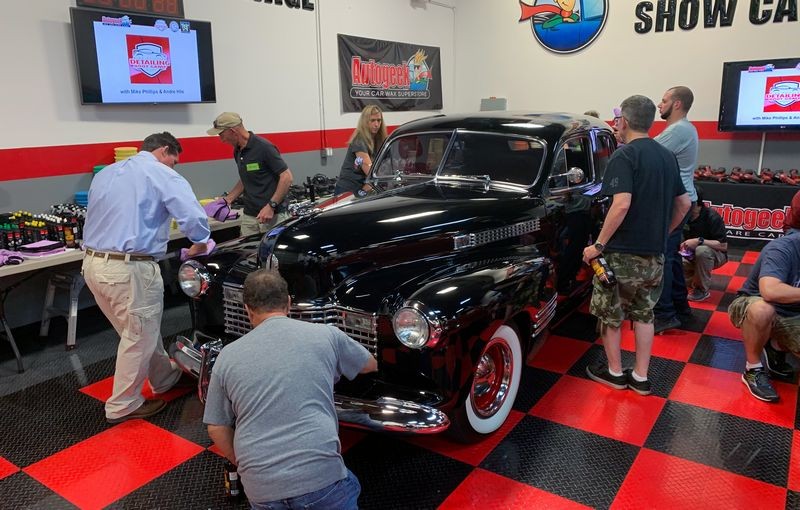
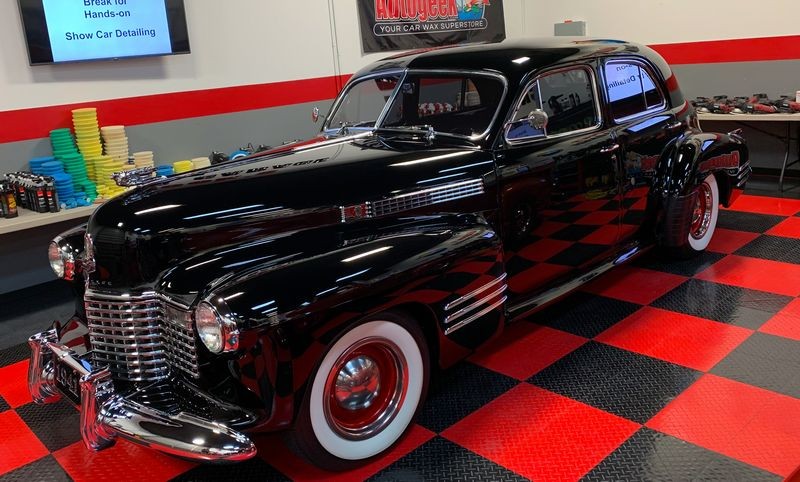
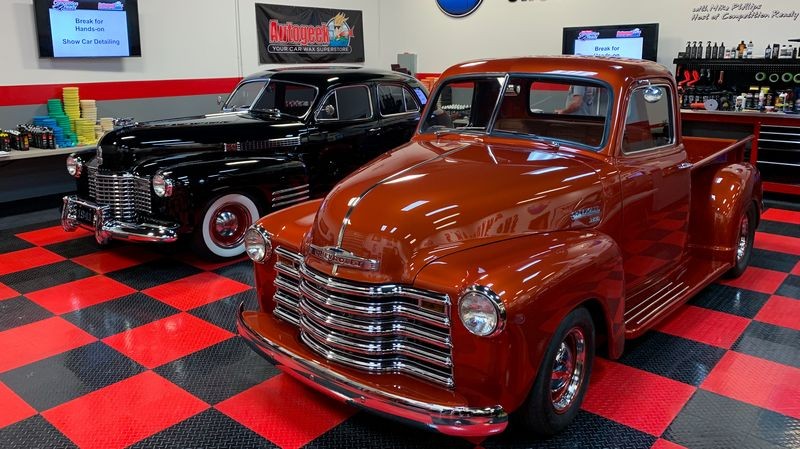
1941 Cadillac
1947 Chevy Pickup Streetrod

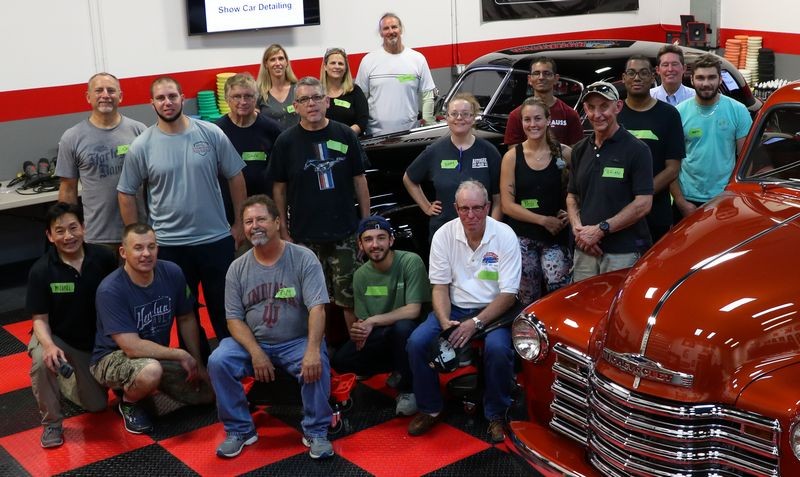
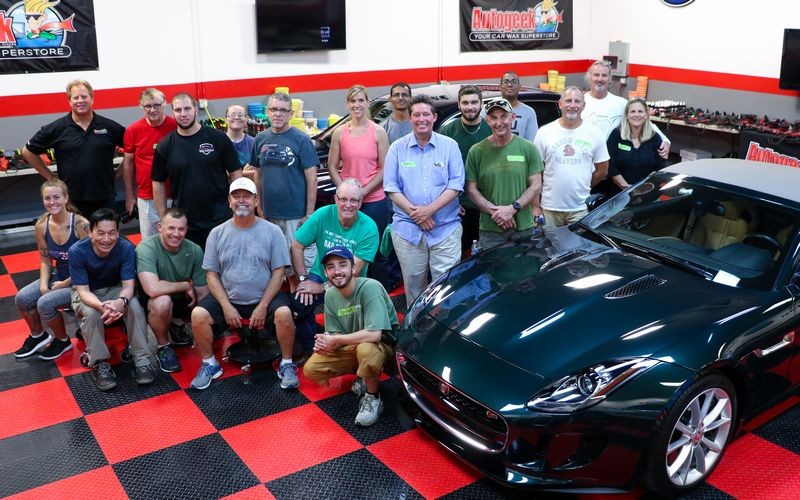
Group Shot!

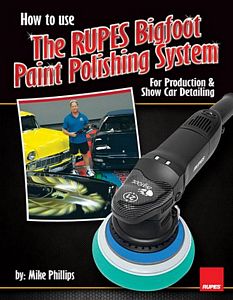
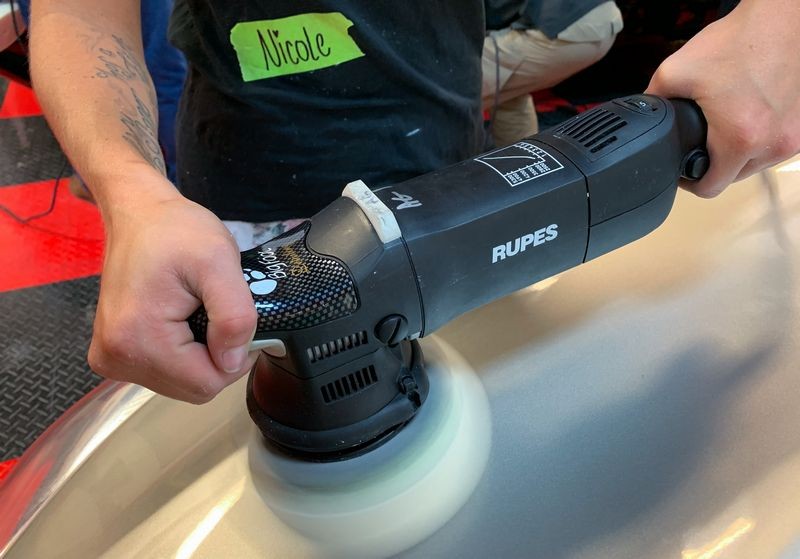
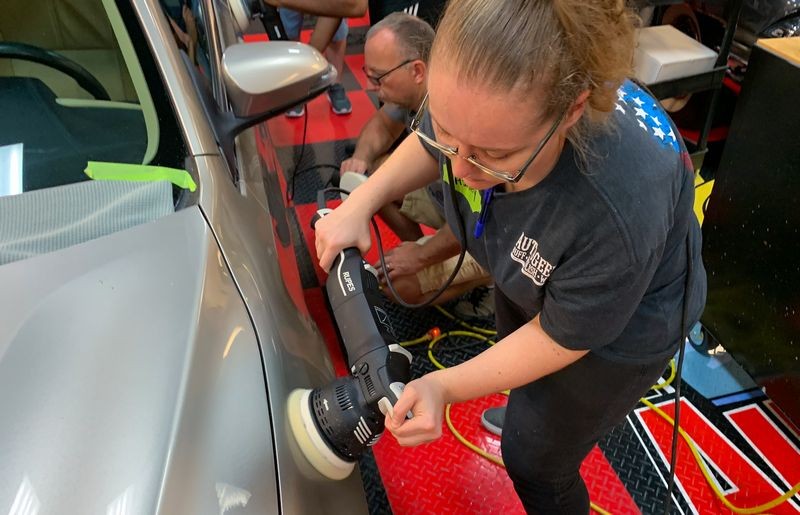
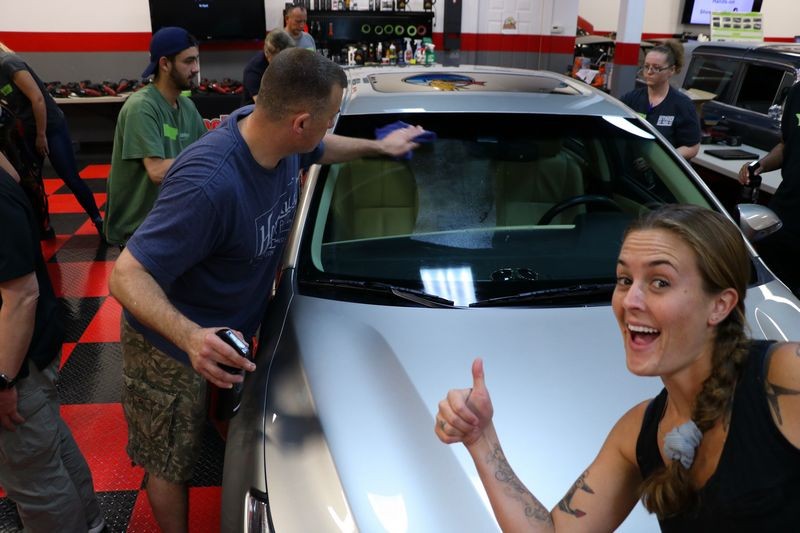
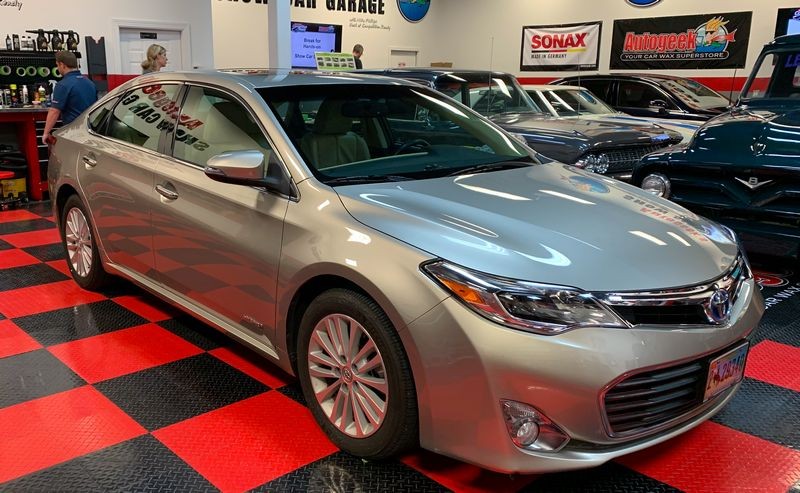
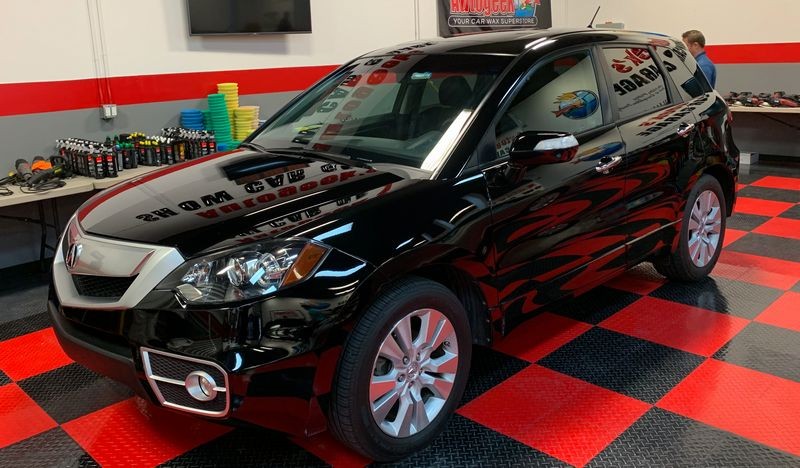
Next up we went over the RUPES BigFoot Paint Polishing System using all RUPES pads and products.
2013 Toyota Avalon

2011 Acura RDX

Group Shot!

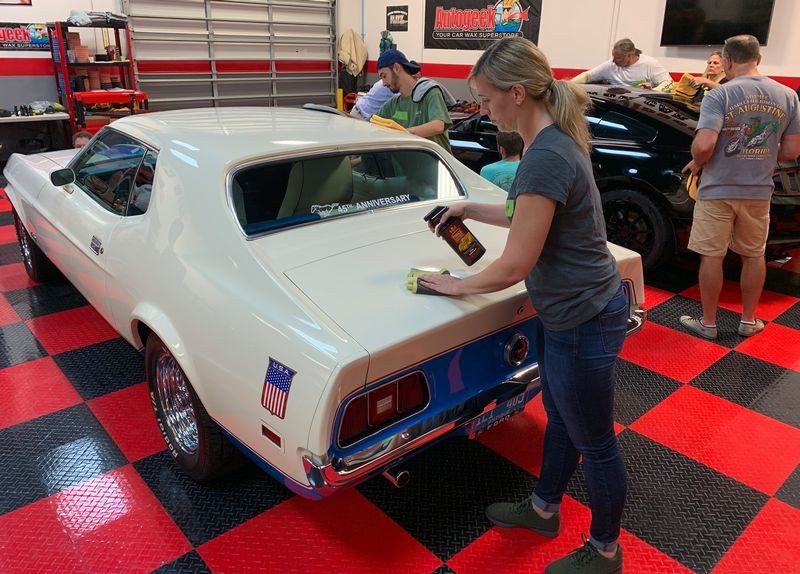
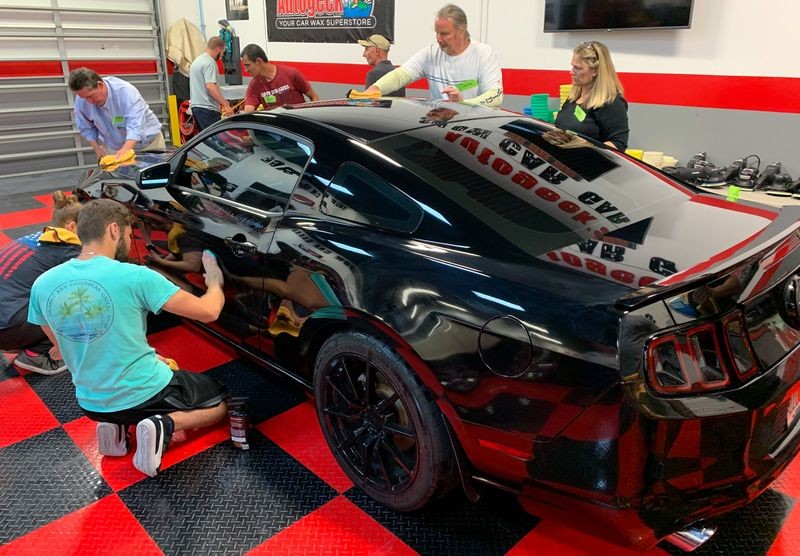
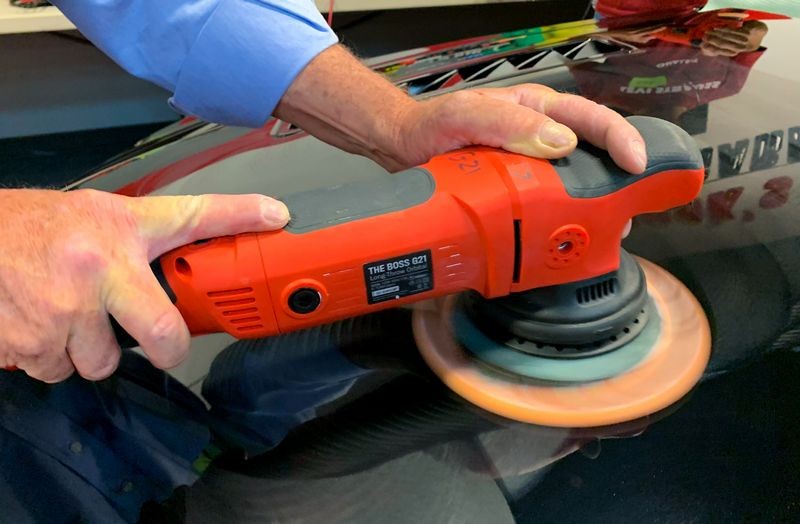
The next two cars you used the Griot's BOSS Paint Polishing System including the BOSS long stroke polishers and BOSS pads, compounds and polishes.
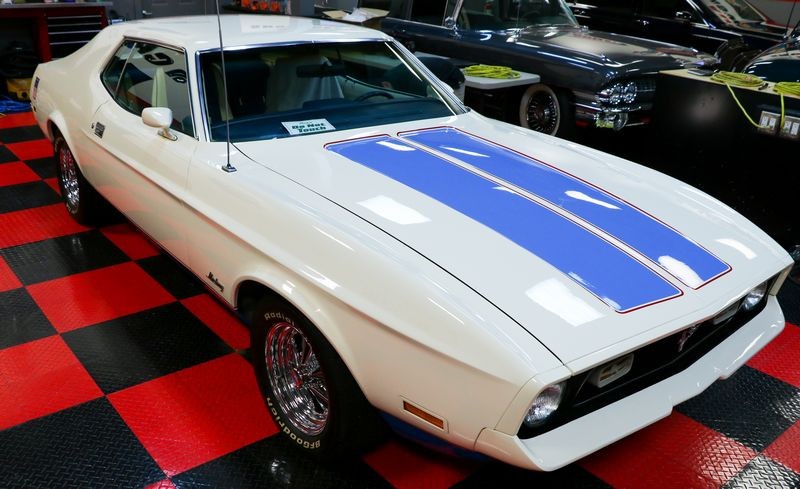
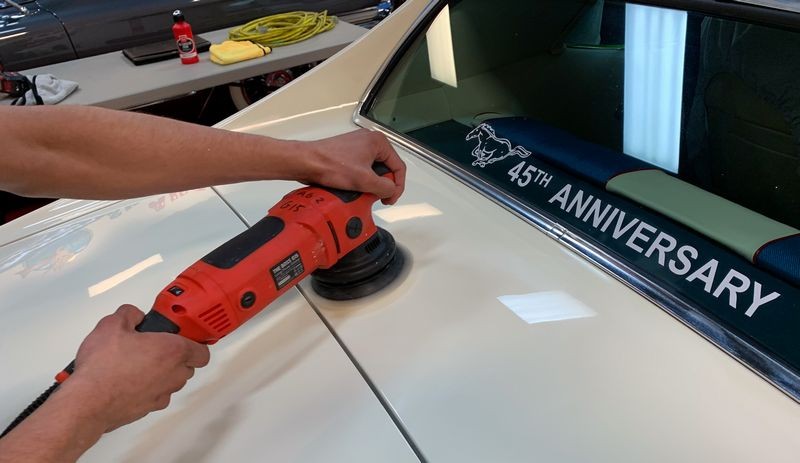
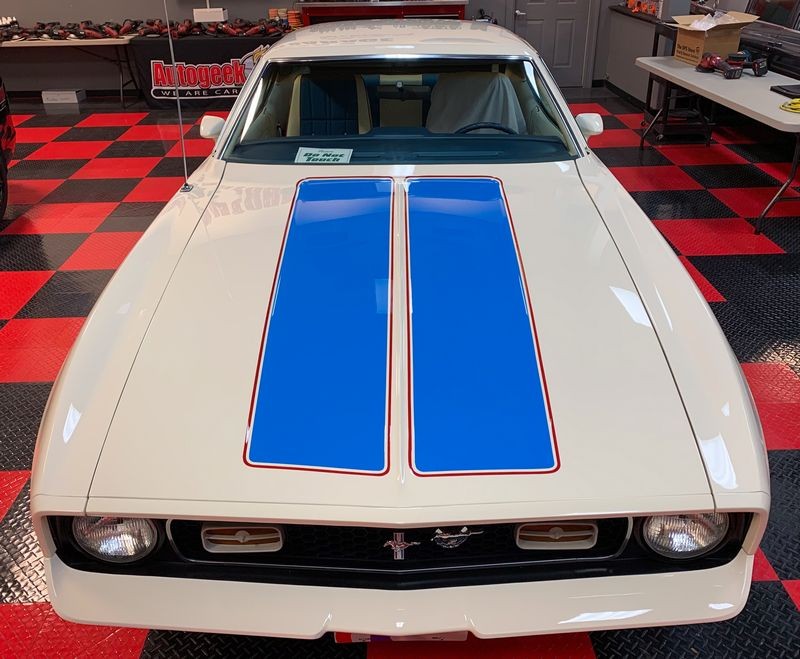
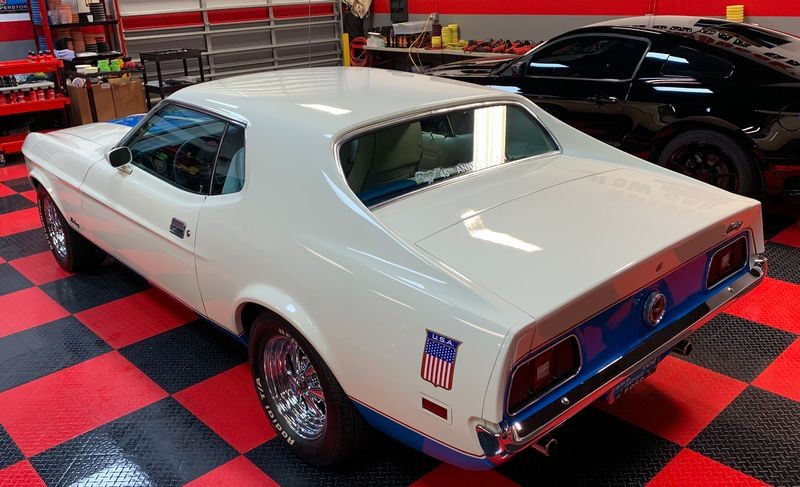
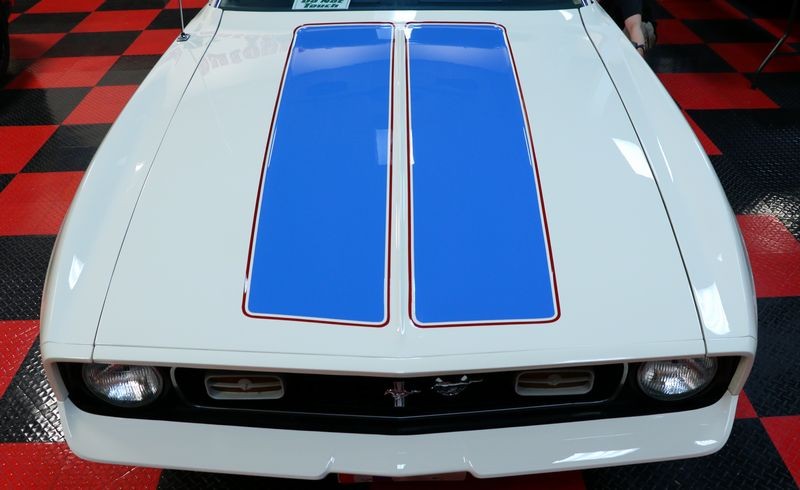
1972 Ford Limited Edition Sprint Mustang - 48,000 original miles
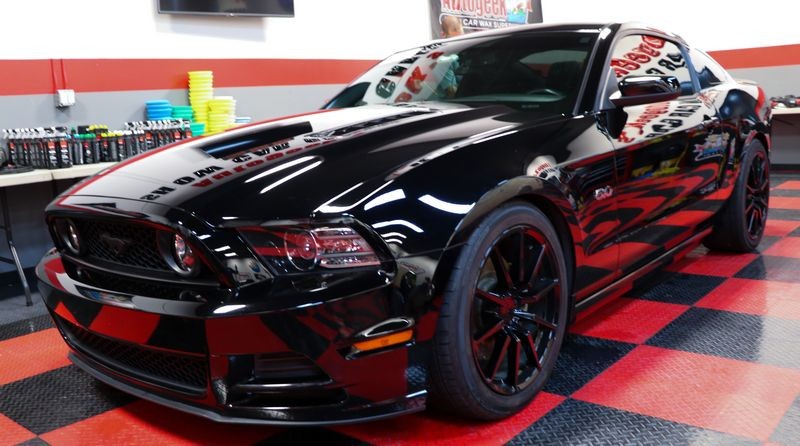
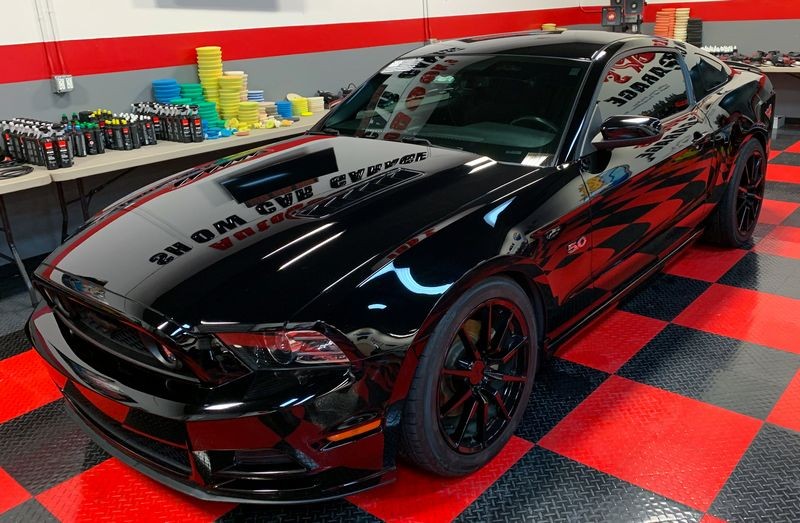
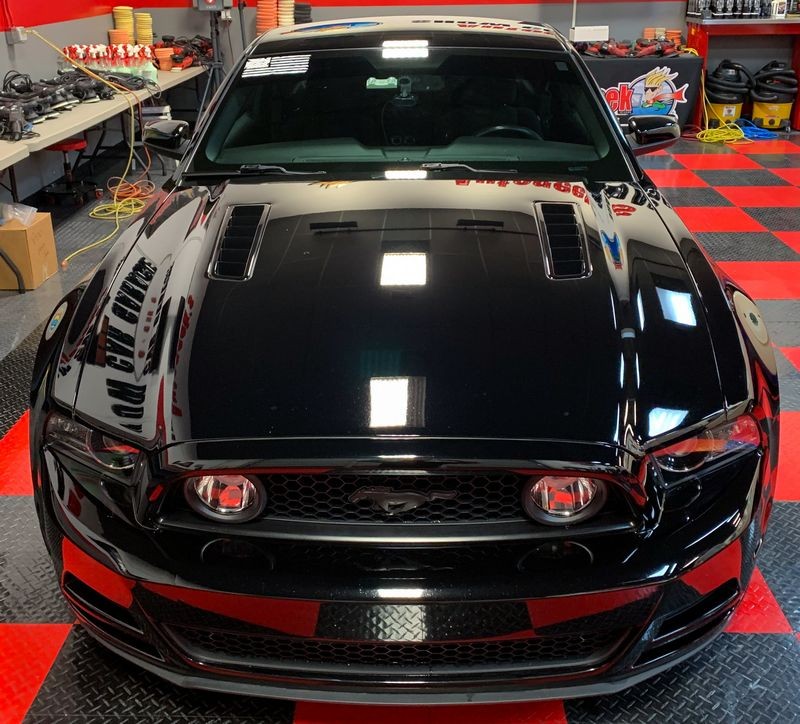
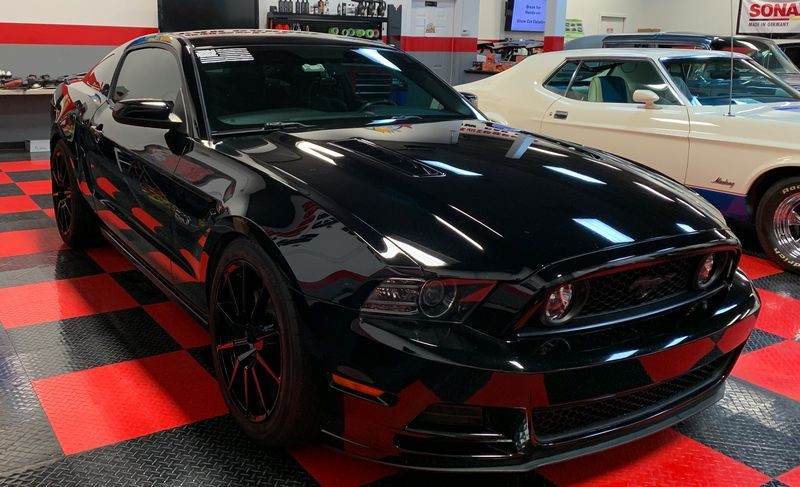
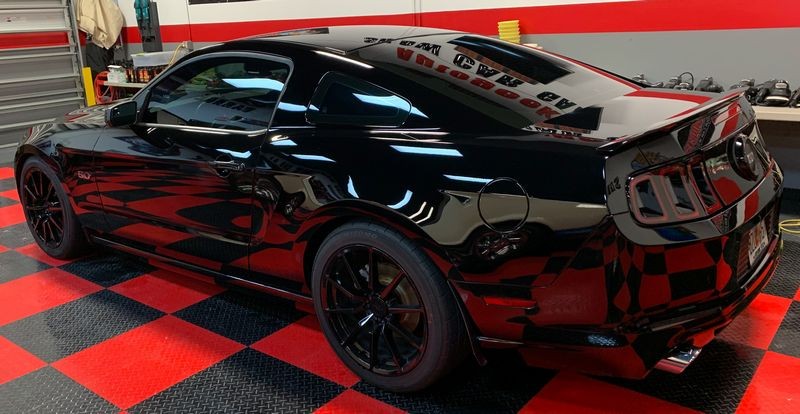
2014 Mustang 5.0 with a Roush Super Charger
(Still looking for the group shot)
The above 6 cars were all detailed on Friday! That's a lot of cars and a LOT of tools, pads, products and techniques to learn and each one of the cars came out PERFECT!
Saturday
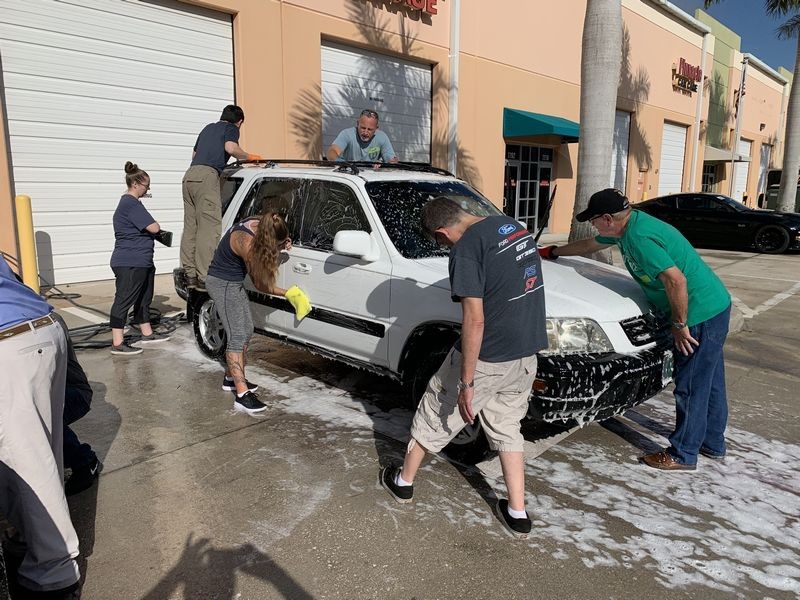
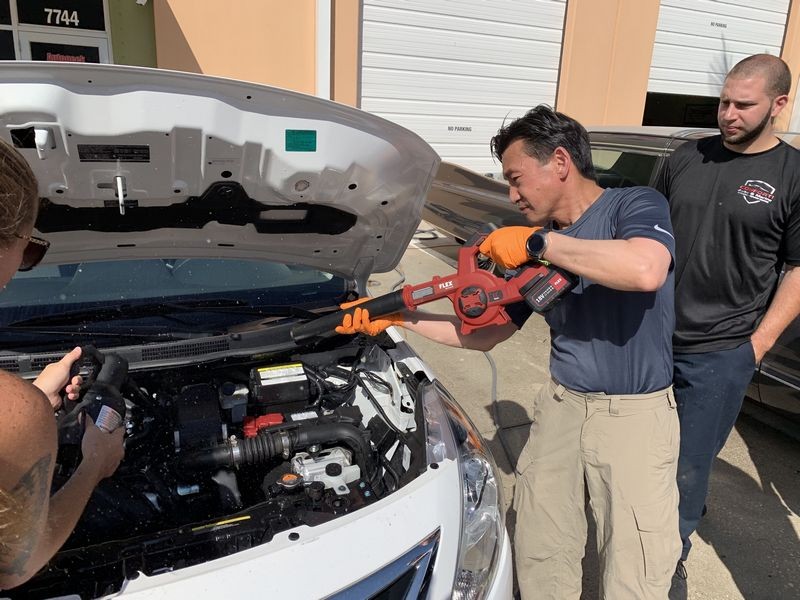
On Saturday morning we went over all the tools, products and techniques for washing cars including also,
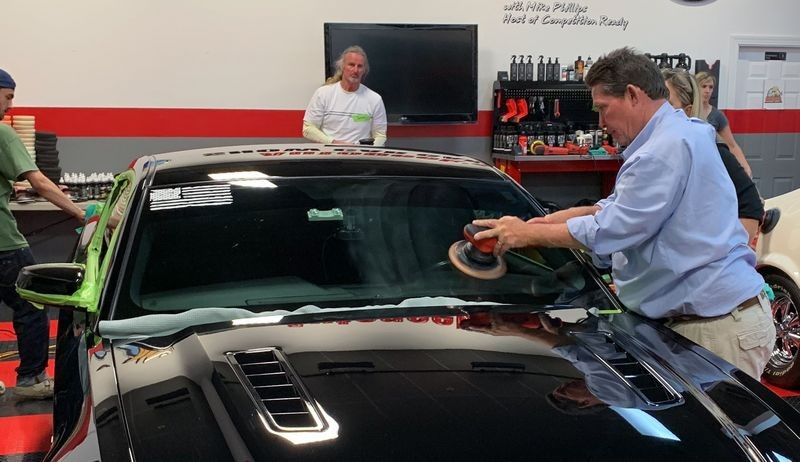
- Glass polishing
- Engine detailing
Then we moved back into the air-conditioned garage and picked up on the Flow Chart where we left off Friday night.
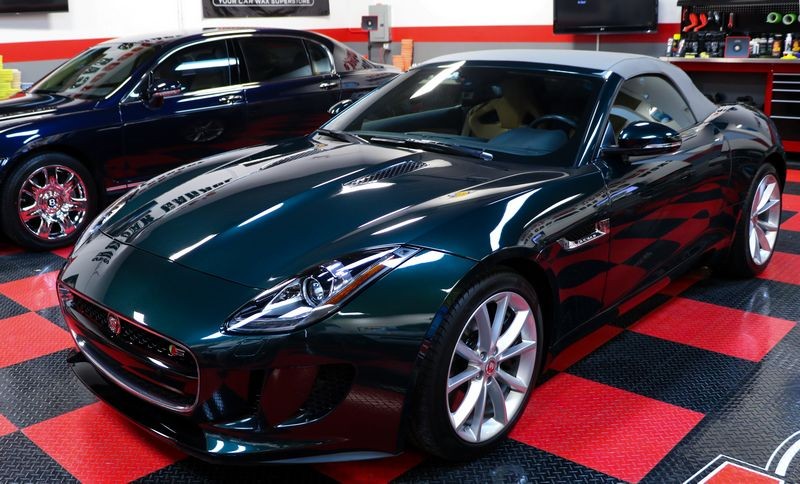
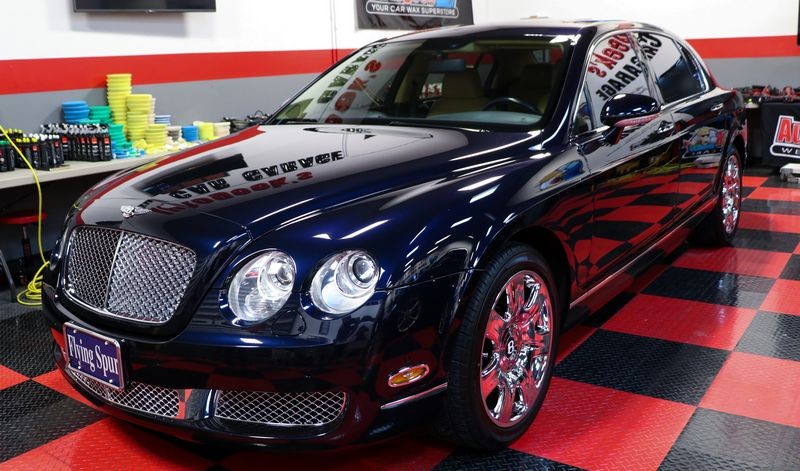
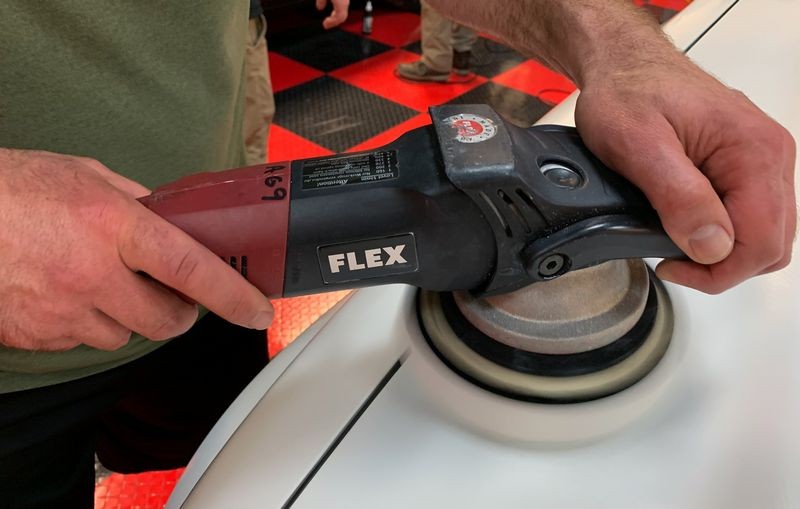
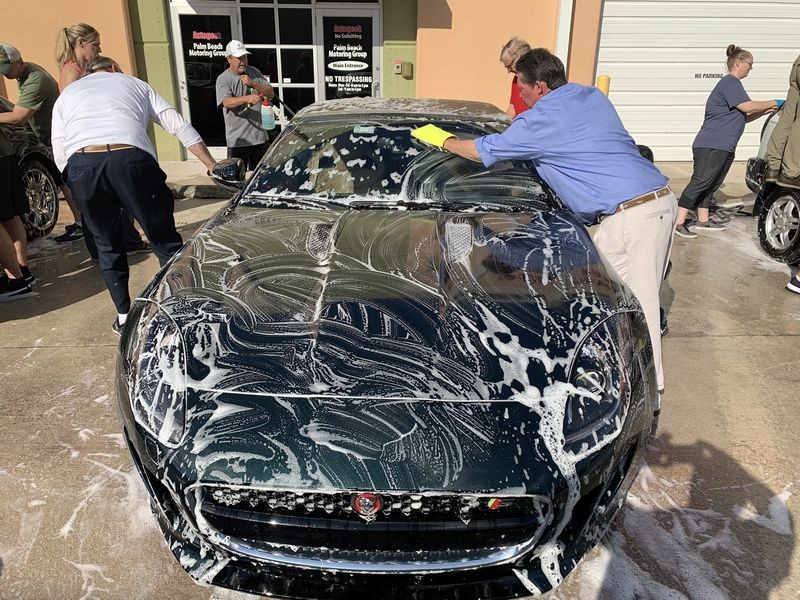
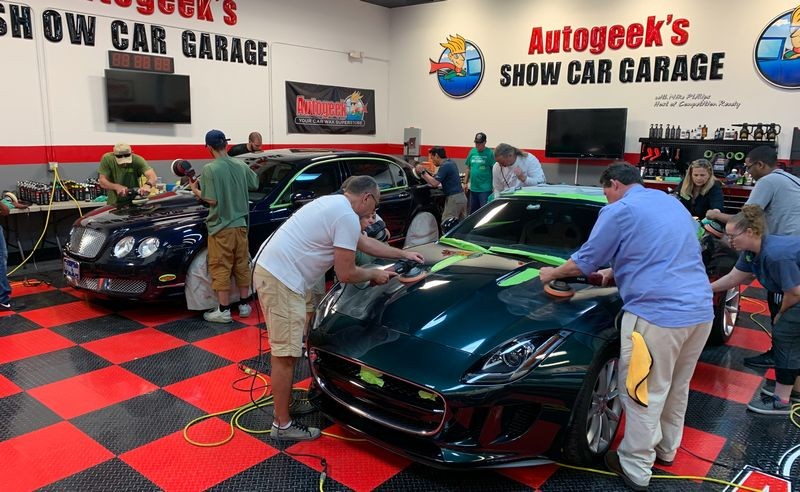
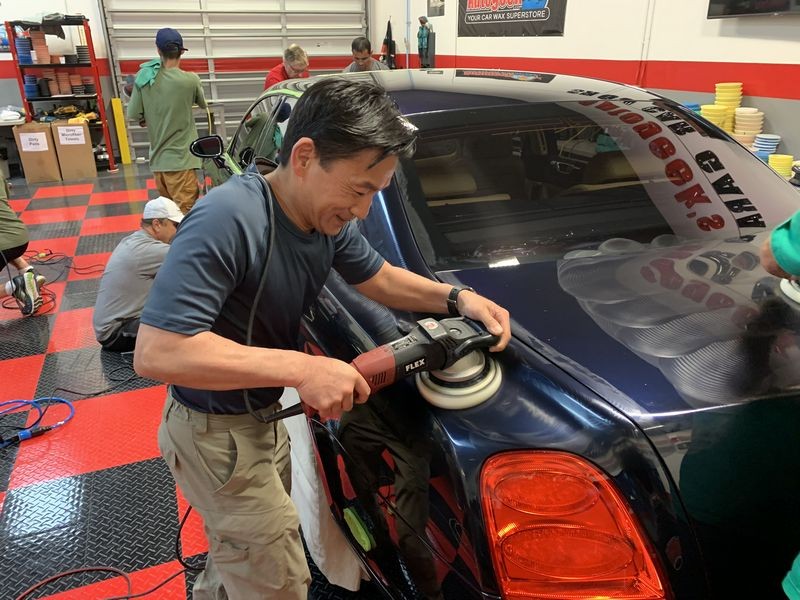
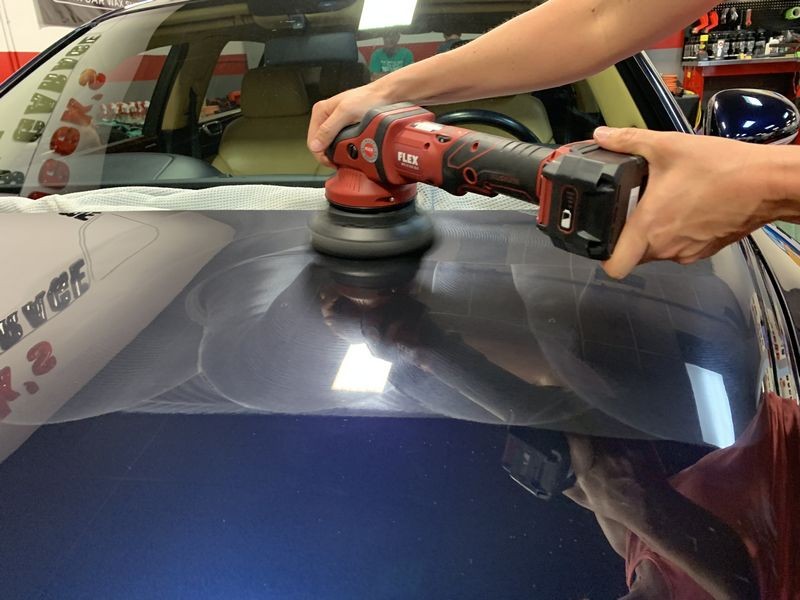
The below two cars you learned how to use FLEX Power Tools with SONAX products and Lake Country Pads.
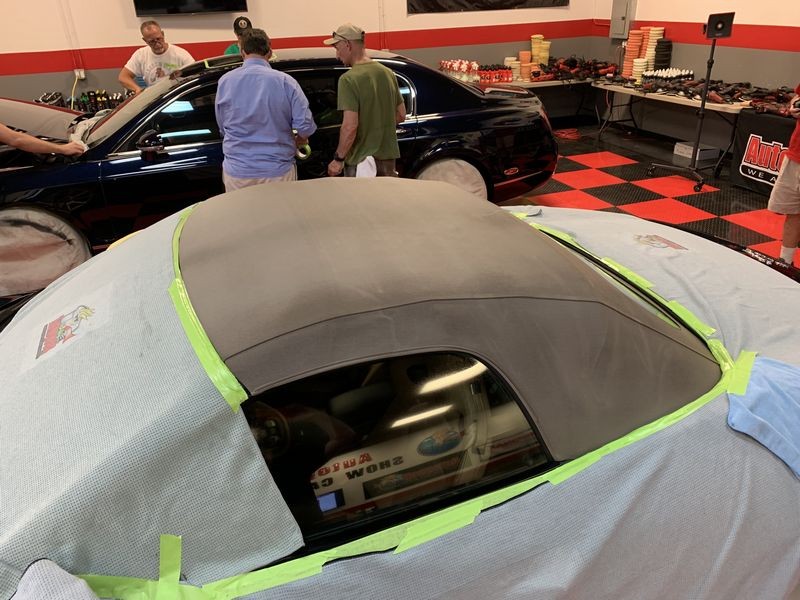
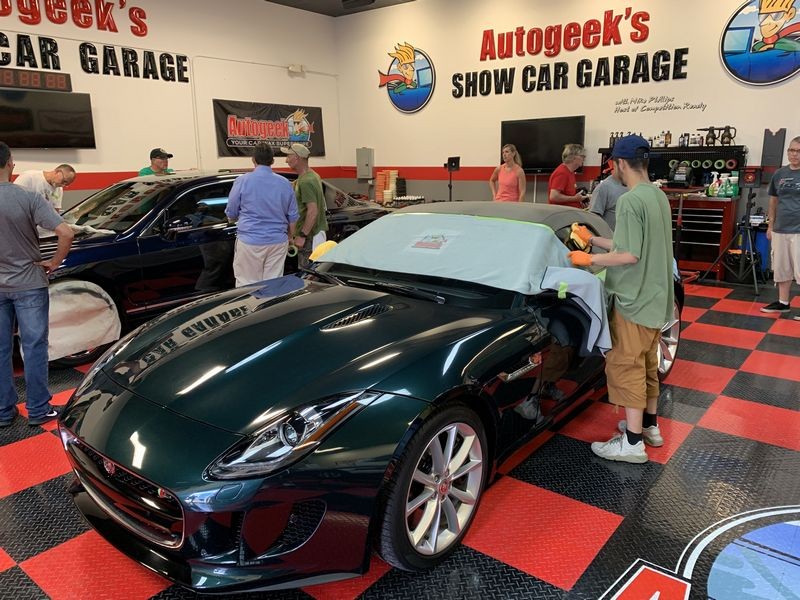
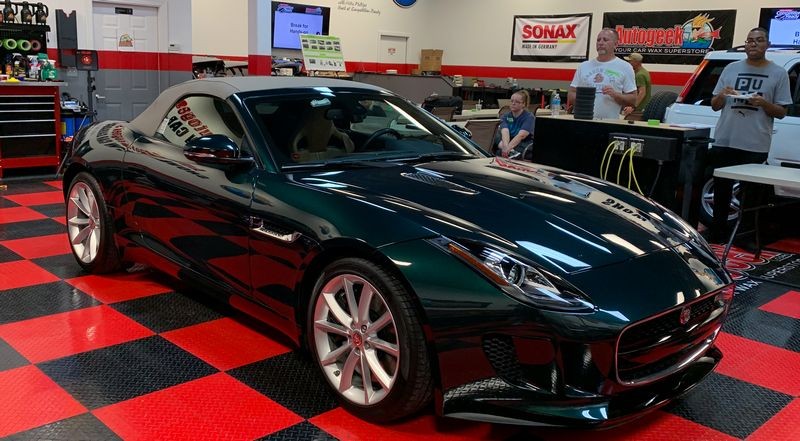
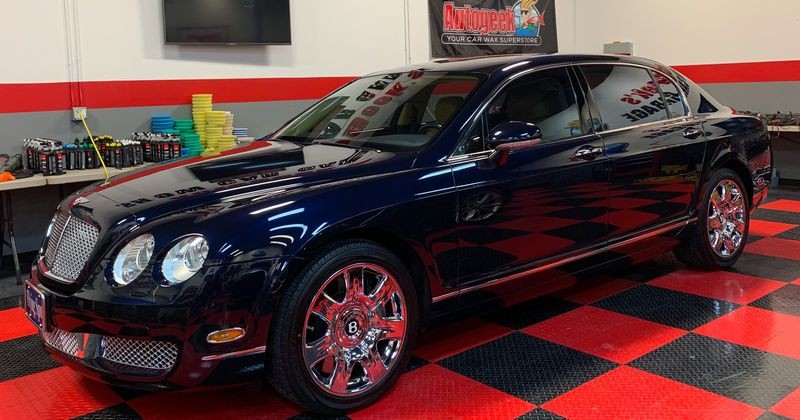
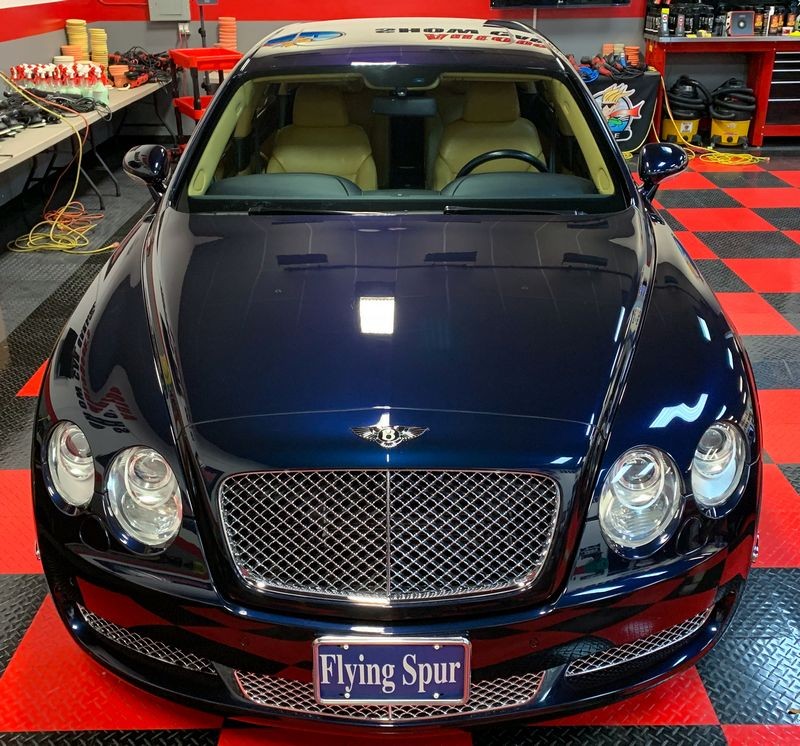
2016 Jaguar F Type S
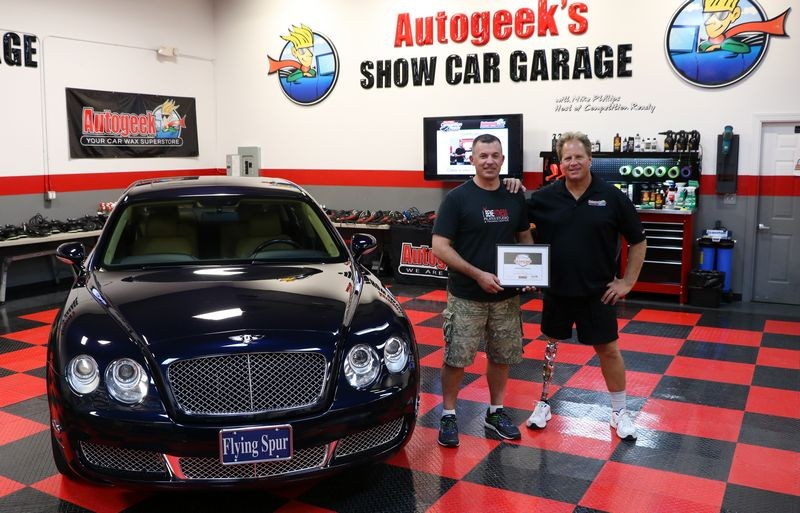
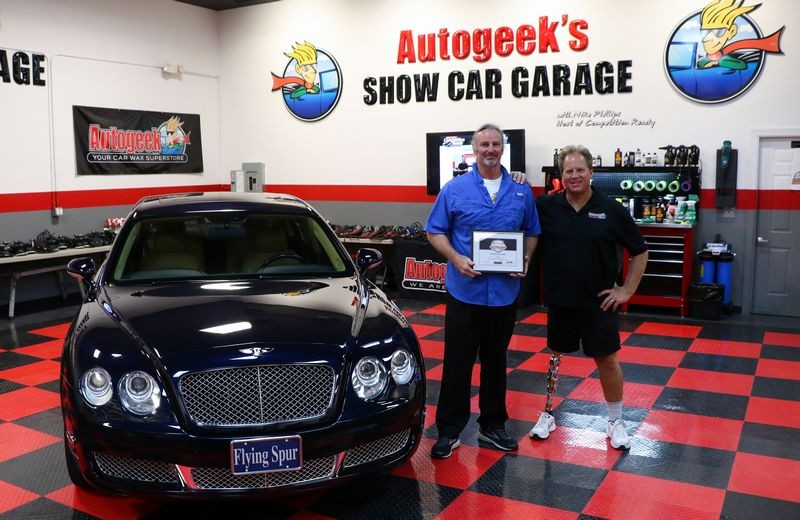
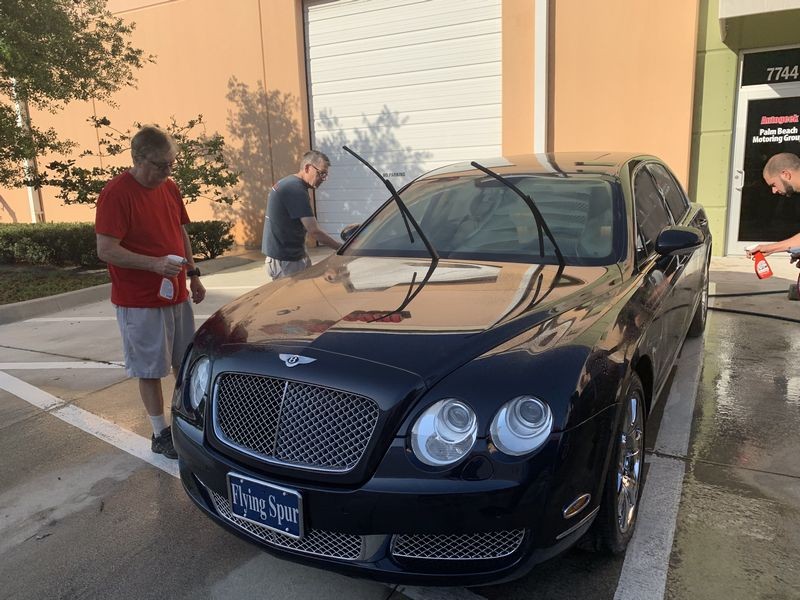
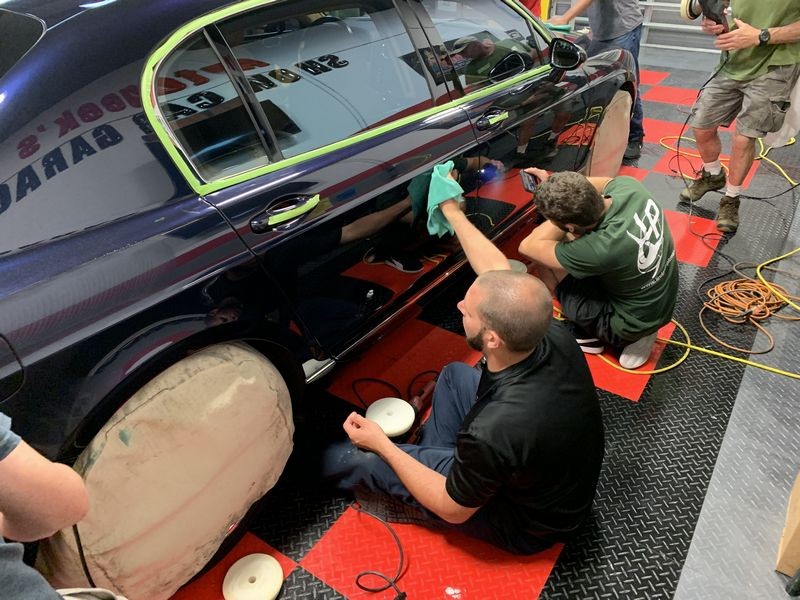
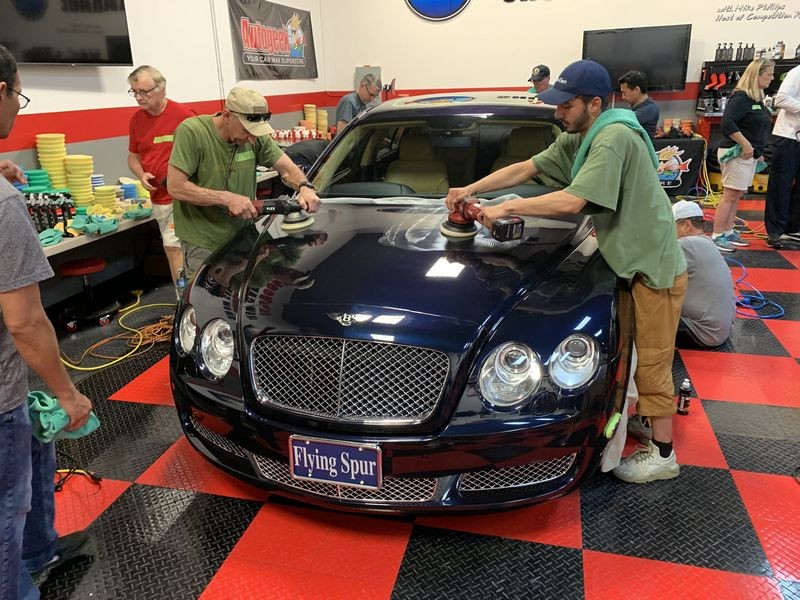
2006 Bentley Continental Flying Spur
Group Shot!
Then for the last part of Saturday used learned Production Detailing OR One Step Detailing. By this time you had used and learned the following tools,
- Griot's Garage 6" Random Oribital Polisher - Free Spinning
- Griot's Garage 3" Random Orbital Polisher - Free Spinning
- RUPES BigFoot 21 Random Orbital Polisher - Free Spinning
- RUPES BigFoot 15 Random Orbital Polisher - Free Spinning
- RUPES BigFoot Duetto Random Orbital Polisher - Free Spinning
- RUPES BigFoot Mini Random Orbital Polisher - Free Spinning
- RUPES BigFoot Mille Random Orbital Polisher - 5mm Gear Driven
- RUPES Nano in rotary mode and orbital mode
- Griot's BOSS 21 Random Orbital Polisher - Free Spinning
- Griot's Boss 15 Random Orbital Polisher - Free Spinning
- FLEX XC 3401 VRG - 8mm Gear driven aka The BEAST!
- FLEX XFE7-15 - 15mm Random Orbital Polisher - Free Spinning
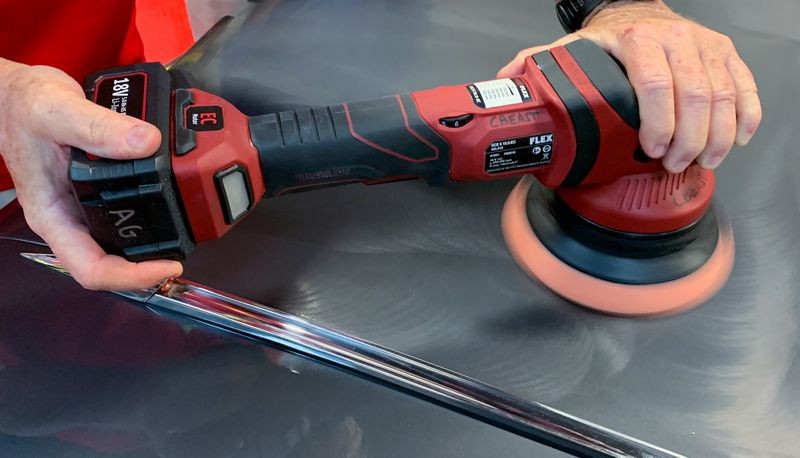
- FLEX CBEAST - Cordless version of the BEAST
- FLEX Cordless Finisher
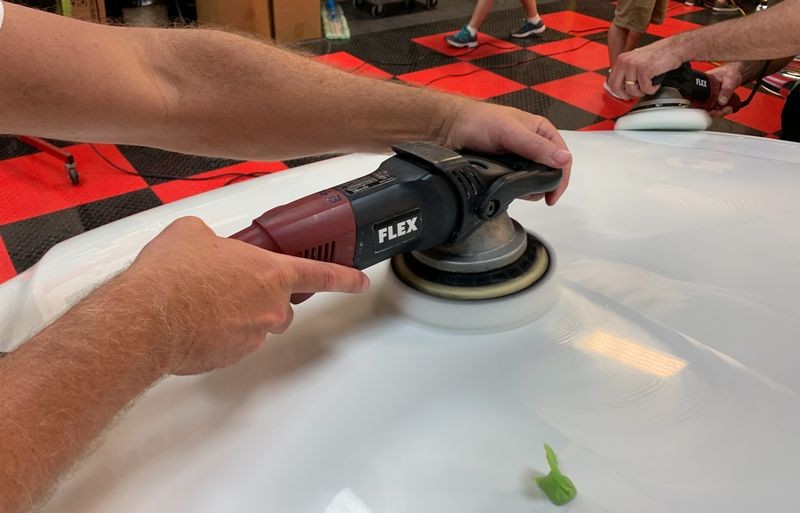
Now you learn how to use a super high quality one-step cleaner/wax called BLACKFIRE One Step only now you get to choose any tool you've already used but want to re-visit or spend more time with.
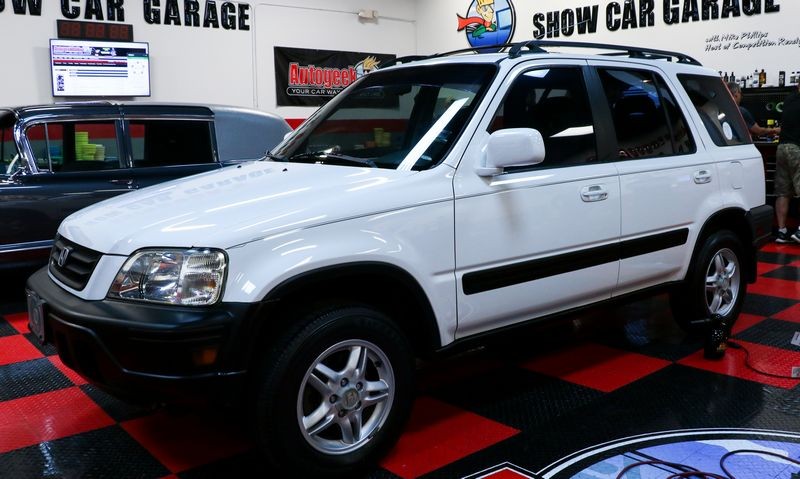
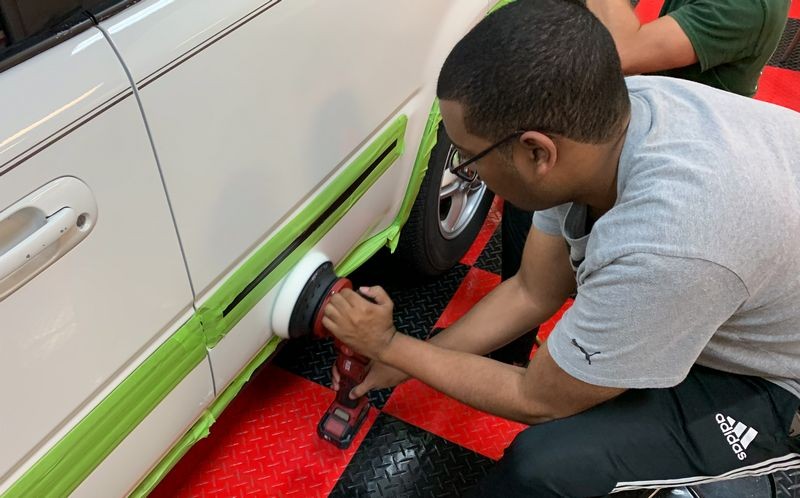
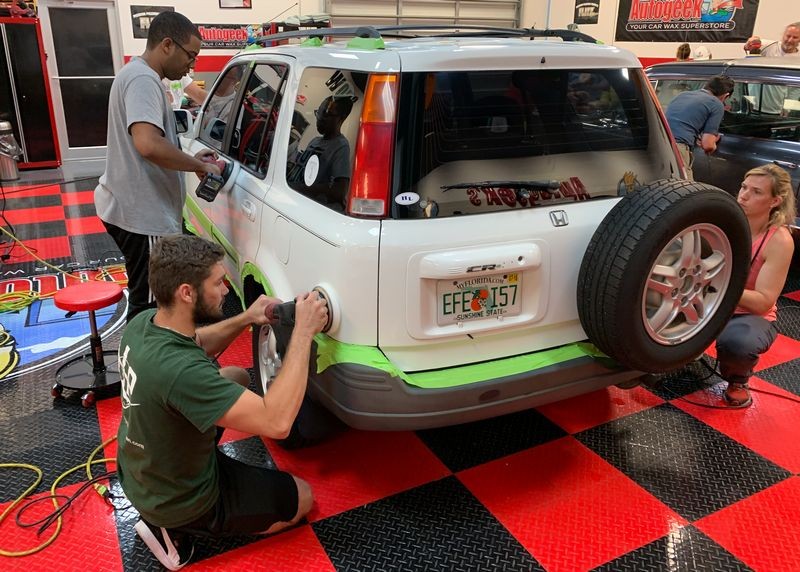
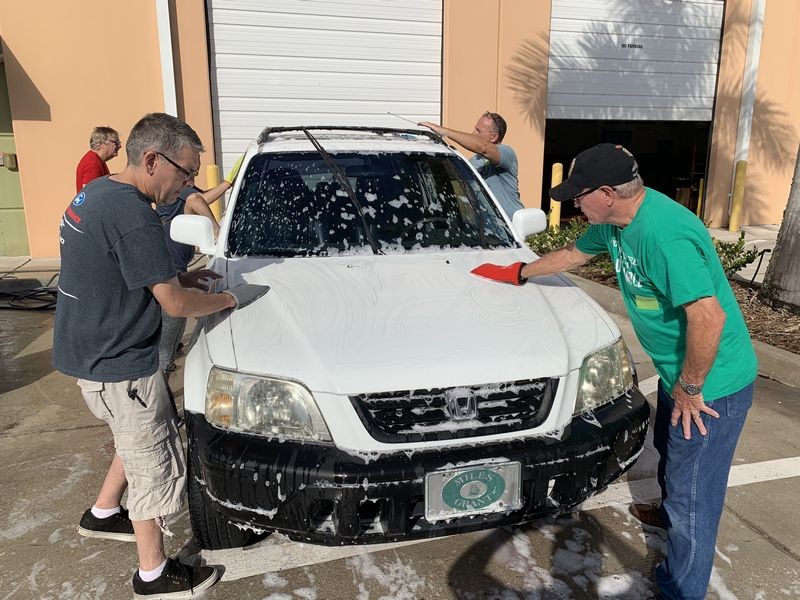
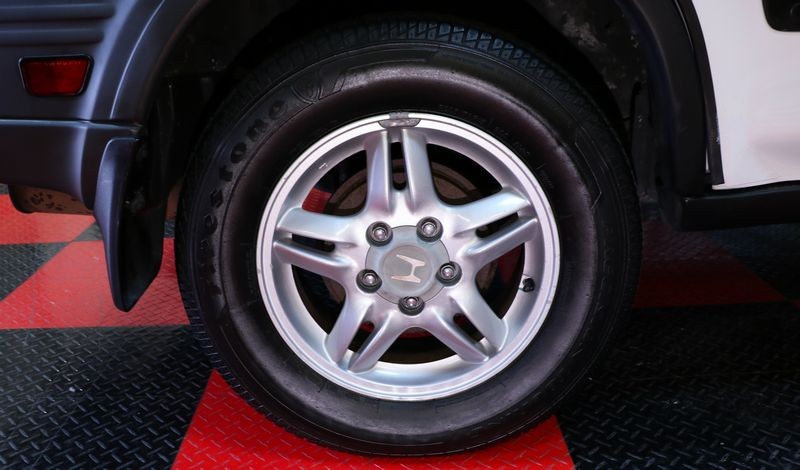
2000 Honda CRV
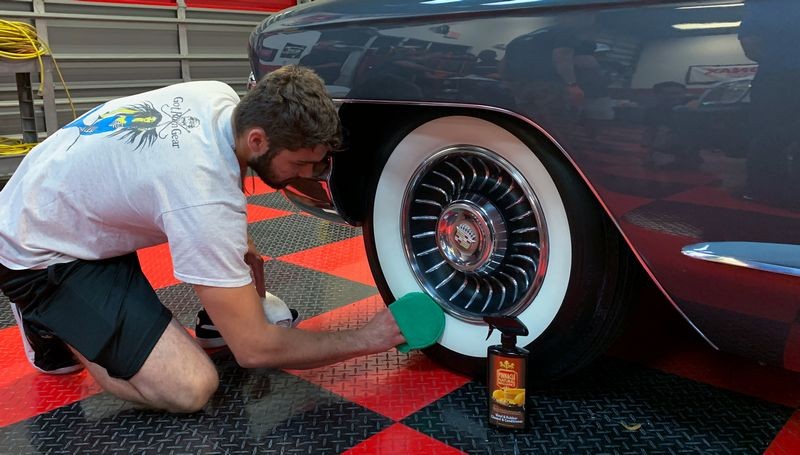
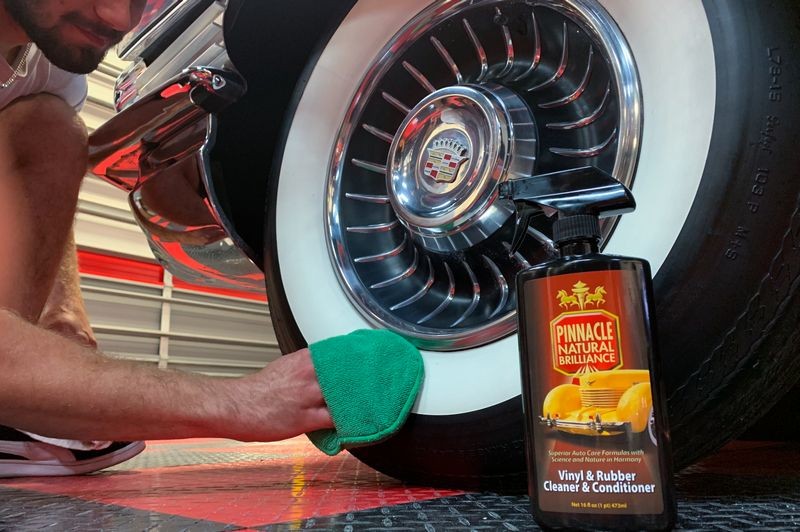
1961 Cadillac Series 75 Formal Sedan

Group Shot!

By the time you detailed the above 10 cars not only did you stay on track with the Flow Chart but all cars came out swirl free and looking ready to be put on display at a car show.
Sunday
Wetsanding by hand and machine
Now that you've learned all the orbital polishers, next you learned how to hand sand and machine sand PLUS my own technique I call,
Scuff & Buff
Both cars came out AMAZING!
2019 Mustang Convertible

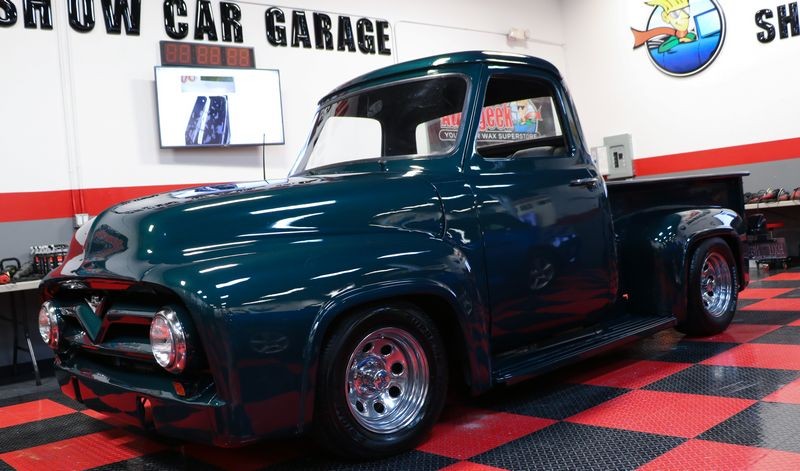
1954 Ford F100 Pickup Streetrod
Group Shot!

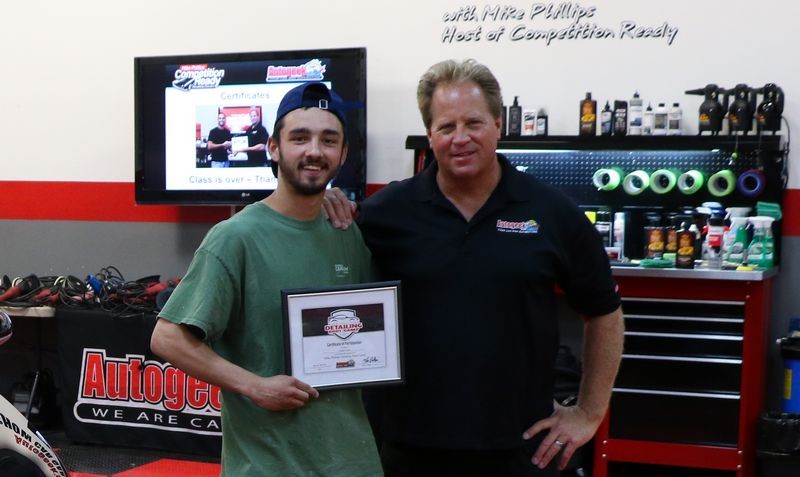
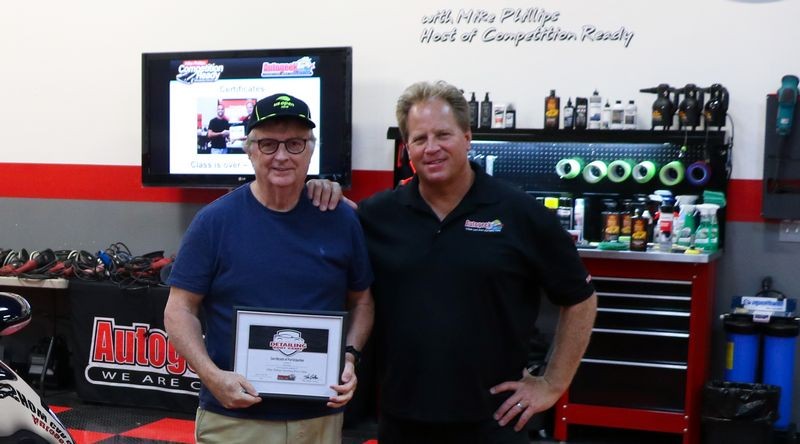
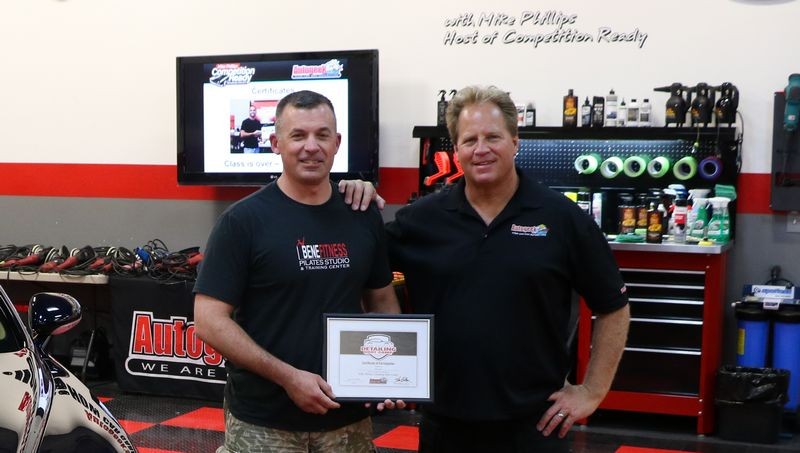
You were all amazing and the results speak loud and clear to showcase your talent and skill.

-
Post Thanks / Like - 0 Thanks, 2 Likes, 0 Dislikes
-
-
Post Thanks / Like - 0 Thanks, 2 Likes, 0 Dislikes
-
Re: Pictures from the May 2019 Detailing Bootcamp Class at Autogeek with Mike Phillips
More to come....
Friday Morning - Multiple-Step or Show Car Detailing
For true restored classics, muscle cars or in this case streetrods. I teach the students how to use a waterless wash. The reason why is because as a Professional Detailer you don't use a water hose and running water and introduce water into places you cannot dry and thus could cause a rust issue. It's a Best Practice and a professional courtesy to the owner of the vehicle.
Products
Pinnacle Waterless Wash
Pinnacle Ultra Poly Ultra Fine Grade Clay and Clay Lube
Pinnacle Advanced Compound
Pinnacle Advanced Finishing Polish
Pinnacle Souveran Paste Wax
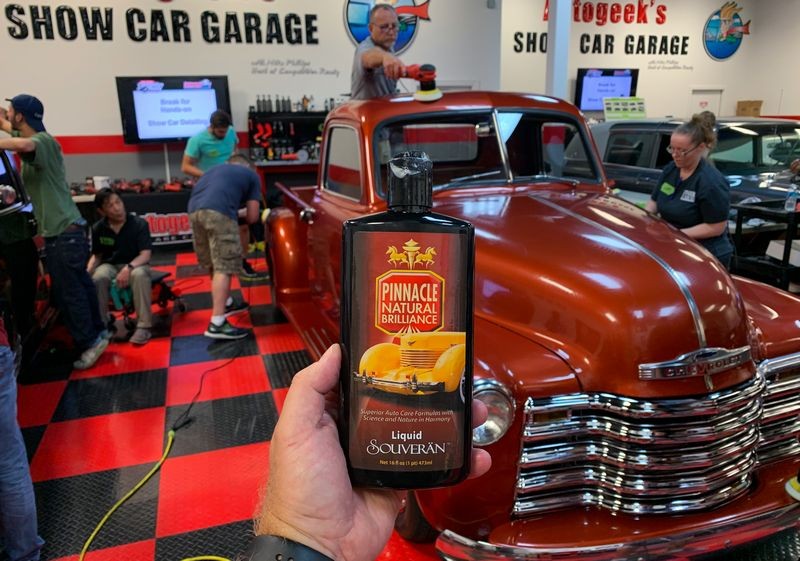
Pinnacle Liquid Souveran Wax
Tools
Griot's Garage 6" Random Orbital Polisher
This is an 8mm free spinning random orbital polisher. The number 6 in the name of this tool has NOTHING to do with the tool except that Griot's sells it with a 6" backing plate. I remove the 6" backing plates and replace them with 5" backing plates because this optimizes the tool for best performance and makes it easier to learn how to use and master. I wish Griot's would update their marketing practice and stop selling this tool with 6" backing plates. It would be a blessing to everyone that invests in their tool.
Griot's 3" Mini Polisher
This is a 5mm free spinning random orbital polisher and when used with THIN pads it works great.
Buffing pads
For the Griot's 6" polisher we used Buff & Shine Uro-Tech pads
For the Griot's 3" polisher we used Griot's BOSS pads in 2" and 3" as well as Lake Country ThinPro 3" pads.
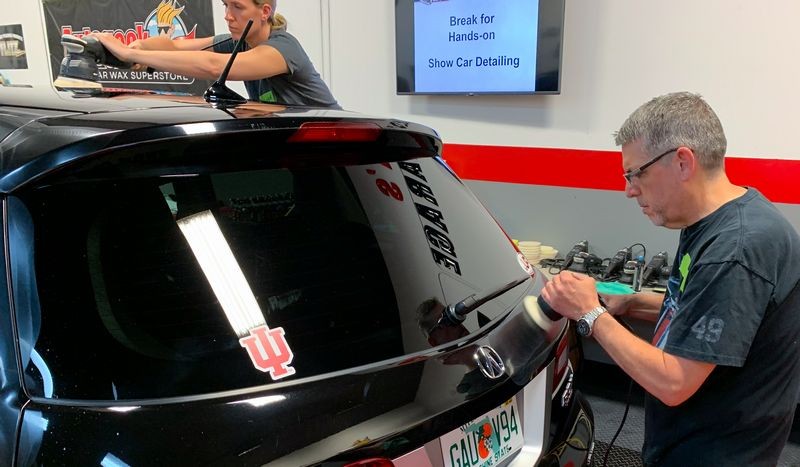
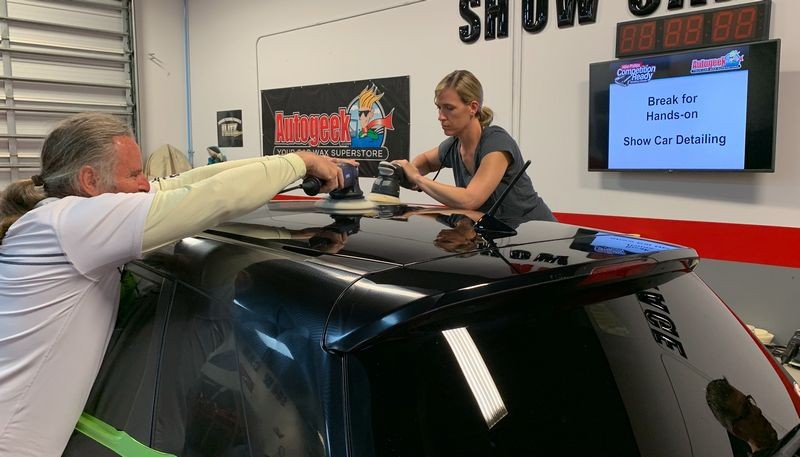
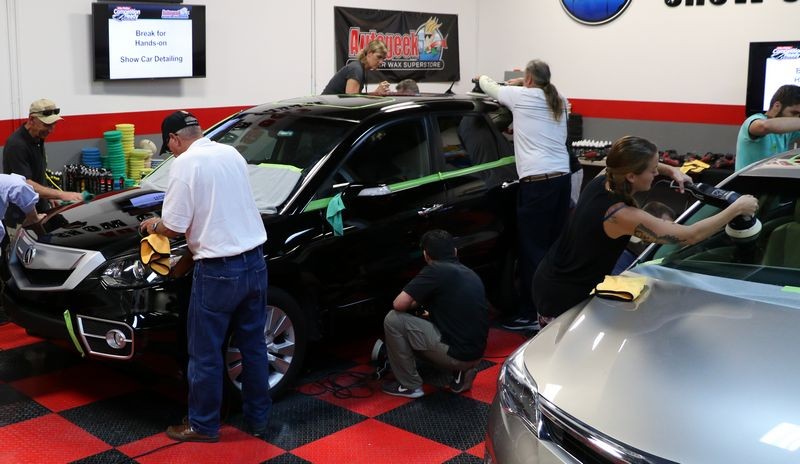
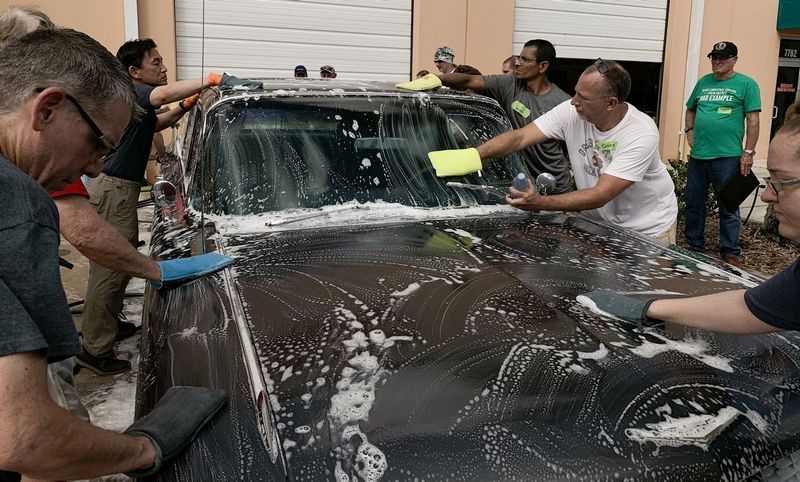
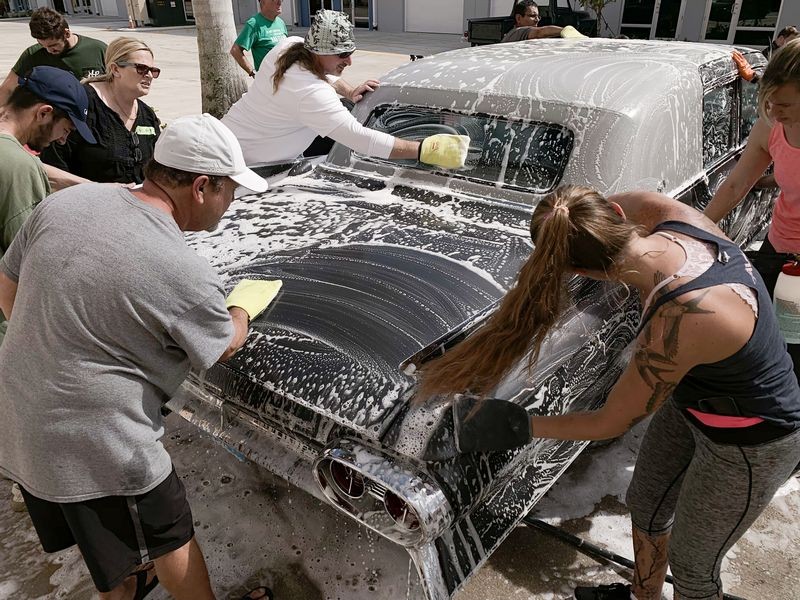
Here's what a hands-on training class looks like step-by-step....
Step 1: Using a waterless wash to remove loose dirt and dust.


Step 2: Claying to remove contaminants


Test Spot
Sorry, not pictures showing me teaching the class how and why to do a test spot before buffing out an entire car.
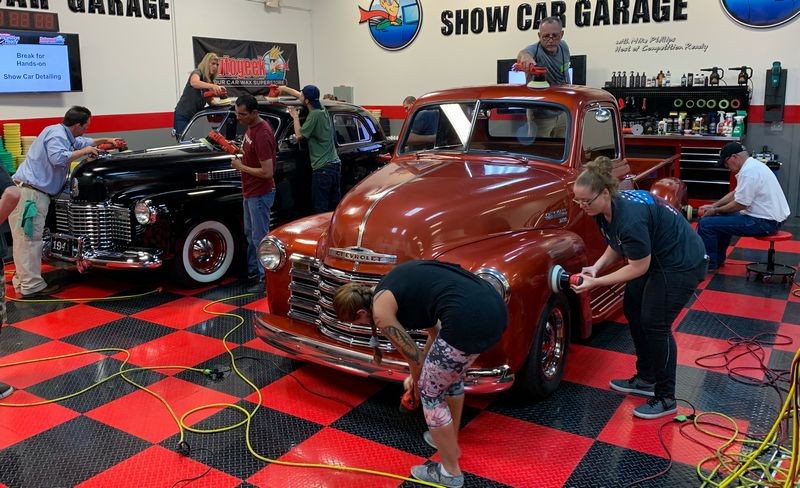
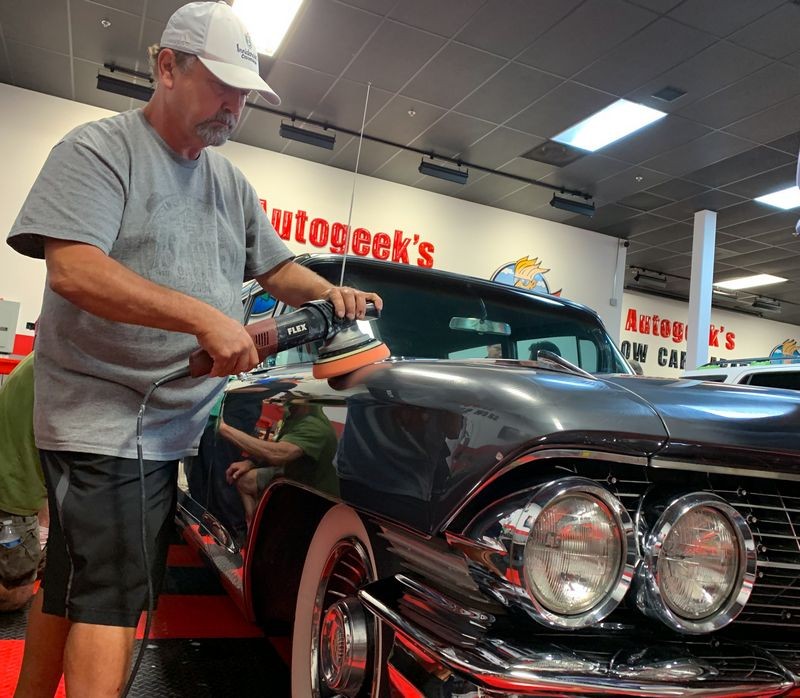
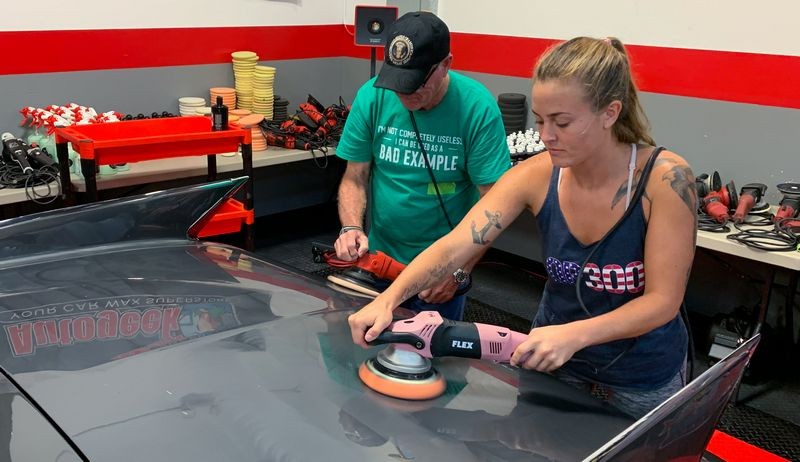
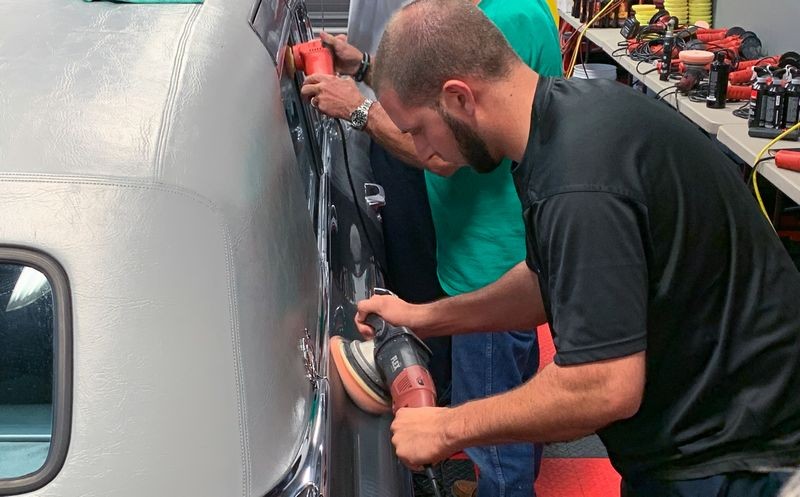
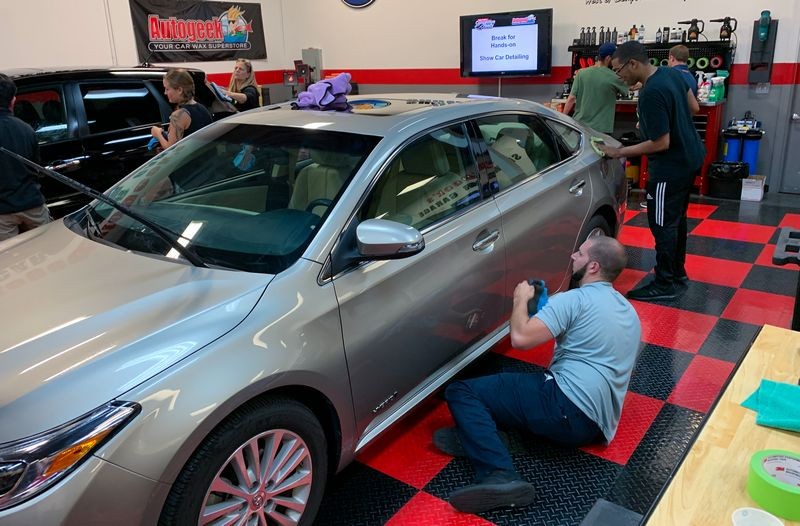
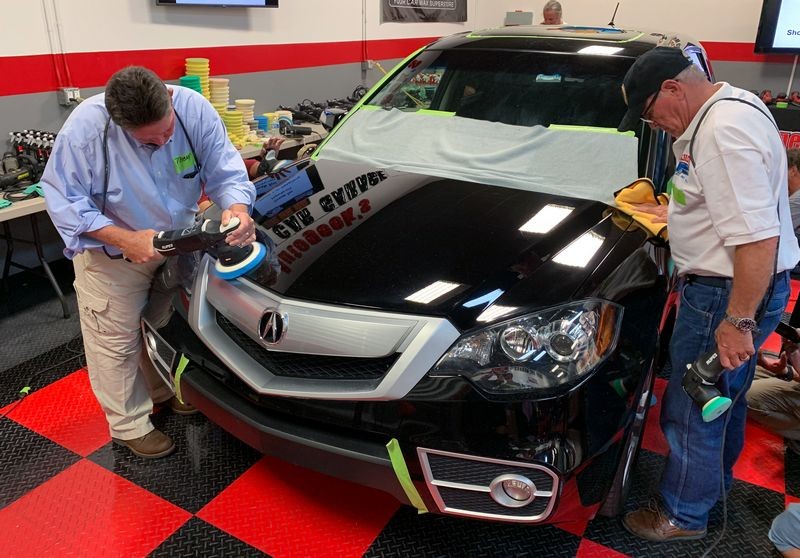
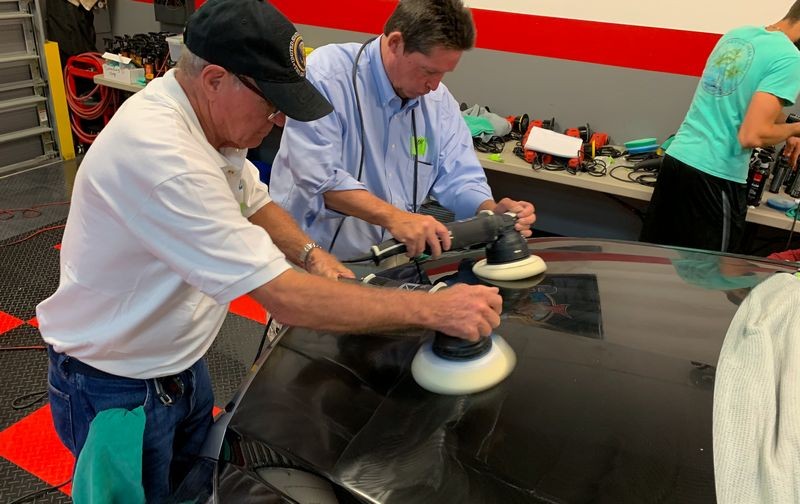
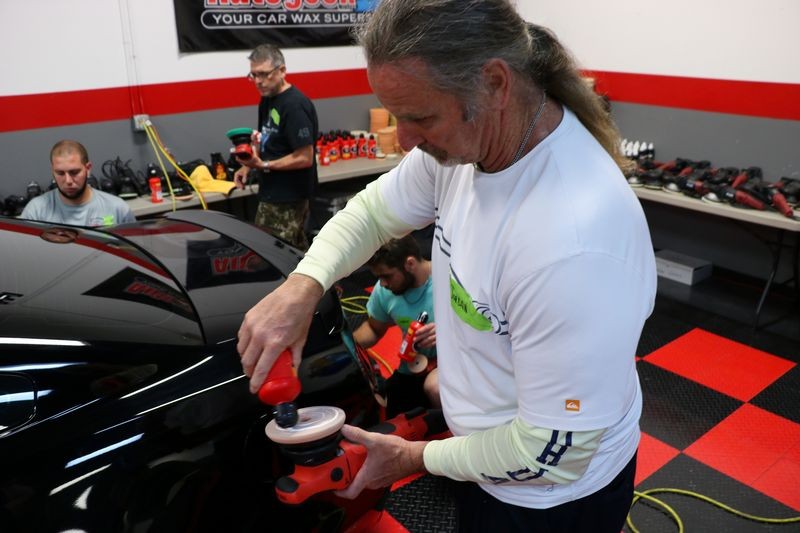
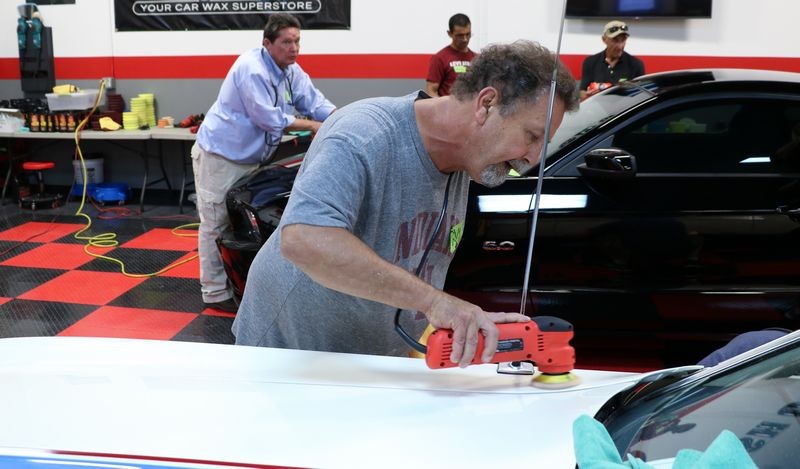
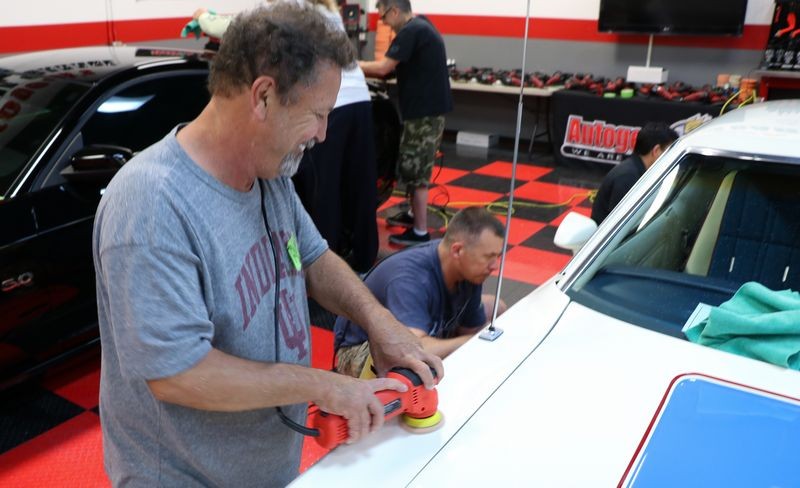
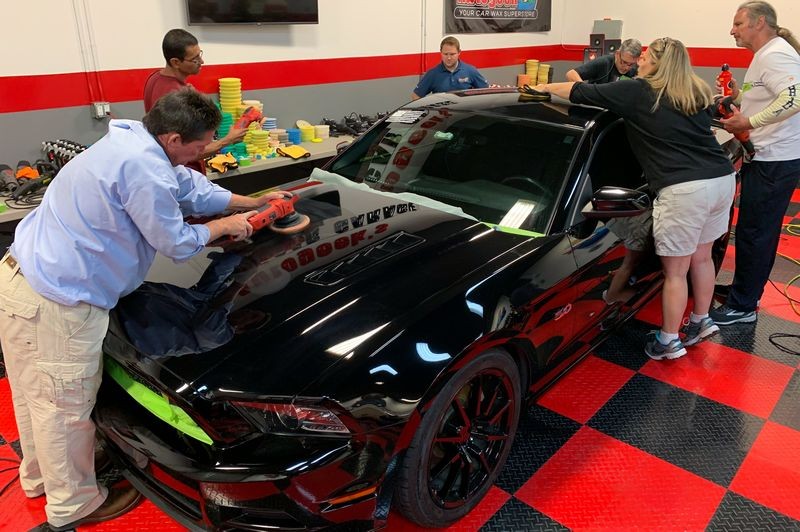
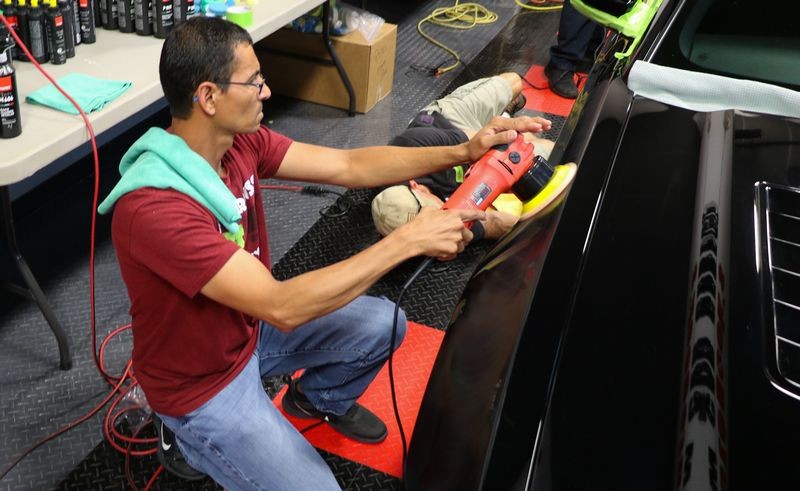
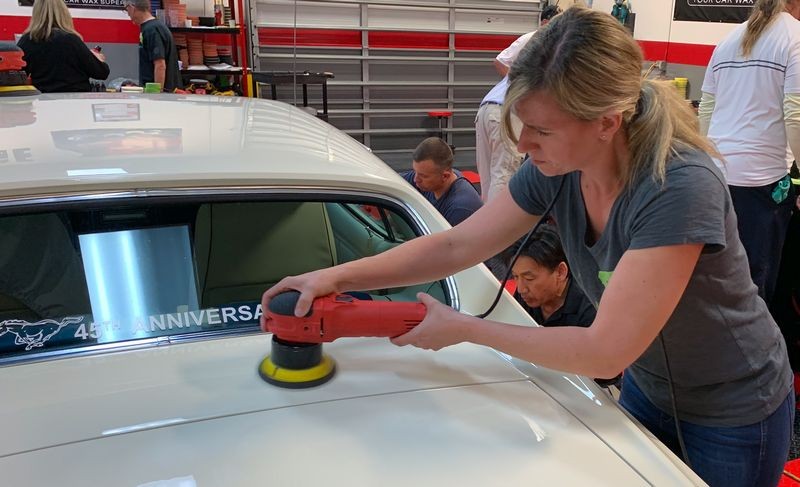
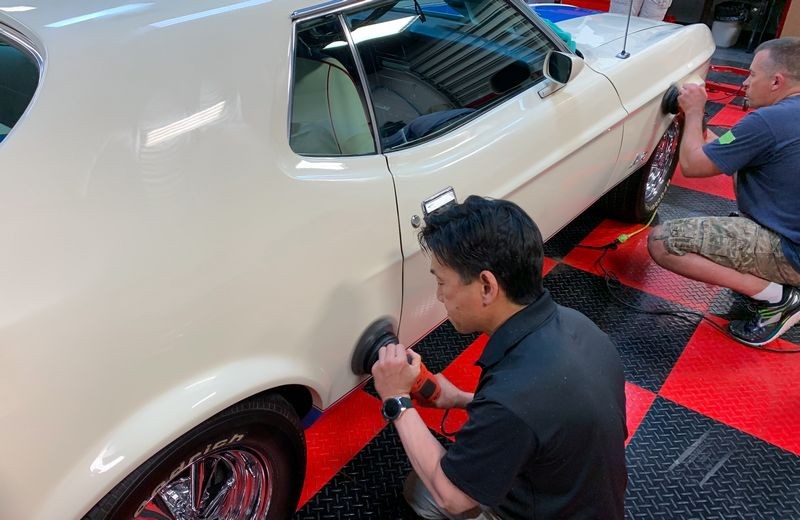
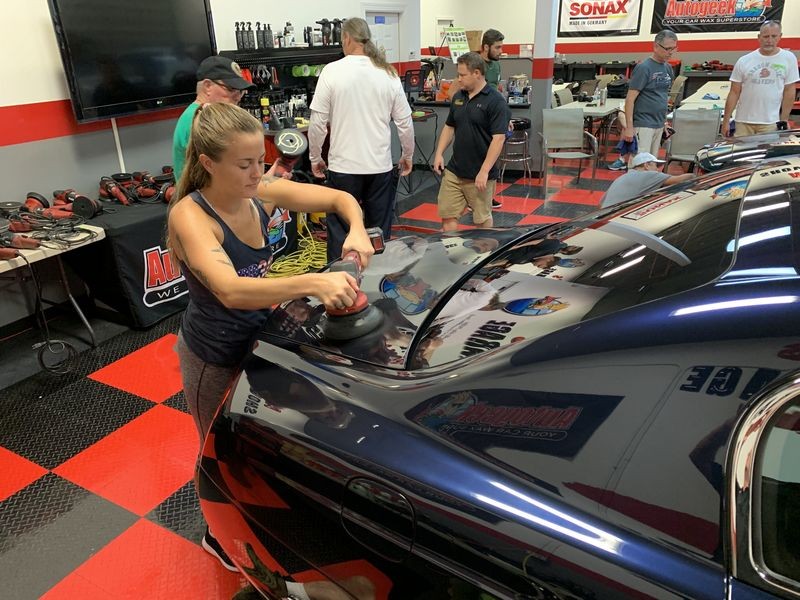
Step 3: Machine Compounding


In this shot the class is finishing up the compounding for both vehicles....

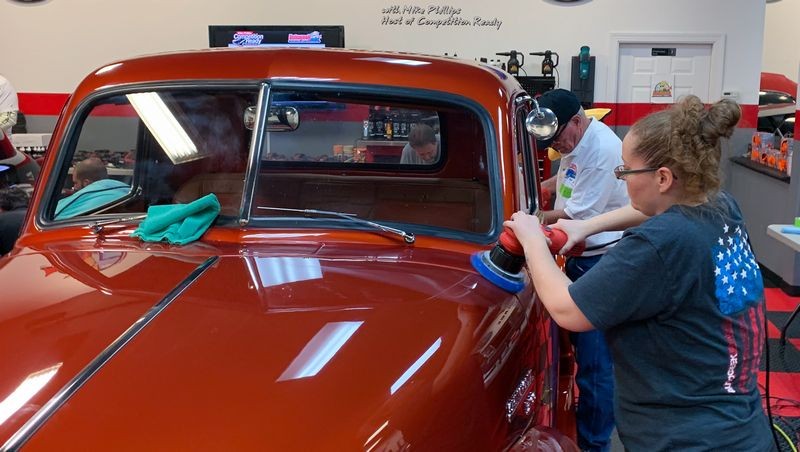
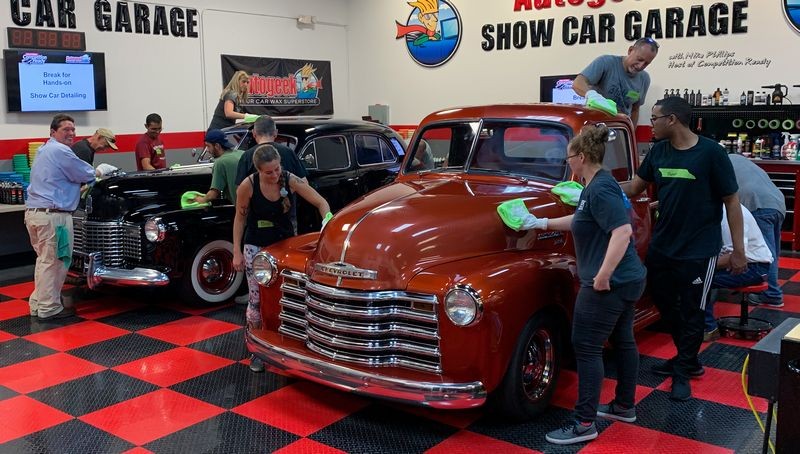
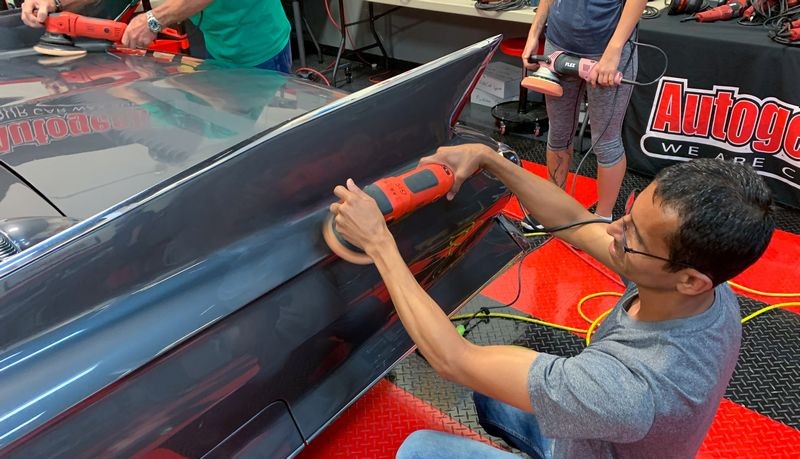
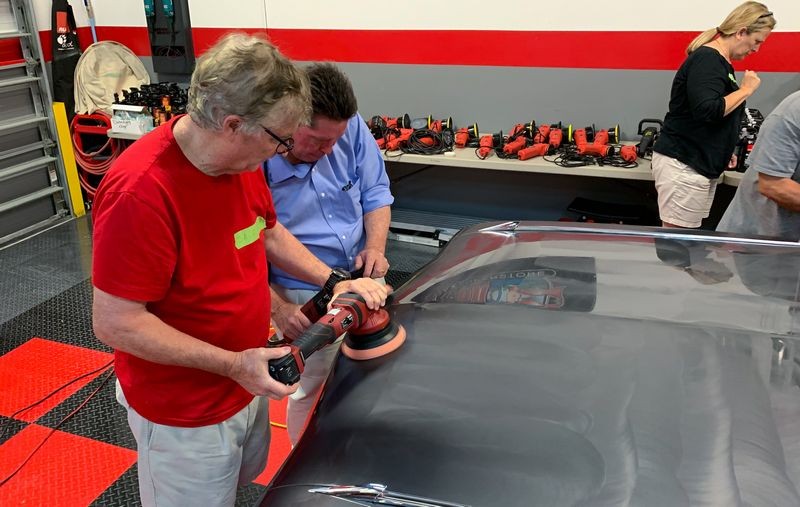
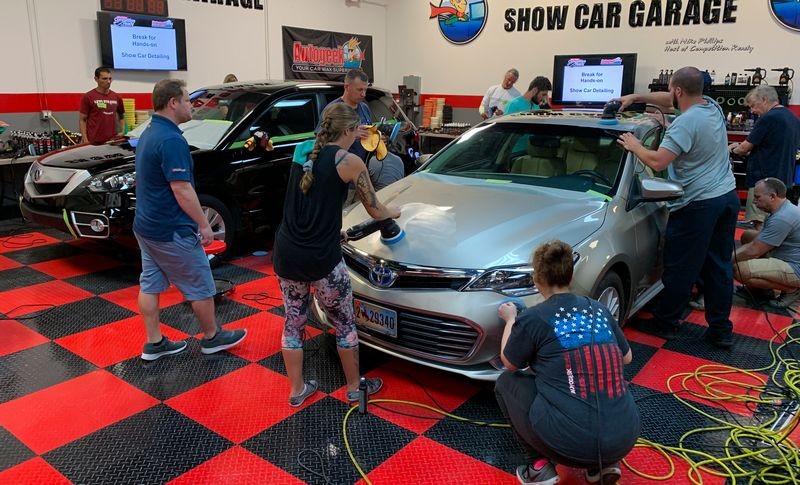
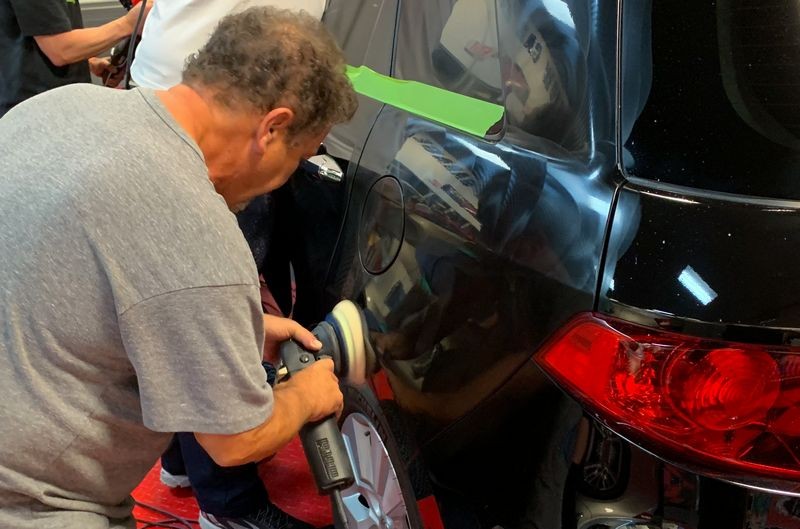
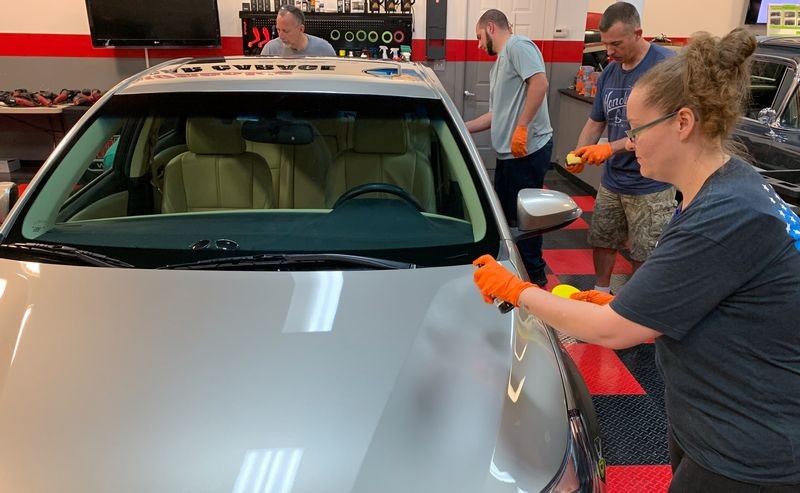
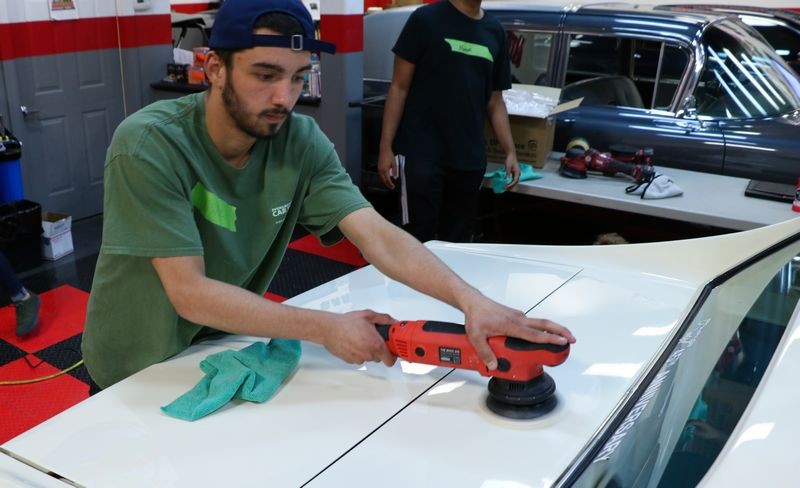
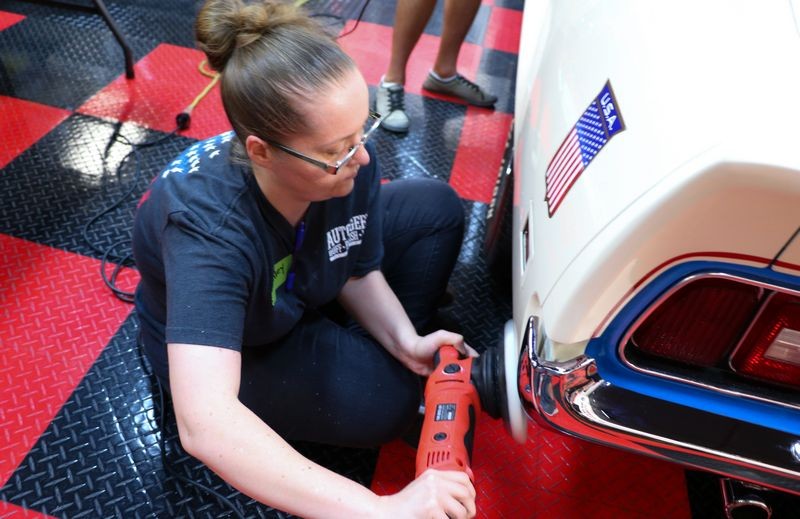
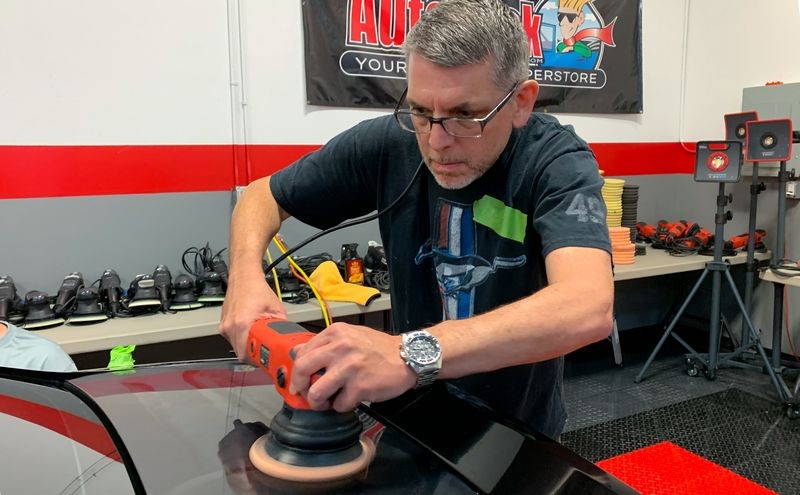
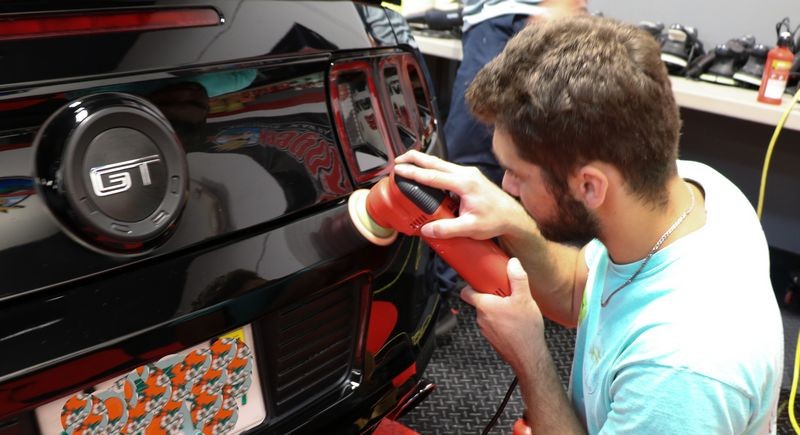
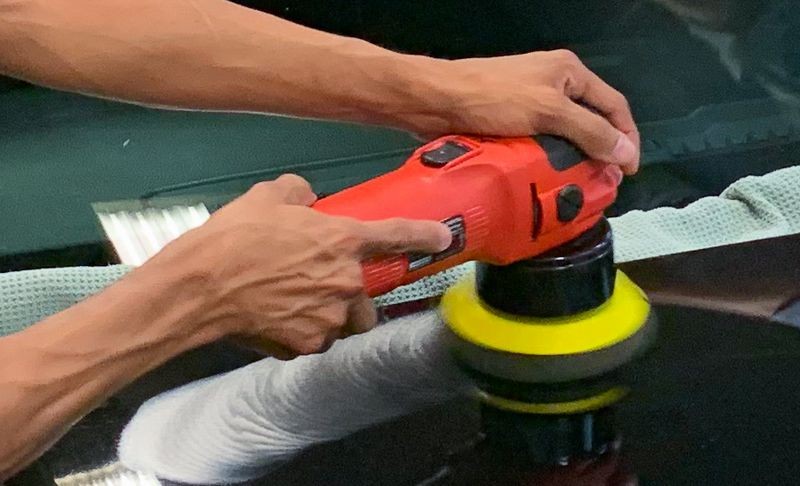
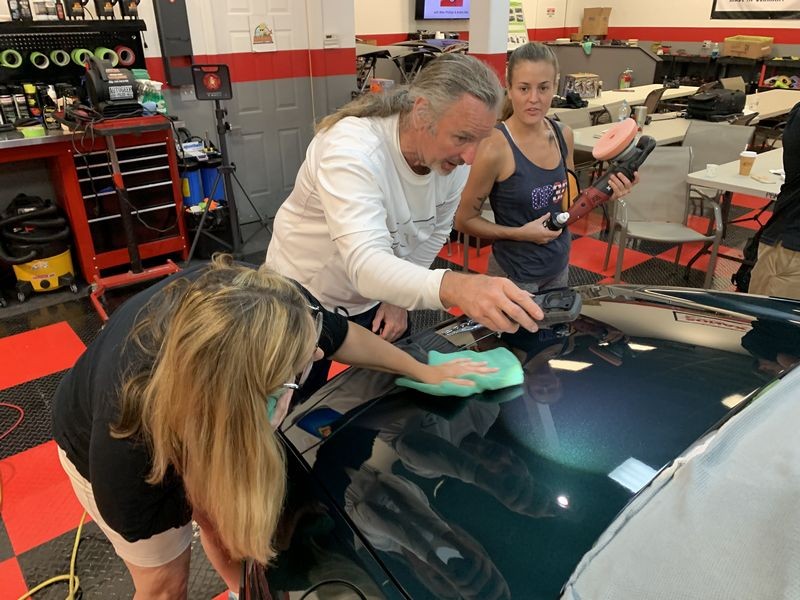
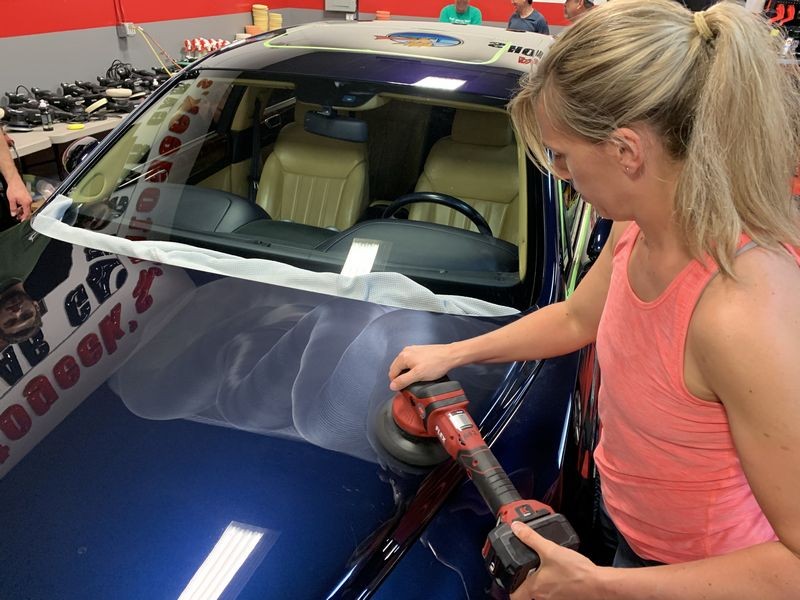
Step 4: Machine polishing


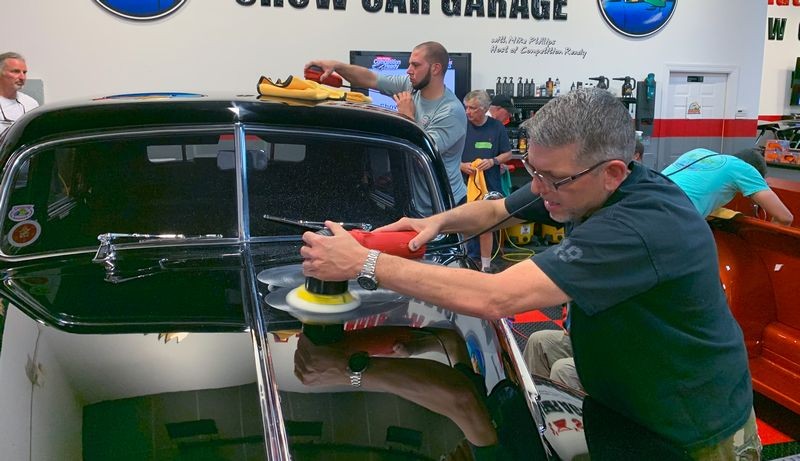


Finishing up the polishing step - using Forrest Green Edgeless Microfiber Towels for the final polish removal
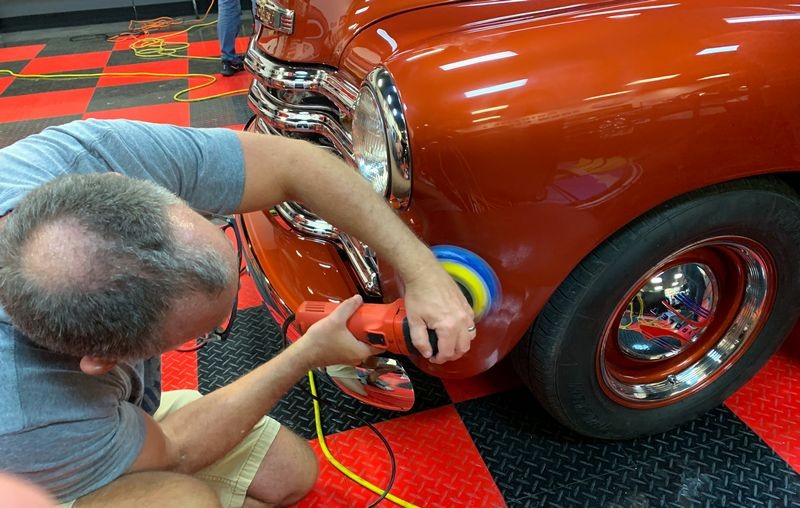
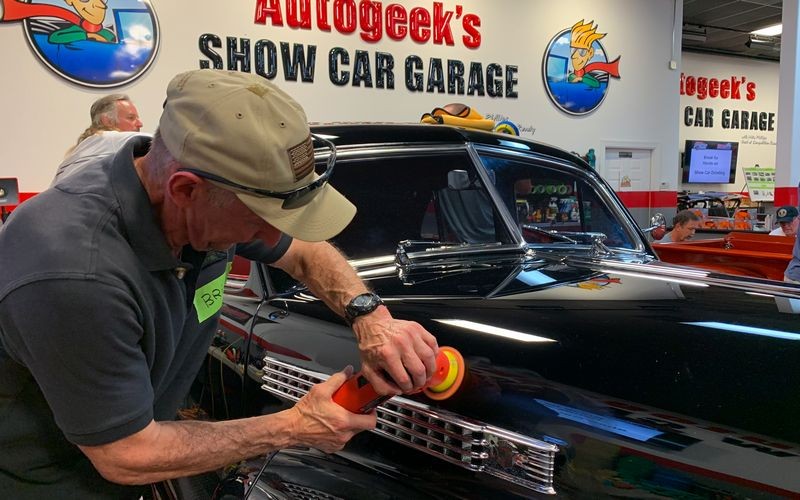
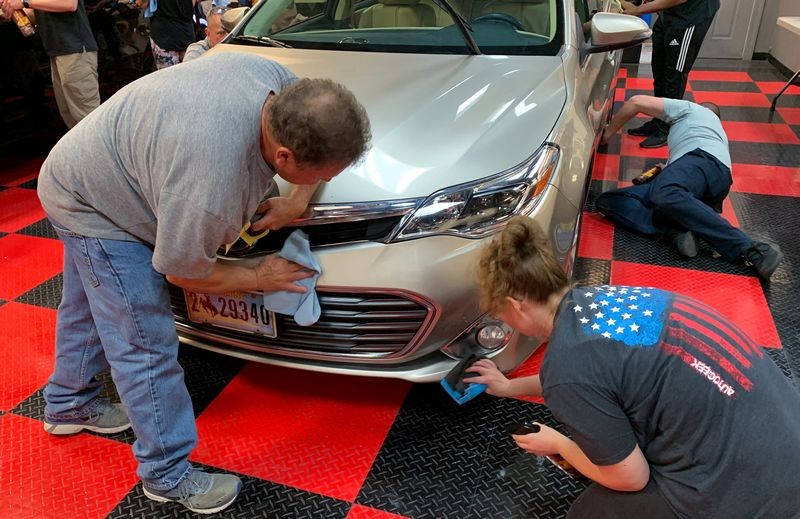
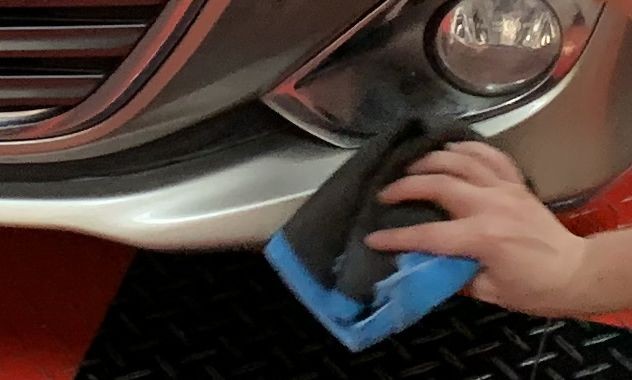
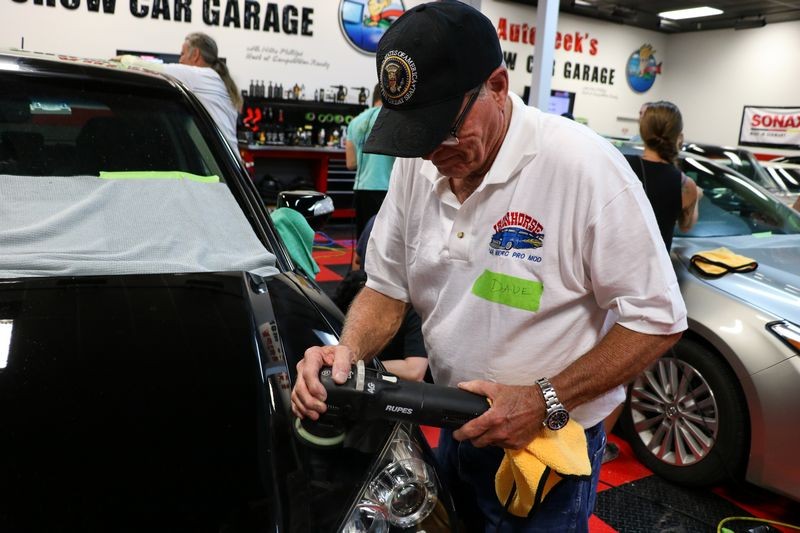
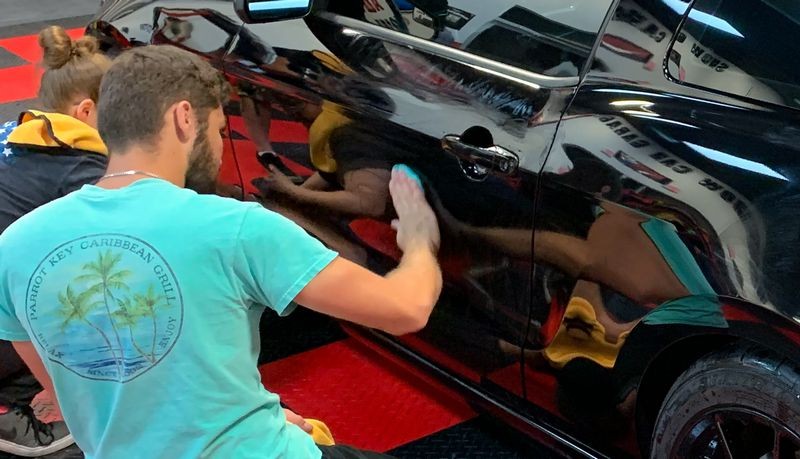
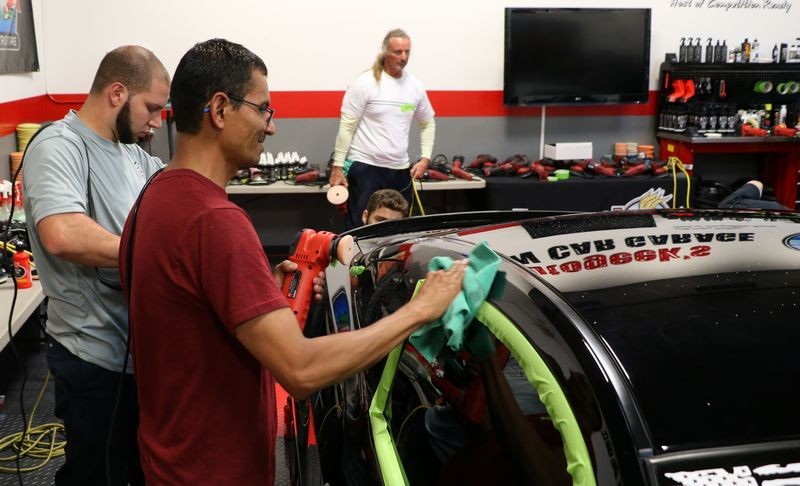
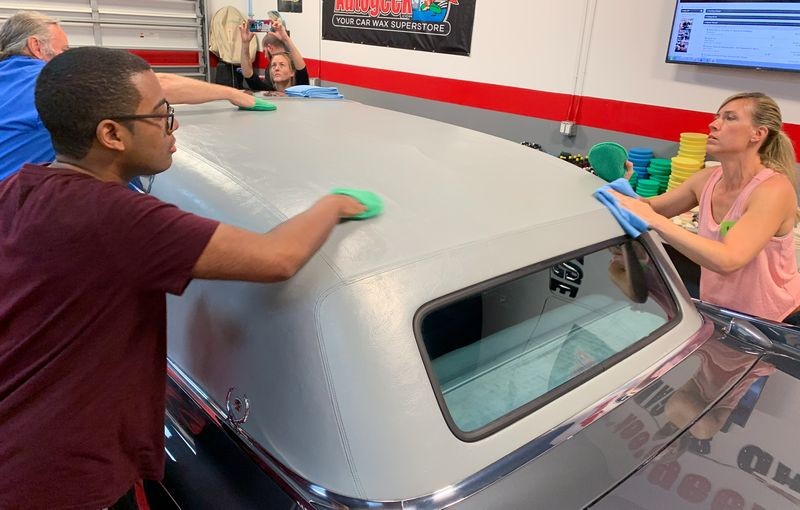
Metal polishing
In my 3-day classes - because I teach show car detailing on REAL show cars. I also cover how to machine polish chrome, nickel and stainless steel trim, grills and bumpers. This why you see people wiping these areas in the above pictures.

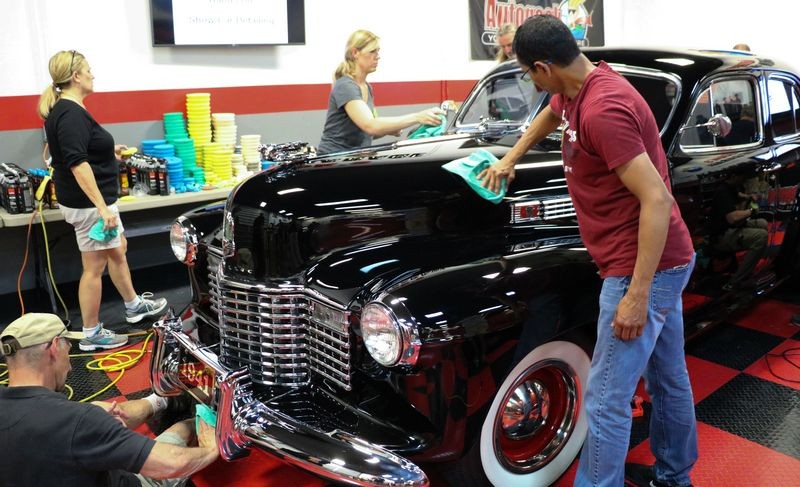
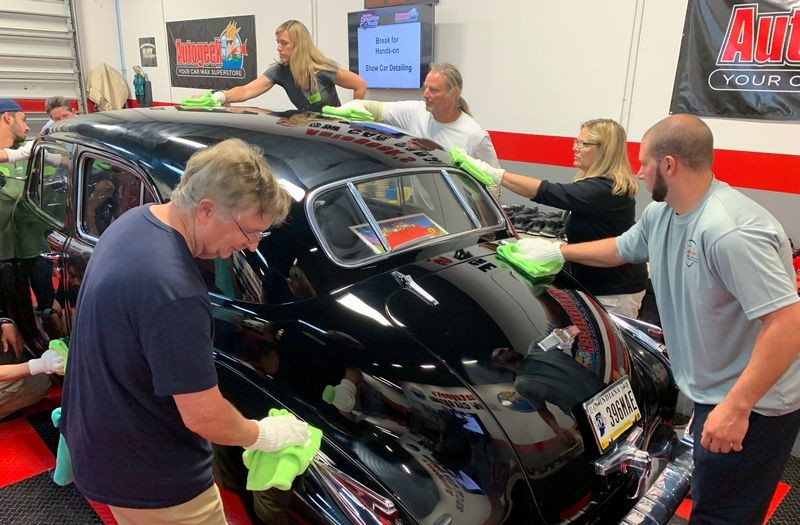
Step 5: Machine applying finishing waxes
There are two types of waxes; there are finishing waxes and cleaner/waxes. You don't use a cleaner/wax on paint you just compound and polished as this would be what I call, working backwards. Finishing waxes are also called show car waxes. It's important to know the difference if you want to present yourself as a professional or an expert in car detailing and of course, I cover all of this and more in all of my classes.


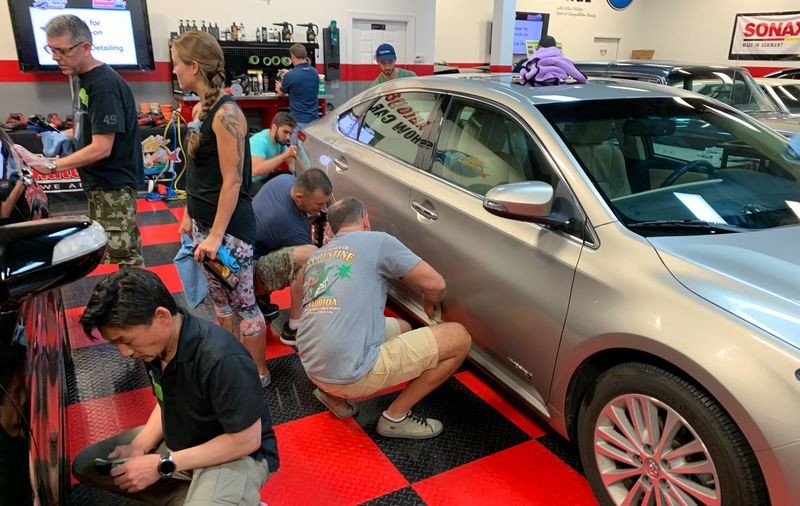
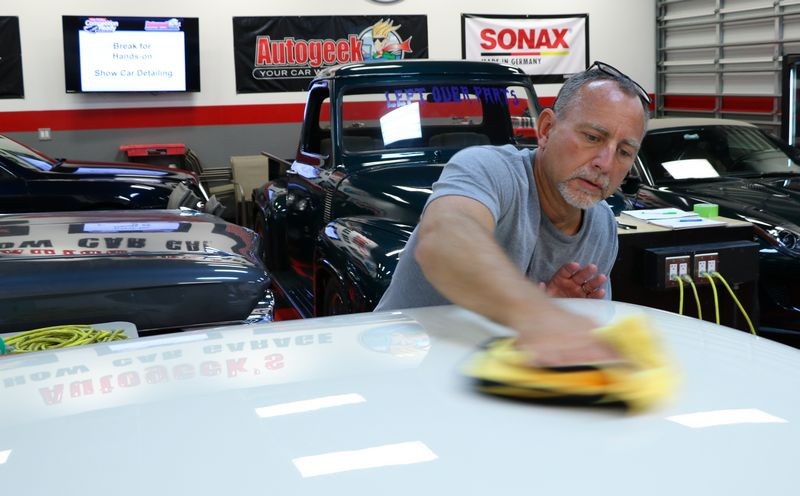
Step 6: Removing the wax
Note the microfiber gloves and the super soft edgeless towels. It takes HOURS to buff out a car and only SECONDS to put scratches back into the paint. At this stage of the process I go over a technique I teach call,
Breaking open the wax


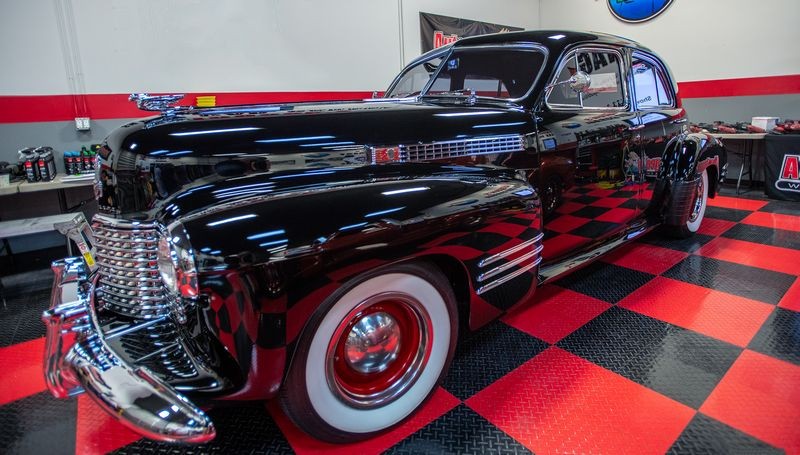
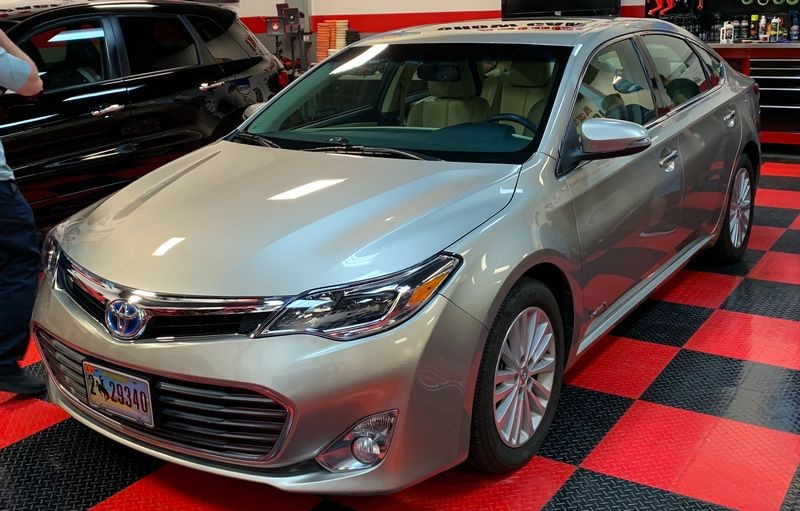
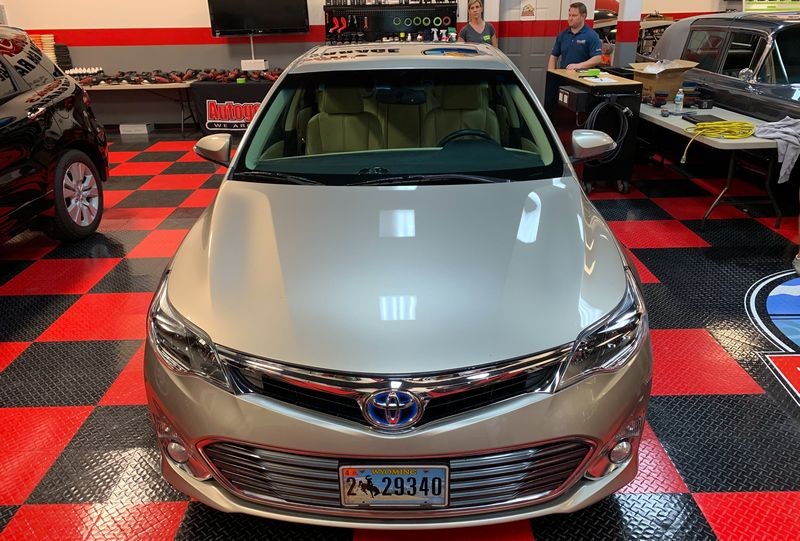
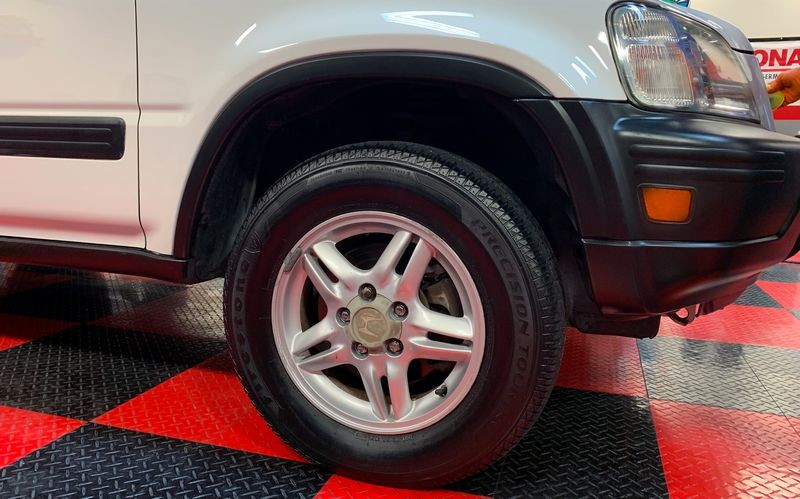
Results
Now here's what show cars should look like.
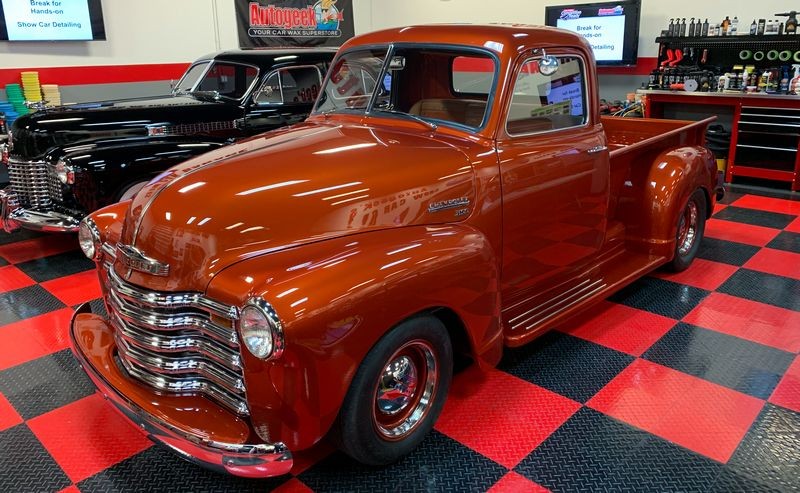


My comments...
The above two show cars both came here contaminated, (above surface bonded contaminants like overspray paint), and both cars were filled with swirls and scratches.
Out of the 12 cars this class will detail these were the MOST expensive cars and the 2 cars in the worst shape. The people attending this class came from all walks of life. Some had experience machine buffing and some had ZERO EXPERINENCE. In my classes you learn the art and craft of machine polishing to perfection but you also learn how to work as a team and often times make lifelong friends.
These classes are HARD. But they are also fun and rewarding.
My 3-day classes START at 7:30am SHARP. These people never sat in a chair until Sunday. By 8:00am, after going over some basic safety and then going over techniques they were working on these two magazine quality cars.
After just these two cars everyone's confidence level as well as skill level and knowledge level.
You cannot learn what these people learned with just the first two cars they detailed by watching YouTube videos. Hands-on learning, hands-on training is light years above watching a video. Plus - just because it's a video on YouTube that doesn't mean the information presented is accurate.
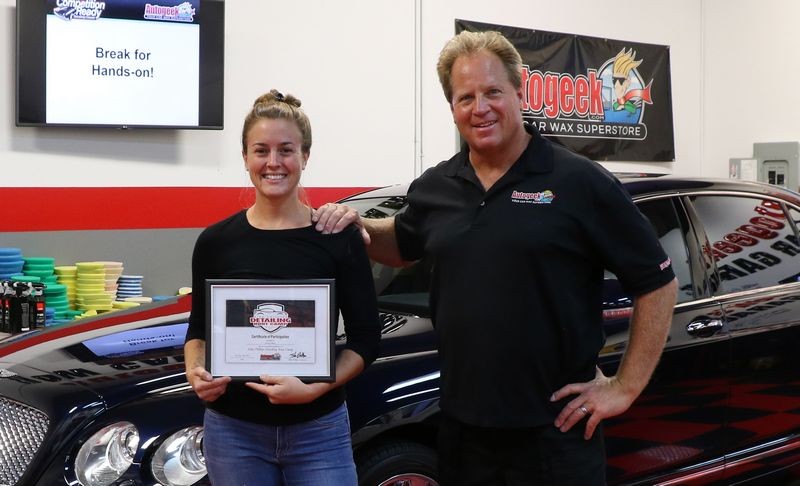
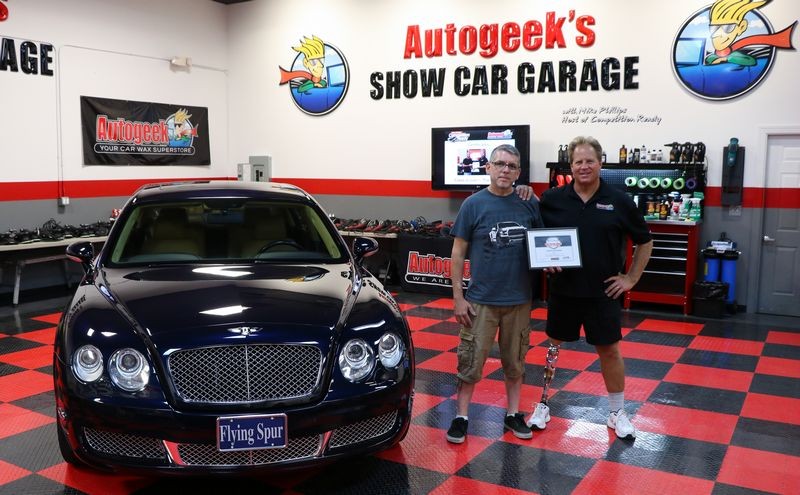
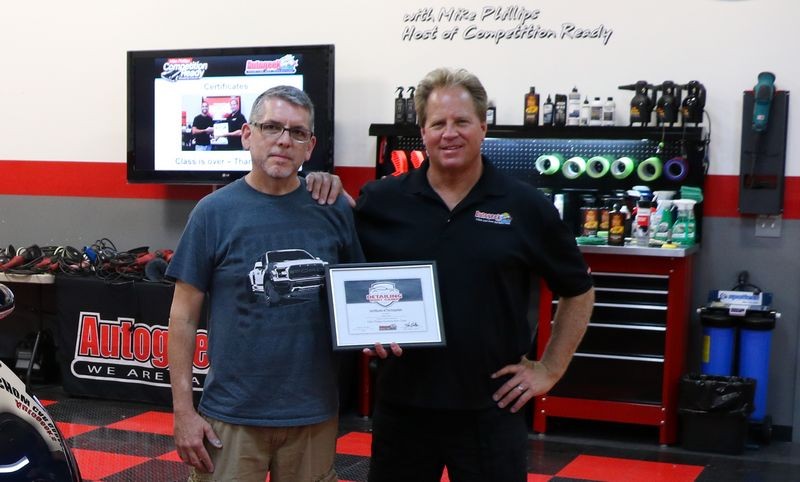
And the above is just 2 of 12 cars this class will detail. And here's the people that made the magic happen!
-
Post Thanks / Like - 0 Thanks, 1 Likes, 0 Dislikes
-
-
Post Thanks / Like - 0 Thanks, 1 Likes, 0 Dislikes
-
-
Post Thanks / Like - 0 Thanks, 1 Likes, 0 Dislikes
-
Re: Pictures from the May 2019 Detailing Bootcamp Class at Autogeek with Mike Phillips
More to come....
***Placeholder 4 ***
-
-
Post Thanks / Like - 0 Thanks, 1 Likes, 0 Dislikes
-
-
Post Thanks / Like - 0 Thanks, 1 Likes, 0 Dislikes
-
Re: Pictures from the May 2019 Detailing Bootcamp Class at Autogeek with Mike Phillips
Continued...
Mid-Afternoon Saturday - Production Detailing
By this point the class has detailed 8 cars using multiple multiple tools, pads and products. Each set of 2 cars they have learned and performed what I call and teach,
Show Car Detailing
Show car detailing or multiple-step detailing is where you break the paint correction process into dedicated step. That would look like,
Wash/clean
Decontaminate
Compound
Polish
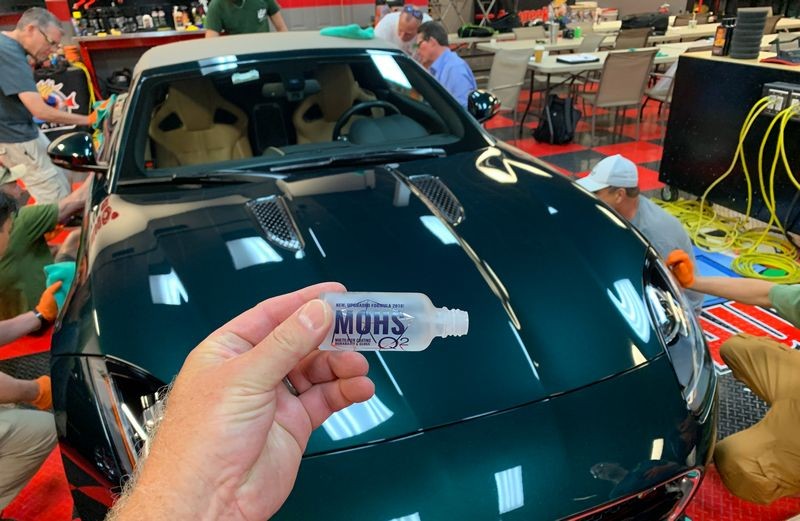
Seal - Sealing the paint includes using carnauba wax, synthetic paint sealants and ceramic paint coatings.
And anytime you use a ceramic paint coating there is the EXTRA STEP of chemically stripping the paint. The next technique the class learns is what I call Production Detailing. I don't know what other people or other instructors call and don't really care. As a writer with 5 how-to books under my belt, hundreds of articles over almost 2 decades and having coined many of the terms used in our industry I'm fairly confident of the words I choose to label a topic, tool, product or technique.
Production Detailing Definition
Performing ONE STEP to the paint after all of the normal steps have been performed
The normal steps include somehow washing or cleaning the car, (could be a hose and bucket wash, foam gun wash, rinseless wash or waterless wash etc.), decontaminating the paint mechanically and or mechanically and chemically. These are normal steps you do to a car no matter how you address the paint correction and then the sealing of the surface of the paint.
One Step means using a one step AIO or cleaner/wax or cleaner/sealant. The point of the product is that it does three things in one step,
- Compounds or corrects the paint.
- Polishes the paint to maximize gloss and clarity
- Seals the paint with "something"
When detailing daily drivers or working at a production detail show, could also be working at a new and/or new and used car dealership, you are normally doing high speed or "production" work, thus the name Production Detailing.
Almost all waxes or paint sealants you can buy at the local auto parts store or at places like Target and Walmart are in fact one-step cleaner/waxes or one-step cleaner/sealants. The difference between a cleaner/wax and a cleaner/sealant is a cleaner/was uses some type of waxy substance for protection while a cleaner/sealant uses some type of man-made synthetic substance for protection. And of course if you don't already know, the acronym AIO stands for All-in-One which is the exact same thing as a cleaner/wax or cleaner/sealant. All of these product do 3 steps in 1 step.
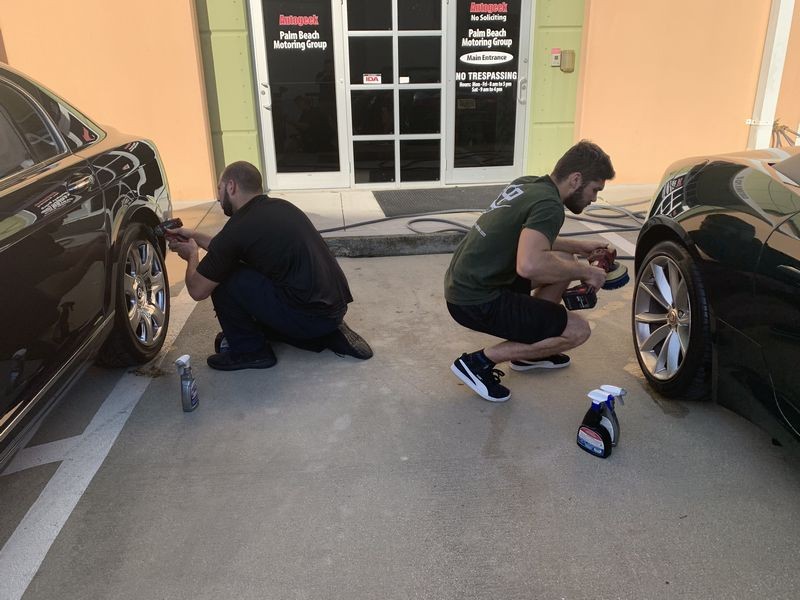
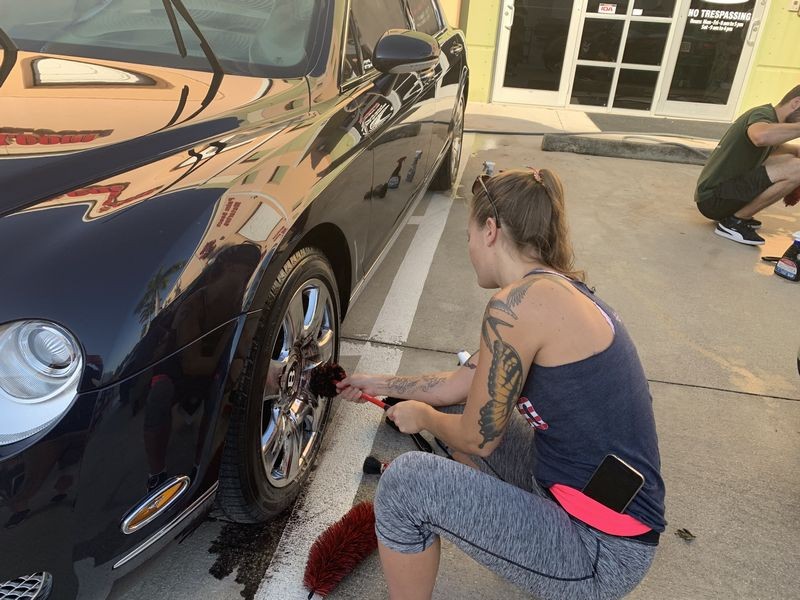
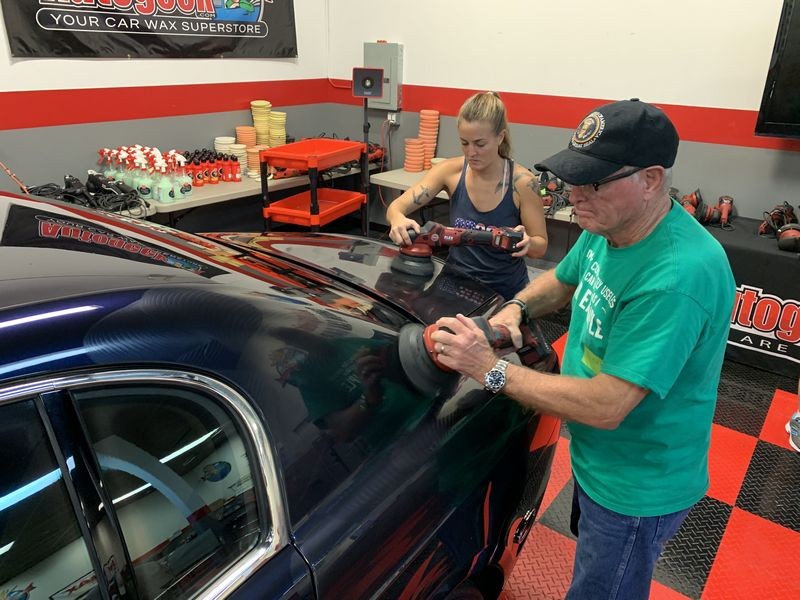
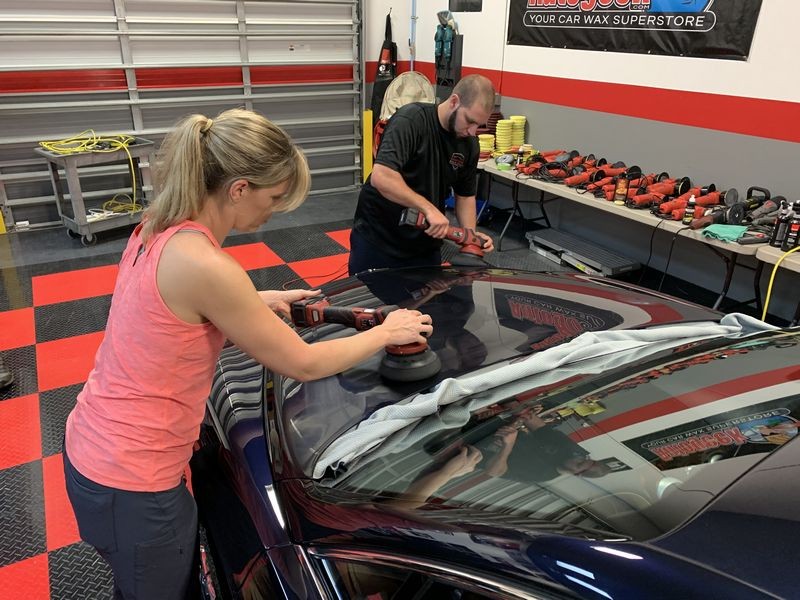
In my classes I have the students use ALL of the tools in their prospective systems, (if they have a system, for example RUPES and Griot's have complete systems), so by the time we get to mid-afternoon on Saturday, after having used all the different tools, when we go over Production Detailing each person can choose which tool or tools they want to re-visit or spend more time with.
Here's the logic behind this approach. You cannot spend more time or re-visit a tool you have not used. So this is why I start Friday and go into Saturday covering Show Car Detailing. It gives the students the chance to use ALL the different tools, pads and products.
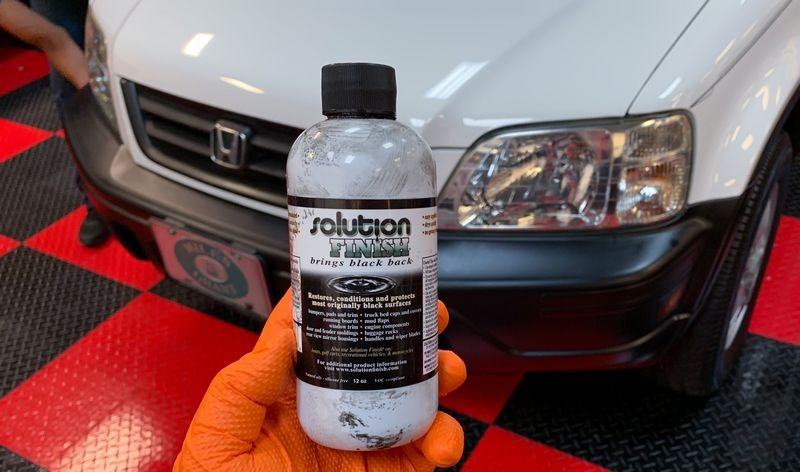
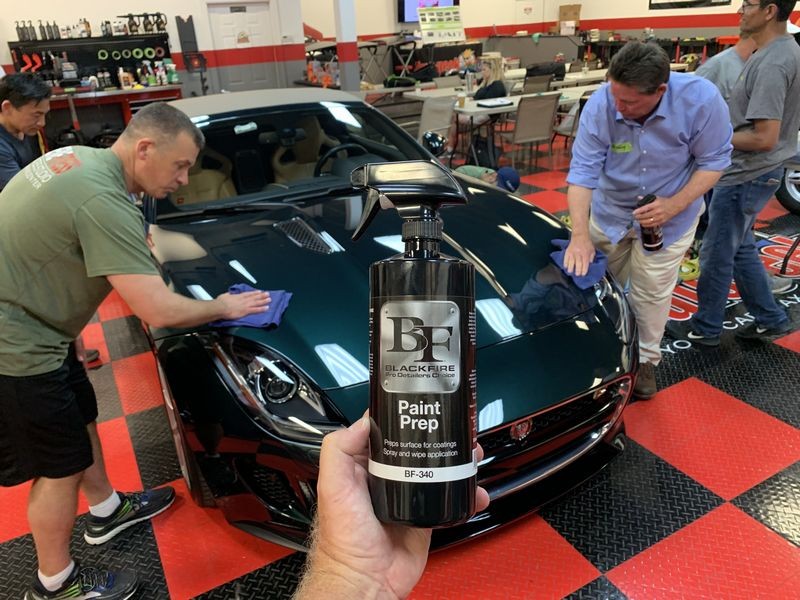
NOW they get to use any tool they like and use a GREAT one-step cleaner/wax and currently in my classes I'm showing the BLACKFIRE One Step, which is technically an one-step cleaner/sealant as it uses synthetic ingredients for protecting the paint. BLACKFIRE One Step uses great abrasive technology as the class sees first hand.
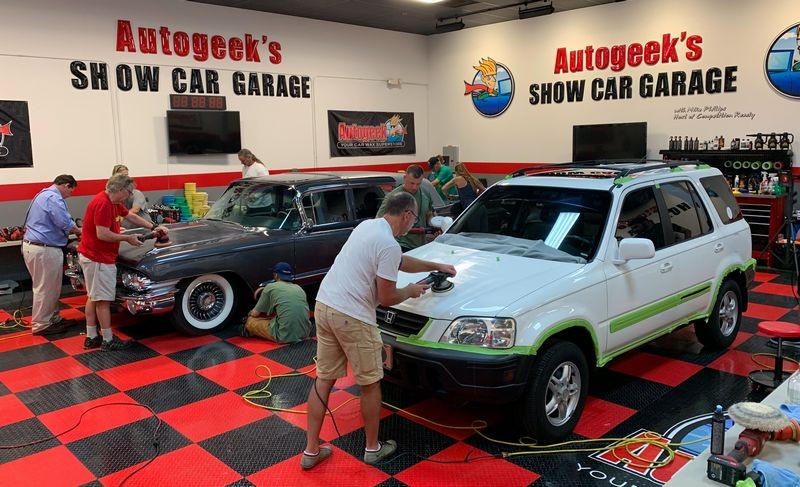
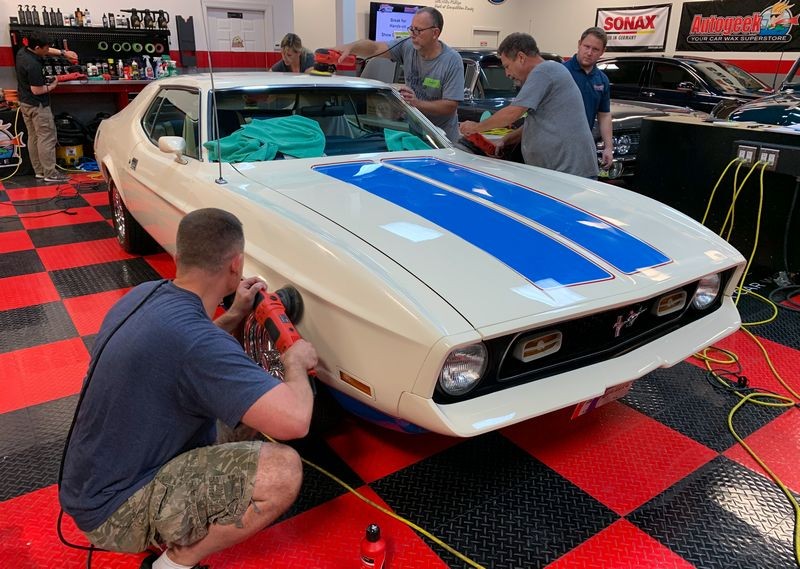
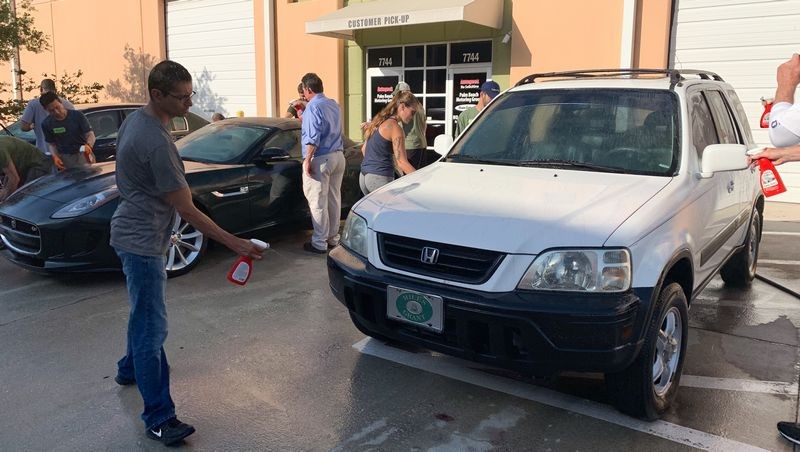
The training cars for Production Detailing
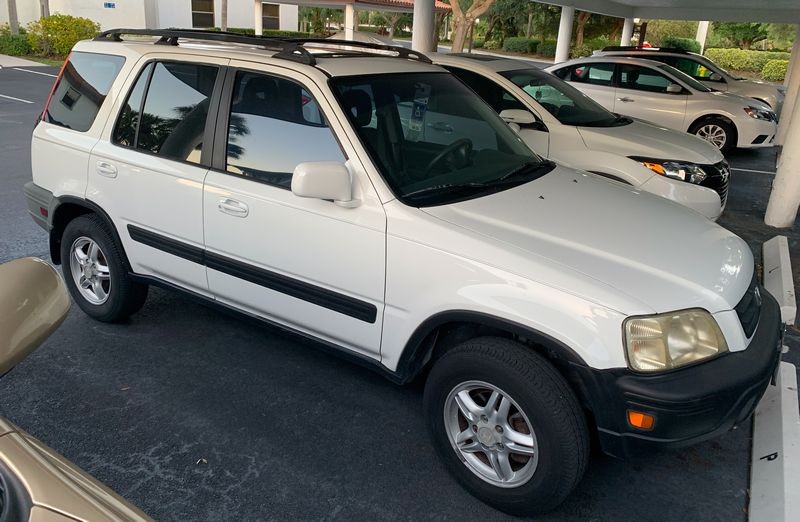
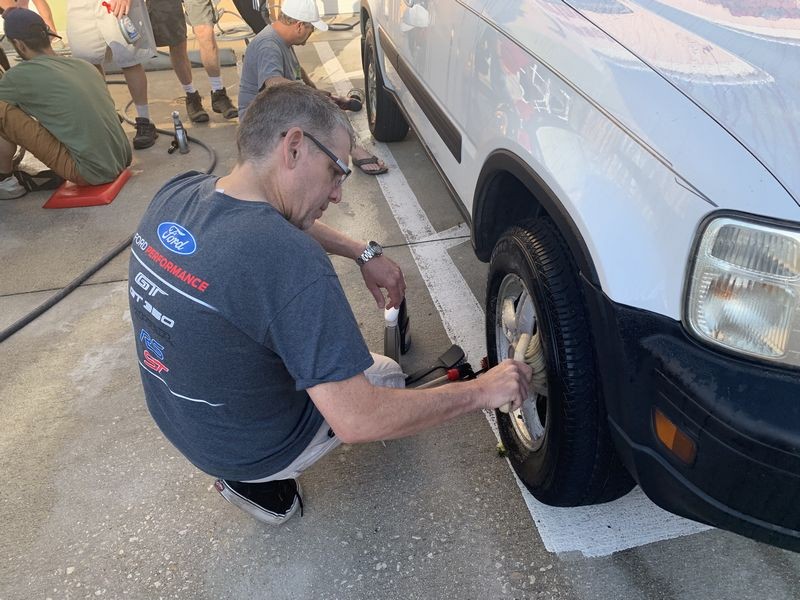
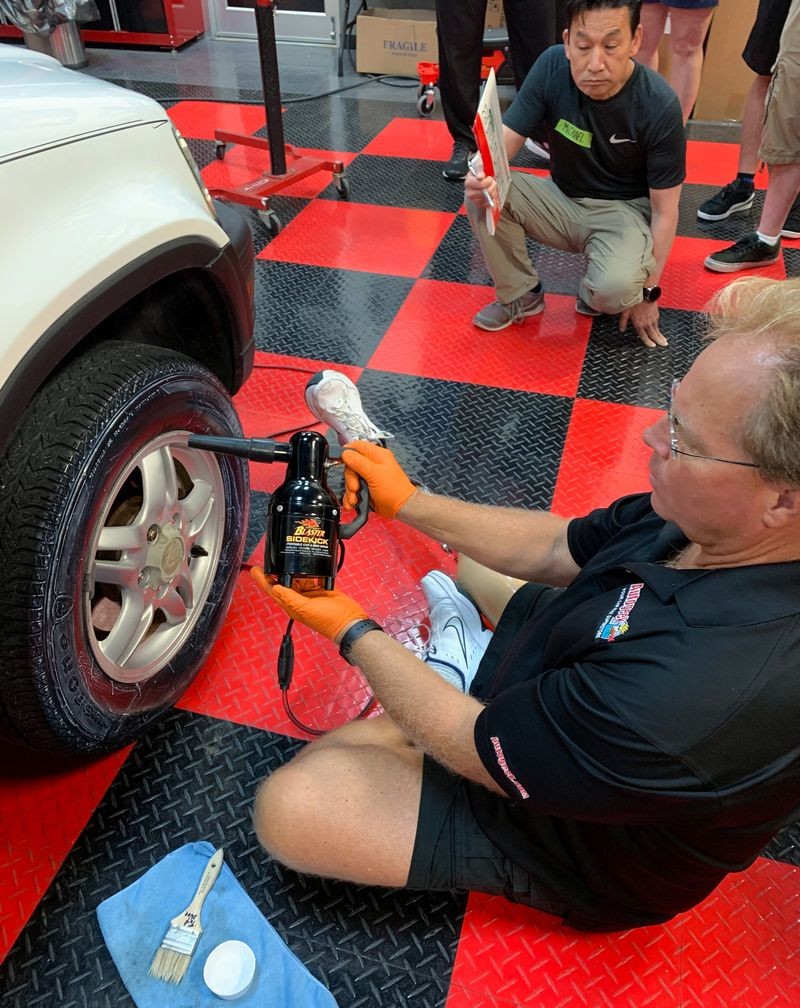
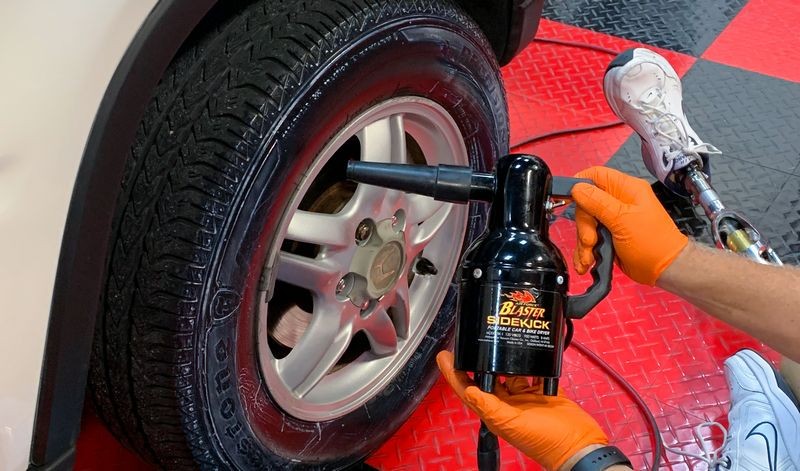
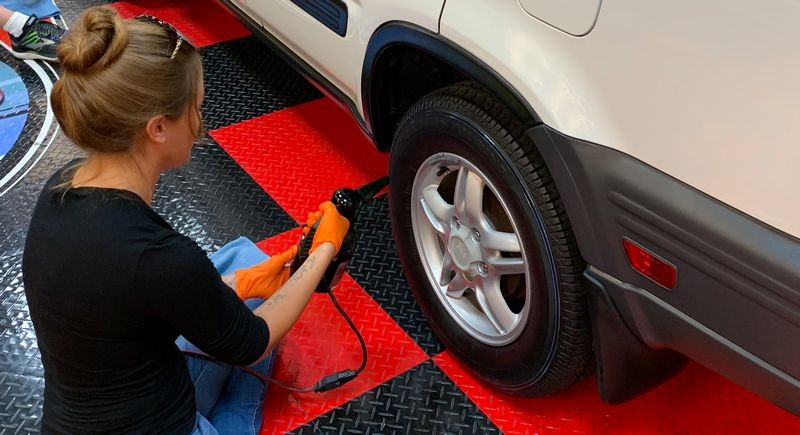
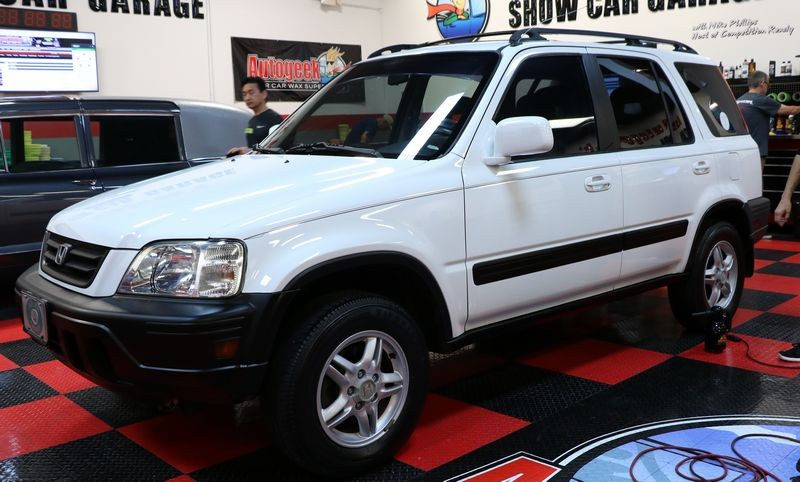
For this class session I'm always looking for neglected cars and I try to have at least one white car that's neglected. The reason for a neglected white car is because when we wash it and use an iron remover I need the paint to bleed red to have a visual impact on the class. This is in case someone in the class has never seen nor used an iron remover. The red bleeding effect makes a strong impact on white paint and the average person can then WRAP THEIR MIND AROUND THE IDEA and thus the product and process.
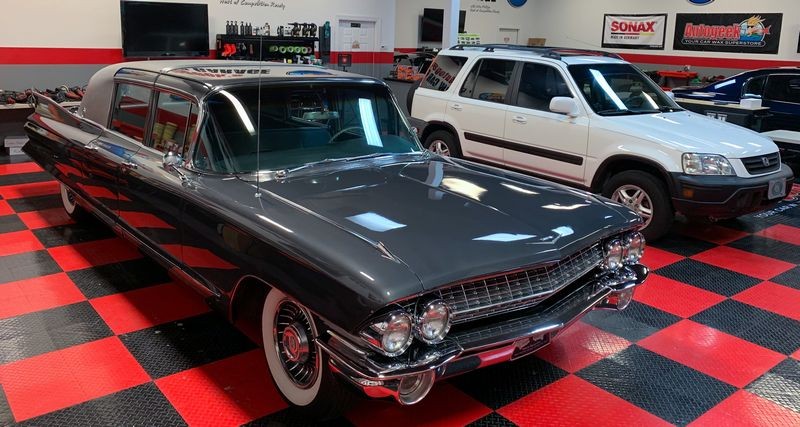
I'm happy to say the white 2000 Honda CRV was contaminated and bled read and so did the other 3 cars the class washed it was just harder to see on the grey Cadillac, the blue Bentley and the green Jaguar.
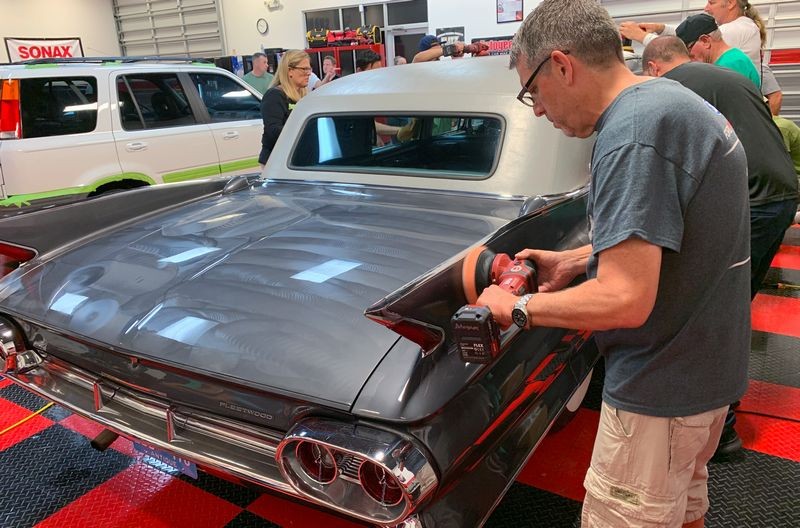
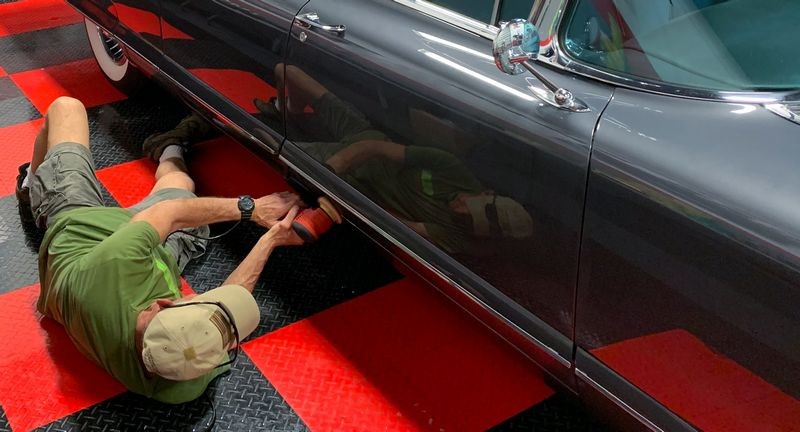
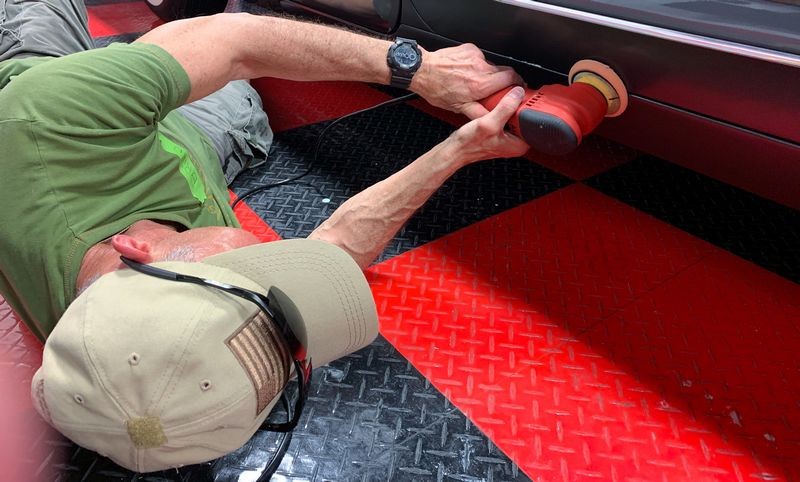
Here's the two cars I obtained to teach the very important topic of production detailing.
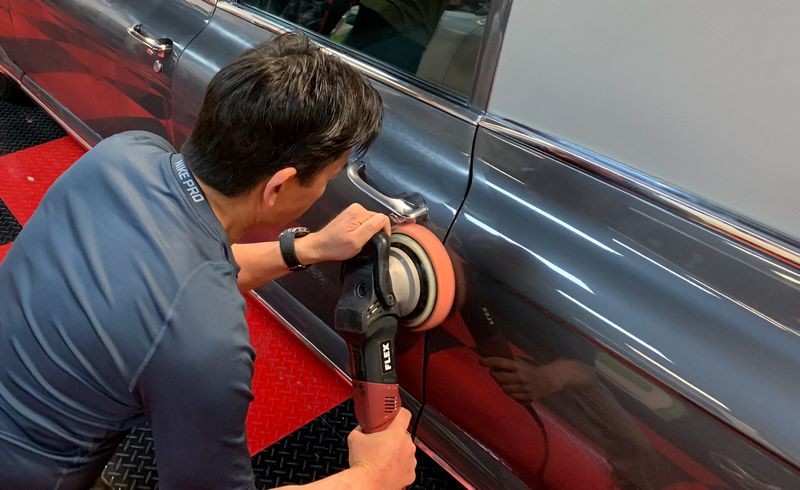
1961 Cadillac Series 75 Formal Sedan


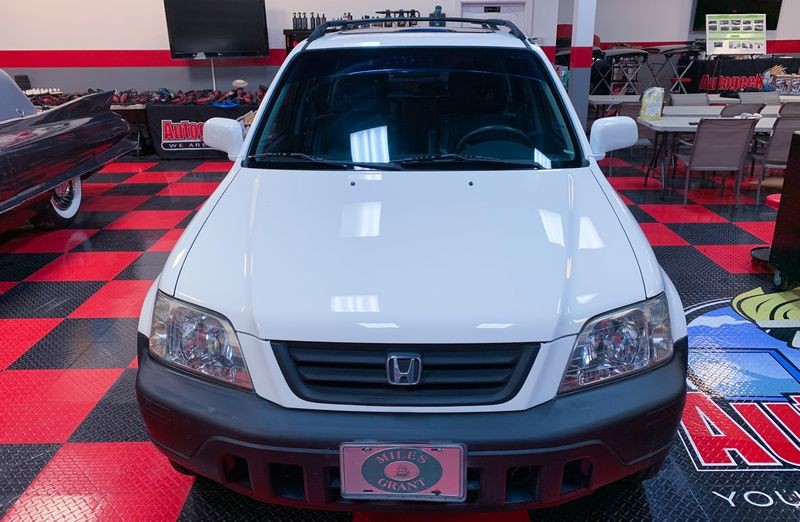
2000 Honda CRV
You can find the washing pictures in post #7 above
Order of steps
The below picture are shared in the order each of the procedures, products and tools were used on these two cars.
Headlight Correction
Sorry no pictures of the "action", attend one of my classes and learn how to do this in person.


Here's what the class learned to use...
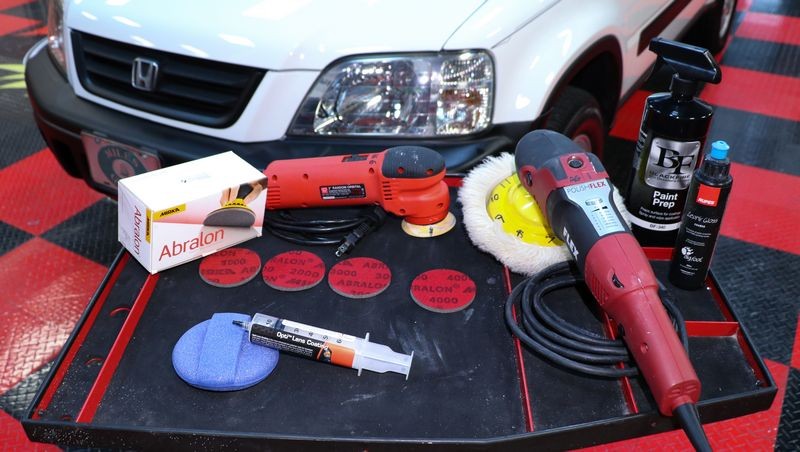
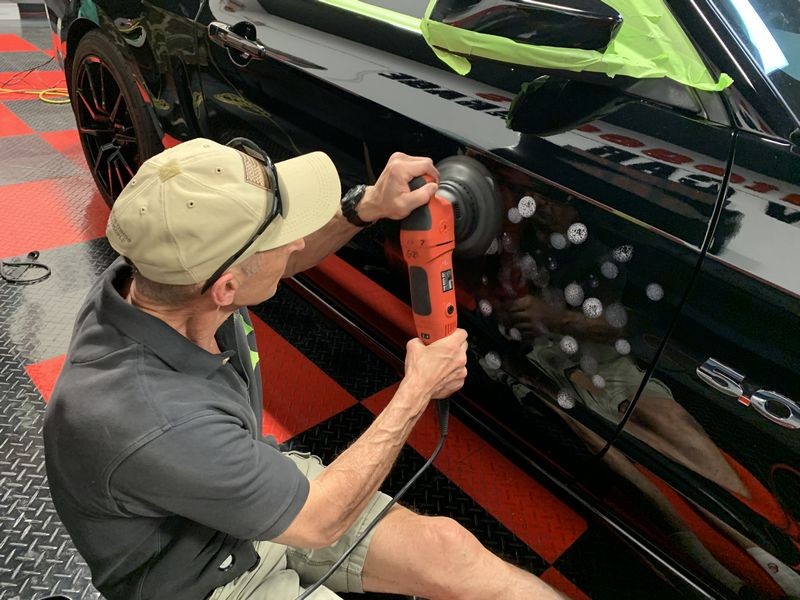
Test Spot
You always do a Test Spot even when doing one-step production detailing. Normally you TRY to stick with foam "polishing" pads to avoid putting micro-marring into the paint from using foam "cutting" pads and of course, in most cases a foam "polishing" pad won't work with the one-step cleaner/wax to offer enough correction.
2000 Honda CRV
From our Test Spot we found the paint to be very SOFT and a foam polishing pad removed the defects and restored a factory new finish.
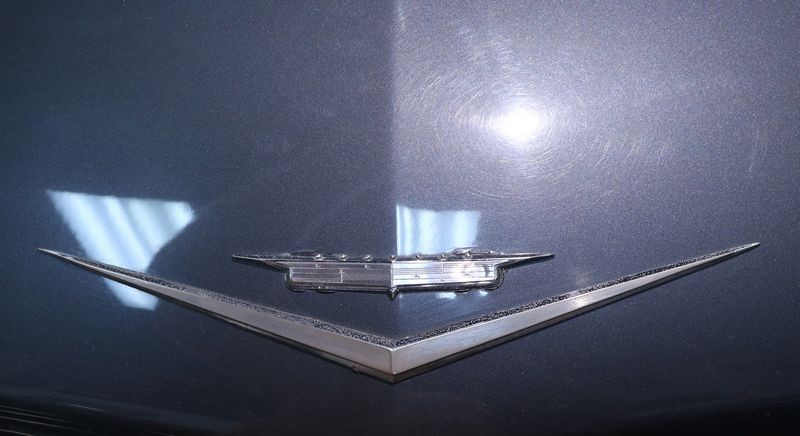
1961 Cadillac
From our Test Spot we found the paint to be very HARD and the severity of the swirls and scratches were so bad that we found a foam "cutting" pad removed the defects without leaving any micro-marring.
Interesting Point: In the pictures below - when you see the tools these people have chosen, remember it was their choice.


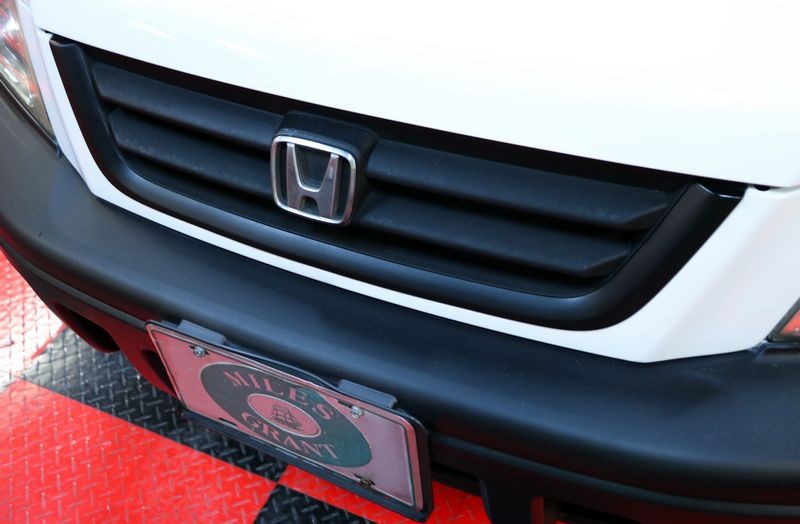
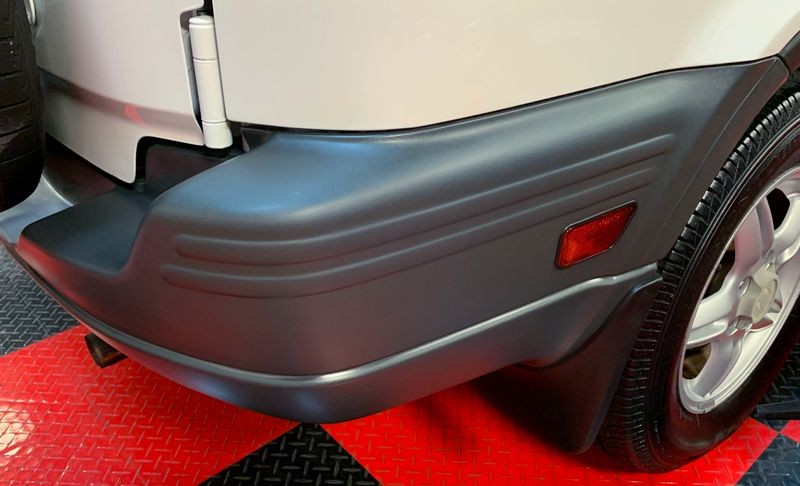
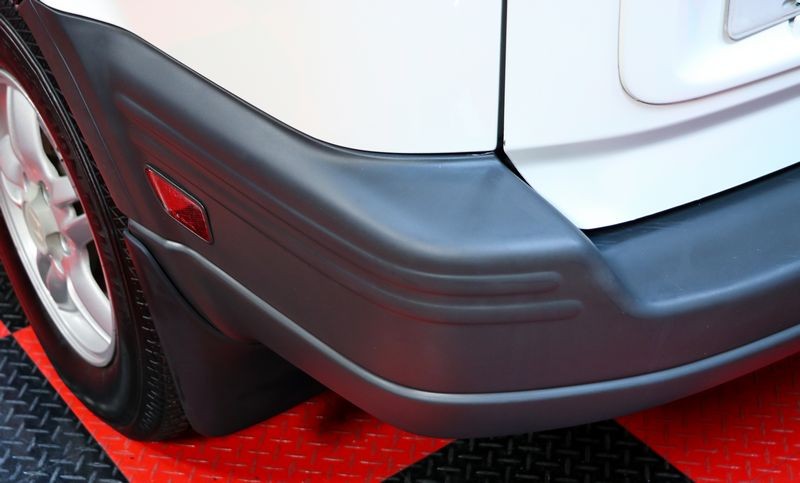
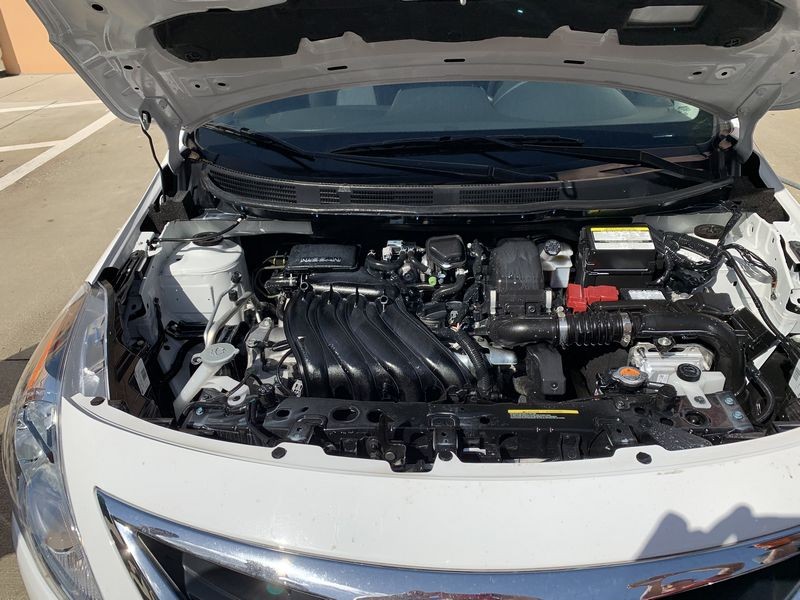
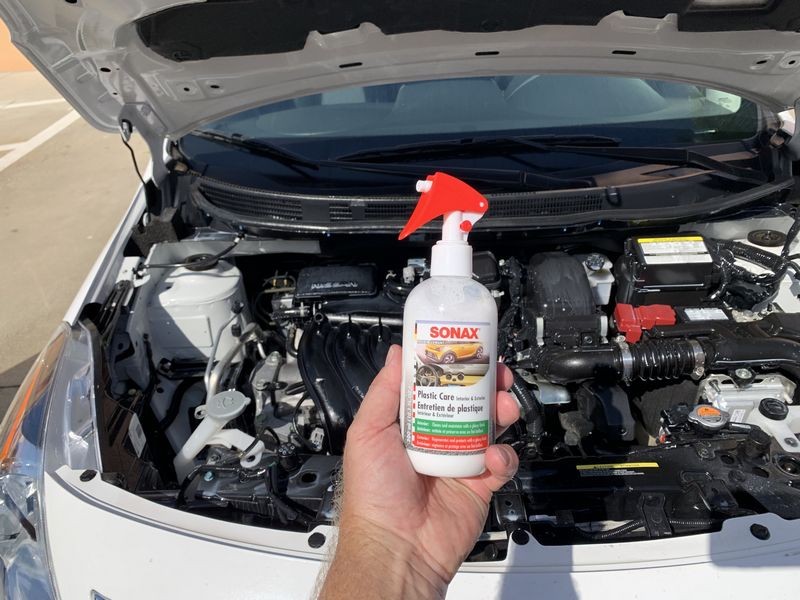
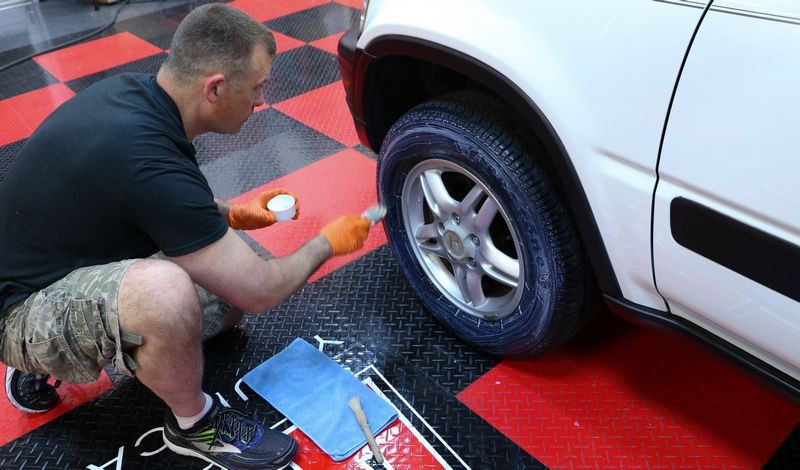
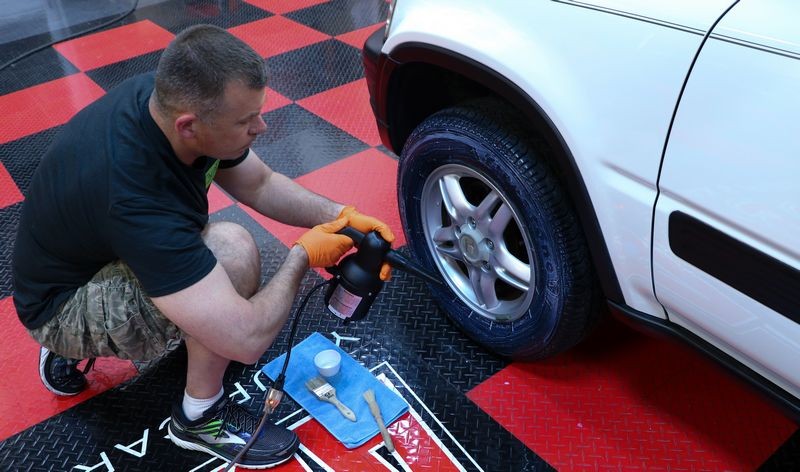
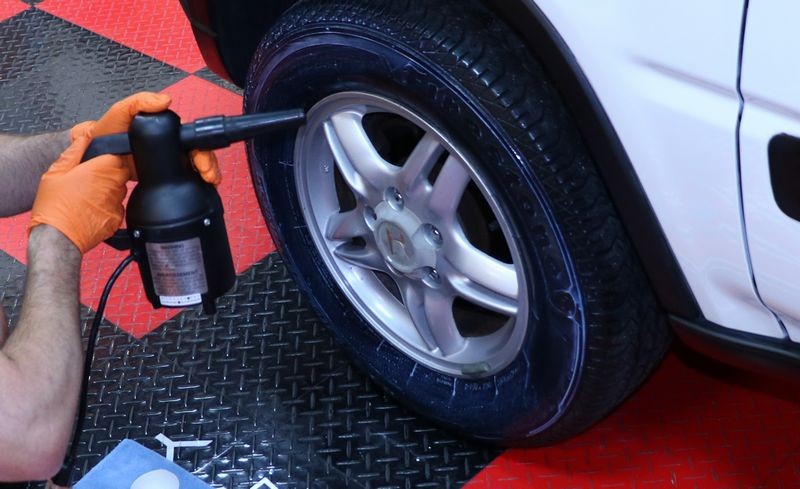
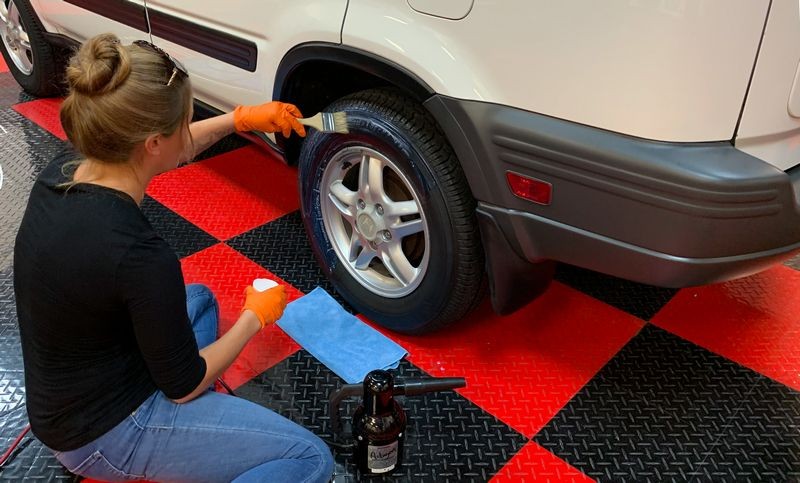
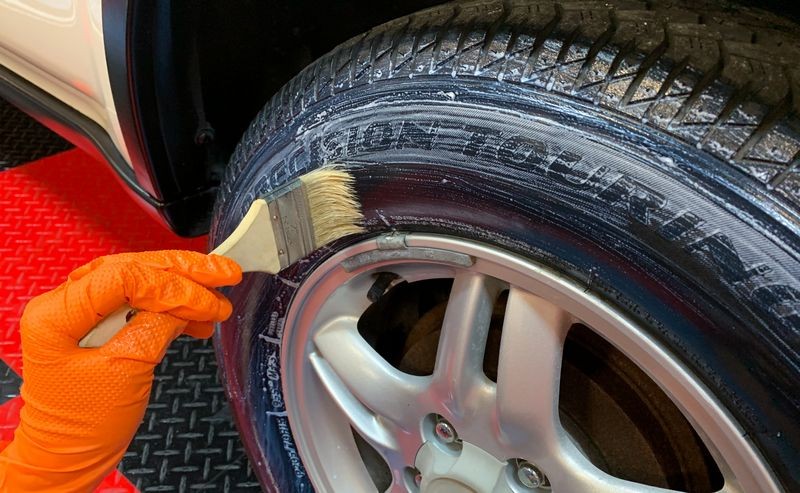
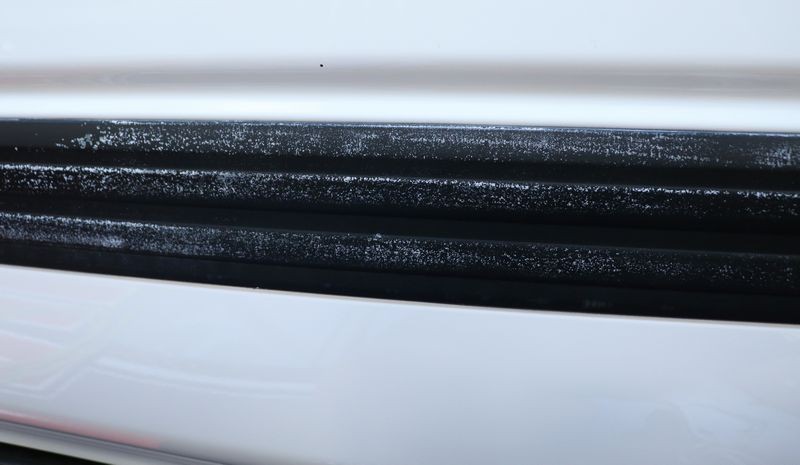
Plastic Trim Restoration with Solution Finish


-
Post Thanks / Like - 0 Thanks, 1 Likes, 0 Dislikes
-
-
Post Thanks / Like - 0 Thanks, 1 Likes, 0 Dislikes
Similar Threads
-
By Mike Phillips in forum PICTURES: 3-Day CAR Detailing Bootcamp Classes
Replies: 16
Last Post: 11-03-2019, 08:05 PM
-
By Mike Phillips in forum PICTURES: 2-Day BOAT Detailing Classes
Replies: 8
Last Post: 02-19-2019, 09:45 PM
-
By Mike Phillips in forum PICTURES: 3-Day CAR Detailing Bootcamp Classes
Replies: 0
Last Post: 02-04-2019, 04:10 PM
-
By Mike Phillips in forum PICTURES: 2-Day BOAT Detailing Classes
Replies: 44
Last Post: 01-23-2019, 12:57 PM
-
By Mike Phillips in forum PICTURES: 3-Day CAR Detailing Bootcamp Classes
Replies: 25
Last Post: 05-25-2018, 03:14 PM
 Members who have read this thread: 0
There are no members to list at the moment.
Posting Permissions
- You may not post new threads
- You may not post replies
- You may not post attachments
- You may not edit your posts
-
Forum Rules
|
| S |
M |
T |
W |
T |
F |
S |
| 31 |
1
|
2
|
3
|
4
|
5
|
6
|
|
7
|
8
|
9
|
10
|
11
|
12
|
13
|
|
14
|
15
|
16
|
17
|
18
|
19
|
20
|
|
21
|
22
|
23
|
24
|
25
|
26
|
27
|
|
28
|
29
|
30
| 1 | 2 | 3 | 4 |
|


 Thanks:
  Likes:


 Reply With Quote
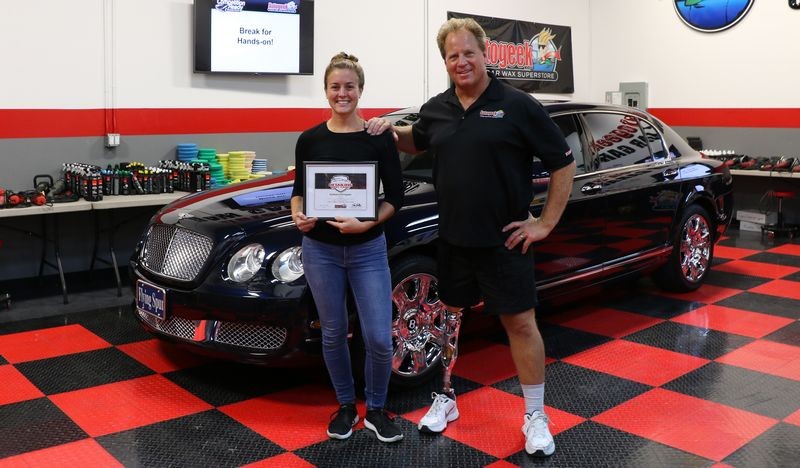


Bookmarks