 Thanks: 0
 Dislikes: 0
-
Super Member

Re: Please Help Fixing Swirl Marks!
You won't go wrong listening to Mike. This is exactly how I learned. I read every article Mike had written up to that point, then re-read them 2-3 times.
I also bought Mike's book "A Complete Guide to a Show Car Shine" and read that baby over and over. By the time I was ready to use the polisher (I started with the PC too, and it's a great machine with the 5" pad set up) I was confident that I could do it, and do it right.
The funny thing you will find after you get about 5-10 minutes into your first polishing session is: You will be saying to yourself "Damn, not only is this easy, it's fun!"
Good luck, and hope you have fun with the awesome new truck. And please post pics!!
It is no coincidence that man's best friend cannot talk.
-
Re: Please Help Fixing Swirl Marks!
 Originally Posted by fly07sti

Where are you located? Maybe someone on this forum is close and could lend you a hand and get your truck done in no time.
As far as following up with a dedicated wax, No you dont have to but you can if youd like. I personally use a spray wax or sealant after using an AIO. Very quick application and removal and helps me double check for anything I may have missed.
I am located near Madison, WI.
I have a bottle of spray wax so I might consider using that after using the BF One Step.
-
Re: Please Help Fixing Swirl Marks!
Originally Posted by Mike Phillips
In the article I linked to, I include 2 recommended 5" backing plates that will fit the 5.5" LC pads - I would get the Lake Country mostly because it's yellow and it will be easier to "mark" with a Sharpie and easier for your eyes to monitor pad rotation.
Sorry about that, I missed that link. I just read through that post and again, it was extremely useful information. It is exactly the type of stuff I had been struggling to figure out as a beginner.
Originally Posted by Mike Phillips
Nope - don't have to. You can if you want longer protection. As a rule, and this applies to all one-step products, the protection lasts about 3 months. Look for a long lasting liquid paint sealant and then apply it using the PC and a soft foam waxing pad.
This product is good but a bit sticky to wipe-off. As long as you only apply to small sections at a time and then wipe off it's phenomenal in longevity.
SONAX Polymer Net Shield - Closest thing to a coating without being a coating
Heck even if you only applied it to the horizontal surfaces I think you would be impressed. You can also apply to plastic trim. I do.
Sounds good. I think for my first go at it I will try without putting anything on after and see how it goes. The truck sits in my garage during the week because I use a little commuter car for work, so I am thinking (hoping?) I might get a little longer protection out of the BF One Step.
Again, thanks for your quick and informative responses 
-
Re: Please Help Fixing Swirl Marks!
Originally Posted by PaulMys
You won't go wrong listening to Mike. This is exactly how I learned. I read every article Mike had written up to that point, then re-read them 2-3 times.
I also bought Mike's book "A Complete Guide to a Show Car Shine" and read that baby over and over. By the time I was ready to use the polisher (I started with the PC too, and it's a great machine with the 5" pad set up) I was confident that I could do it, and do it right.
The funny thing you will find after you get about 5-10 minutes into your first polishing session is: You will be saying to yourself "Damn, not only is this easy, it's fun!"
Good luck, and hope you have fun with the awesome new truck. And please post pics!!
The thing I have been struggling with is the confidence that I can do it and do it right, although I have started reading through all of Mike's stuff and it is getting me more excited and confident to do it.
I will definitively post some pics after I do it, but it probably won't be for a couple weeks.
-
Re: Please Help Fixing Swirl Marks!
A little more feedback... get orange pads. White will require a lot more effort. I was in the same boat a couple years ago, and I was concerned about damaging my paint. I started off very conservatively, but eventually ended using orange pads almost exclusively. You wont damage your paint if you do what you see in the countless youtube/Mike videos online.
Sent from my iPhone using AGOnline
-
Re: Please Help Fixing Swirl Marks!
Originally Posted by ThunderGun10
The thing I have been struggling with is the confidence that I can do it and do it right, although I have started reading through all of Mike's stuff and it is getting me more excited and confident to do it.
I will definitively post some pics after I do it, but it probably won't be for a couple weeks.
Before the first time I was polishing a car. I got me a scrap panel to test out how the feeled and how it was with products and so on. Then did a friends very neglected car LOL. Most important is to not stress it the first time. Have plenty of time available cause it is quite time consuming to polish a whole car and other steps. Look at how some protect with towels and masking tape is also something that both protect and makes clean up after polishing more easy to do. Even if most newly polishes is almost dust free. It can be a matte trim that you don't want to be buffed into then it's easier to tape it first and minimize any oops.
-
Re: Please Help Fixing Swirl Marks!
Is it necessary to claybar before using BlackFire One Step? I have never used a claybar before but my understanding is that it is done to remove contamination before polishing. However, the BF One Step product page on AutoGeek says the product removes contamination. Does this mean I can go straight from washing the vehicle to using BF?
-
Super Member

Re: Please Help Fixing Swirl Marks!
Originally Posted by ThunderGun10
Is it necessary to claybar before using BlackFire One Step? I have never used a claybar before but my understanding is that it is done to remove contamination before polishing. However, the BF One Step product page on AutoGeek says the product removes contamination. Does this mean I can go straight from washing the vehicle to using BF?
Doing a paint decontamination prior to correcting the paint is a good idea. If you don't, your pads will be forced to clean the paint as you do the correction and it will make it less efficient and load them with dirt forcing you to clean them more often and work harder to correct the defects.
The decontaminations steps that you should make are the these:
One the vehicle has been washed and detailed,
1. Iron decontamination using a fallout remover like Iron-X. This will melt away the iron contaminants on the paint and make them much easier to remove with the clay bar
2. Tar decontamination. Only needed if tar is present. Tar appears as small black dots on the paint and is usually located on the lower part of the car.
3. Water spot removal. If you have heavy water spots, this will allow you to either remove them or at least weaken them before correcting. You polishing step will also be able to remove them but again, all you can clean away before the polishing will make the polishing step faster and easier.
4. Sap removal. If present, this has to be done before polishing. To remove sap, you will need isopropyl alcohol. Just put a drop on the sap, let it sit for about a minute then use a microfiber towel wet with isopropyl alcohol and it should come out without much effort unless it has been baking there for months.
5. Clay bar. I suggest you get a claybar alternative instead of an actual clay bar. Something like NanoSkin Quick Prep sponges work much faster than a claybar and you don't have to throw them away if you drop them. A claybar can technically do a better job but it's a much longer process and as I said, if you drop it then it's trashed and can't be used anymore, and these things are easier to drop when you are not used to them.
Hope this answers all your questions.
-
Super Member

Re: Please Help Fixing Swirl Marks!
Wow! This thread contains everything you need to knock those swirls down. Typical of Mike's generous help as well as other experts tossing in supplements.
Let me help on the mental side...
I was where you are many years ago. I was deathly afraid of damaging the paint on my pride and joy. Equipped with a PC and some quality polishes I researched I timidly began to touch my paint with the "machine" and maybe at speed 2-3! It wasn't long after that I realized i really wasn't working much.
As i gained more experience and confidence it wasn't long before I had that thing cranked up to 6! I slowed my arm speed and began to see results.
The lesson I learned...You are NOT going to damage your paint with a PC, even at 6! The saying at the time I still remember is "the only way you'll damage the paint is if you drop the machine on it".
The bottom line I will try to impart is don't fear the process of machine buffing. The PC will NOT damage your paint. While that may be reassuring to hear, once you get hands on experience you'l realize that.
Follow Mikes recomendations to a t and have at it. And then check back in with us so we can all smile with you!
-
Post Thanks / Like - 0 Thanks, 1 Likes, 0 Dislikes
-
Re: Please Help Fixing Swirl Marks!
Originally Posted by ThunderGun10
Is it necessary to claybar before using BlackFire One Step?
I have never used a claybar before but my understanding is that it is done to remove contamination before polishing.
However, the BLACKFIRE One Step page on AutoGeek says the product removes contamination. Does this mean I can go straight from washing the vehicle to using BF?
In the context of the page - the word contamination would mean any film or oxidation on the surface, not bonded contaminants like overspray paint, industrial fallout, etc.
When buffing with foam pads, if there are any little BUMPS on the paint, (bonded contaminants), usually foam will just glide over them - it won't remove them, at least not all of them. What works better is to MECHANICALLY remove them first and you do that with clay or a clay substitute.
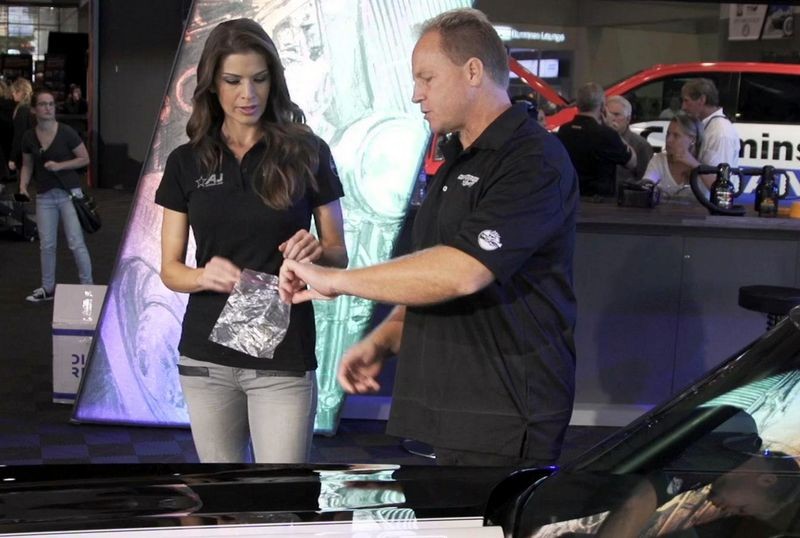
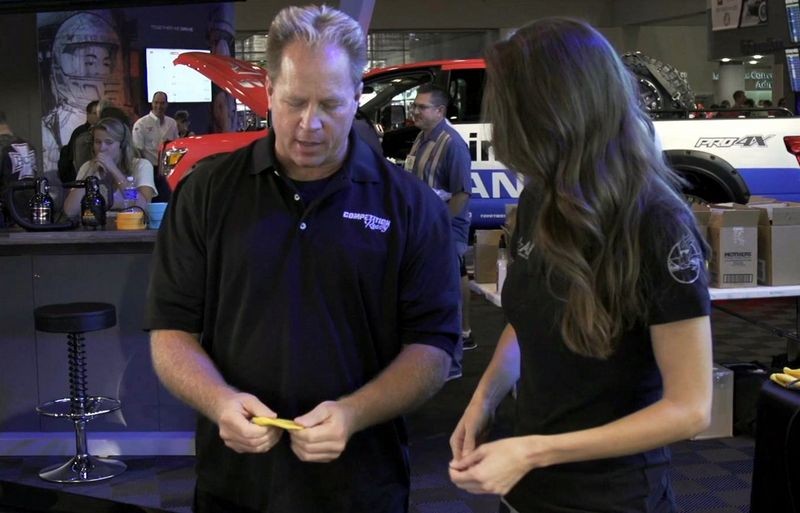
Here's my co-host from our former TV show, AJ showing how to use detailing clay. After you wash the truck, simply do the Baggie Test
The Baggie Test as seen on Competition Ready TV with AJ and Mike Phillips

The Baggie Test
The Baggie Test is a simple test anyone can do at home in their garage to check and inspect if their car has contamination that needs to be removed.
You should alwasy do the baggie test to a clean, dry car. So wash and dry your car before you do the Baggie Test. And keep in mind that if you discover little bumps on the paint when you feel the paint through the sandwich baggie AND you just washed and dried the car - this means these contaminants have a strong enough bond to the paint that they DIDN'T WASH OFF and this means you need to use detailing clay to remove these contaminants.
How to use the Baggie Test to inspect your car's paint
Step 1: Wash and dry car.
Step 2: Feel the paint first with your clean, dry hand.
Step 3: Now feel the paint with your hand inside a clean plastic sandwich baggie.
NOTE: Use a light touch so you don't accidental scratch the paint anytime you're doing the baggie test.
Results from the Baggie Test?
If you feel little bumps on the surface this is a sign that your car's paint is contaminated and needs to be clayed.
How to clay your car
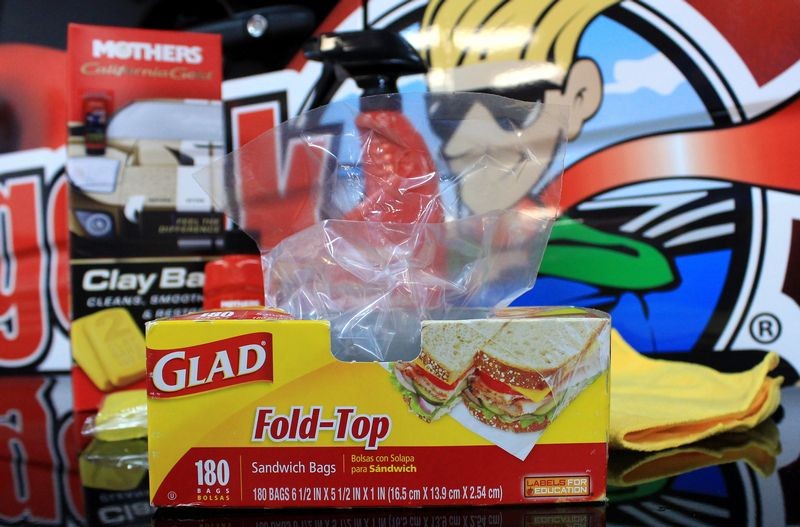
For Kyle Tucker's 1970 Chevelle "The Villain" - we used Mothers California Gold Clay Bar Paint Saving System.
Step 1: Kneed the Mothers clay bar into a patty about the size of a pancake.
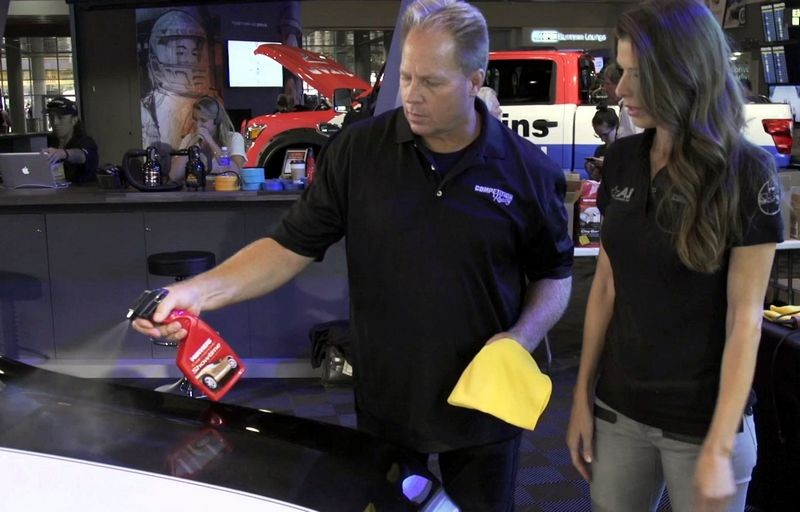
Step 2: Spray some Mothers Instant Detailer onto a section of paint.
Step 3: Rub the clay patty back and forth using straight line motions over the section of paint.
Step 4: After you feel the clay patty begin to glide effortlessly over the paint stop claying and use a clean microfiber towel to wipe off the residue.
This section is now clayed and you can now move onto a new section of paint. Divide body panels of your car into smaller sections, about 2 feet by 2 feet or smaller and after claying a section and wiping it dry, move onto a new section until you have clayed all the horizontal surfaces. If you feel contaminants on the vertical panels using the baggie test you can clay these surfaces too.
After claying your car you should apply a fresh coat of wax. The Mothers Clay Bar Kit includes a sample of Mothers Synthetic Wax which contains enough wax to cover an average size passenger car.
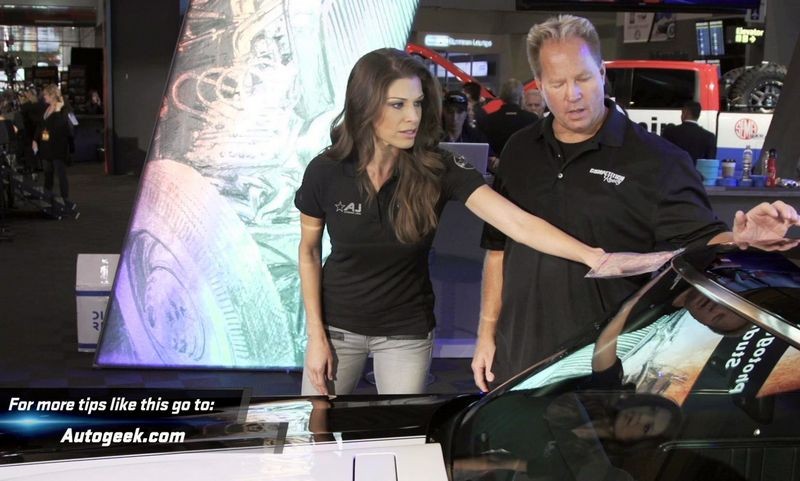
Here's AJ about to inspect the paint using the Baggie Test
Use a light touch - that's all that's needed to inspect your car's paint for contamination.

You can also inspect glass and other hard surfaces and if you discover little bumps it's okay to clay these surfaces also.
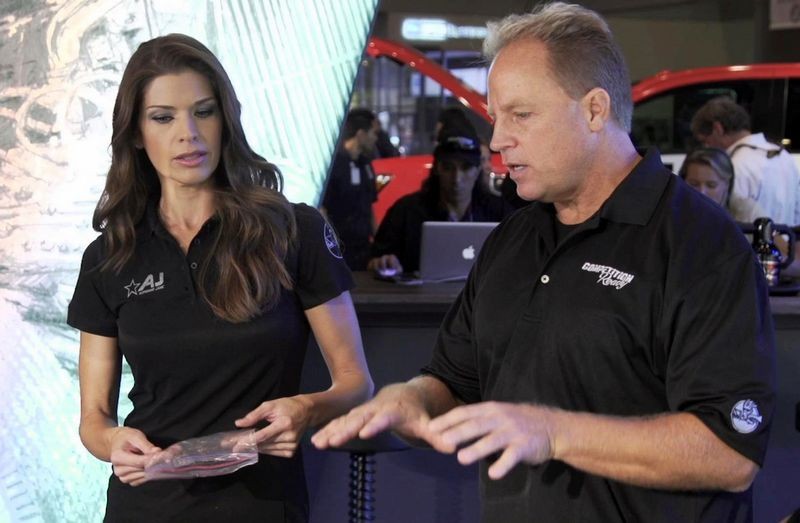
Mike explains where contamination comes from, which are any type of air-borne contaminants like,
- Overspray paint
- Industrial fallout
- Traffic pollution
- Tree Sap Mist
Mother's clay bars come in a protective plastic wrap to keep them clean until ready to use. Before using the clay bar remove it from the plastic wrapper.

Next using your thumbs and fingers, knead the clay bar into a patty about the size of a pancake.
Spray a section of paint using the Mothers Instant Detailer. Use enough product to make the surface wet so the clay patty will glide over the paint.
Then placing your had flat against the patty of clay, rub the clay patty in a back and forth motion over a section of paint.


Normally you'll feel the clay patty drag a little as it is removing contamination. As the contaminants are removed the clay will begin to glide effortlessly. This is a sign the contaminants on this section of paint have been successfully removed.


Next step...
After claying a section, use the Mothers microfiber towel to remove the residues and then move onto a new section. Repeat this till all the contaminated panels are clean and smooth.
-
Post Thanks / Like - 0 Thanks, 1 Likes, 0 Dislikes
Similar Threads
-
By hvac77 in forum Ask your detailing questions!
Replies: 9
Last Post: 08-14-2017, 06:36 AM
-
By flyboylr45 in forum Auto Detailing 101
Replies: 34
Last Post: 06-01-2016, 04:48 PM
-
By Heyjohnboy in forum Ask your detailing questions!
Replies: 17
Last Post: 09-04-2013, 09:24 AM
-
By earl grey in forum Auto Detailing 101
Replies: 6
Last Post: 03-08-2008, 08:39 AM
-
By Jdm in forum Auto Detailing 101
Replies: 34
Last Post: 10-15-2006, 05:11 PM
 Members who have read this thread: 0
There are no members to list at the moment.
Posting Permissions
- You may not post new threads
- You may not post replies
- You may not post attachments
- You may not edit your posts
-
Forum Rules
|
| S |
M |
T |
W |
T |
F |
S |
| 31 |
1
|
2
|
3
|
4
|
5
|
6
|
|
7
|
8
|
9
|
10
|
11
|
12
|
13
|
|
14
|
15
|
16
|
17
|
18
|
19
|
20
|
|
21
|
22
|
23
|
24
|
25
|
26
|
27
|
|
28
|
29
|
30
| 1 | 2 | 3 | 4 |
|


 Likes:


 Reply With Quote
Bookmarks