 Thanks: 0
 Likes: 0
 Dislikes: 0
-
Super Member

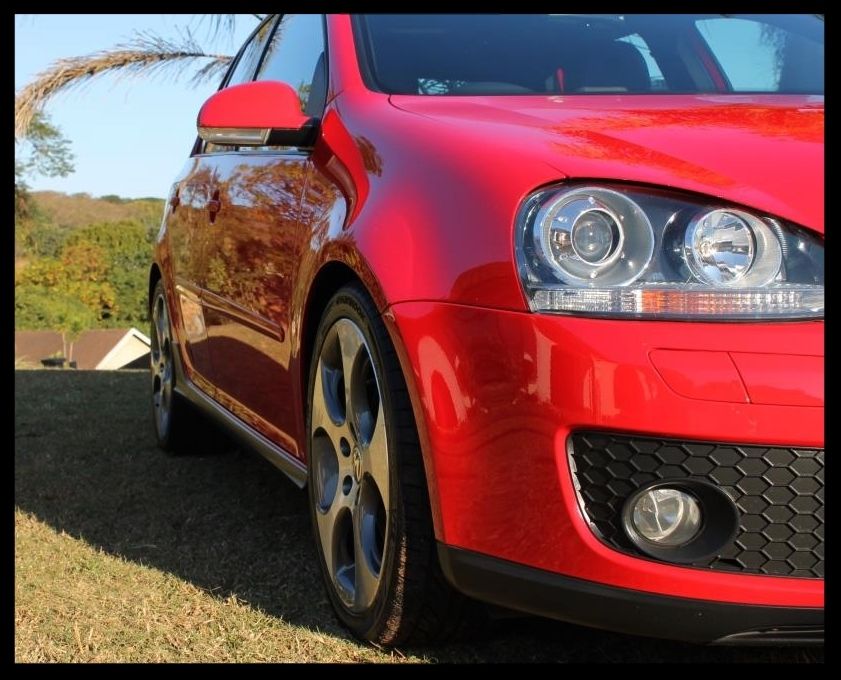
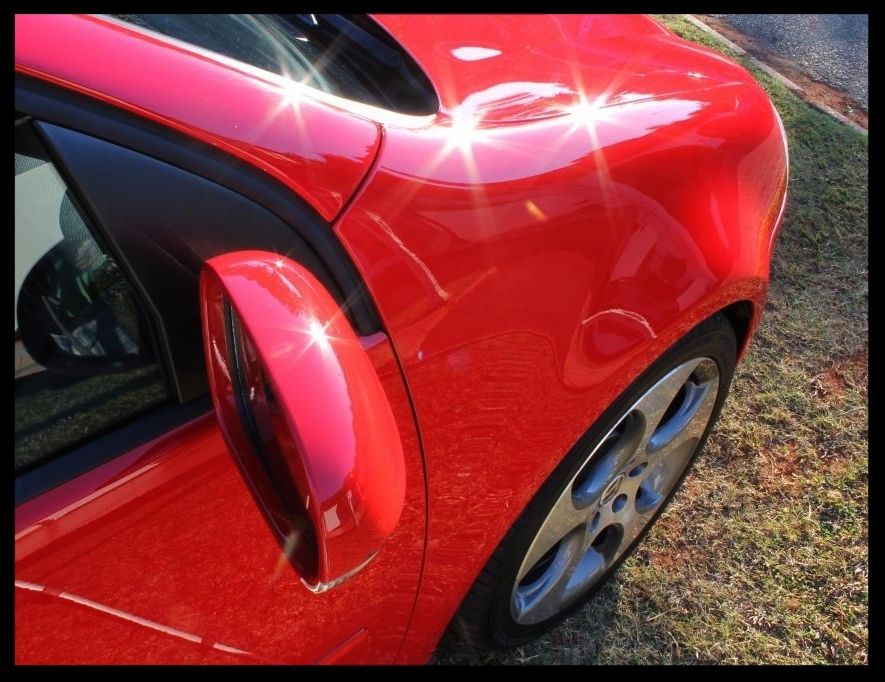
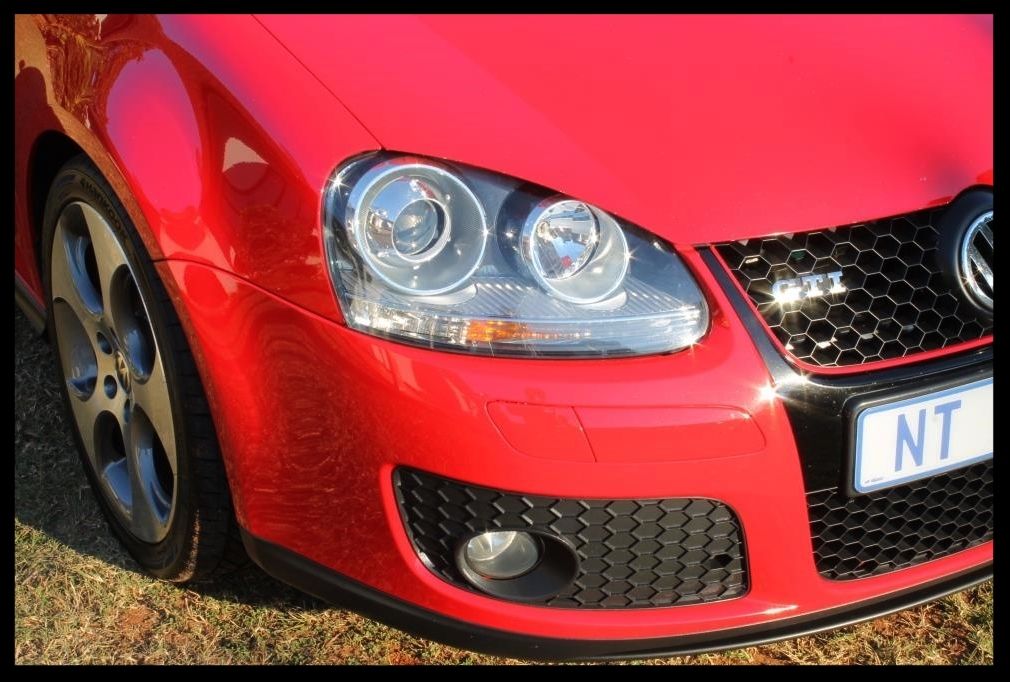
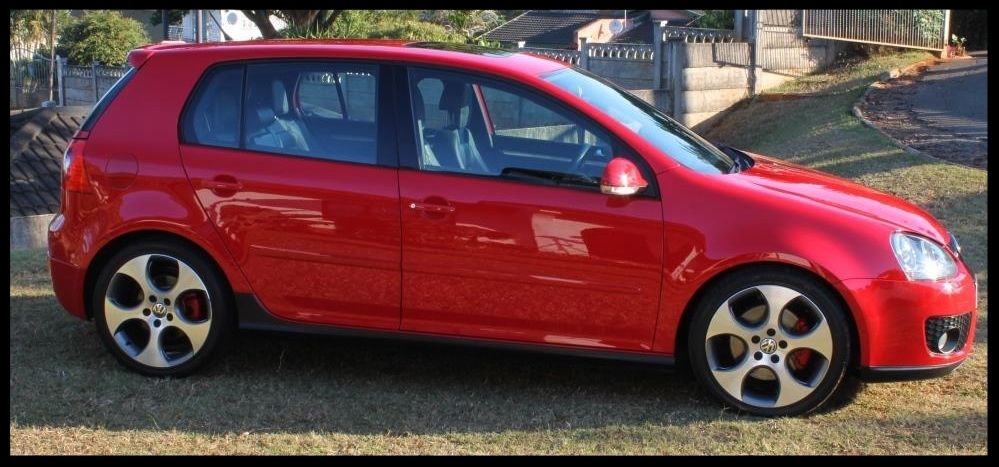
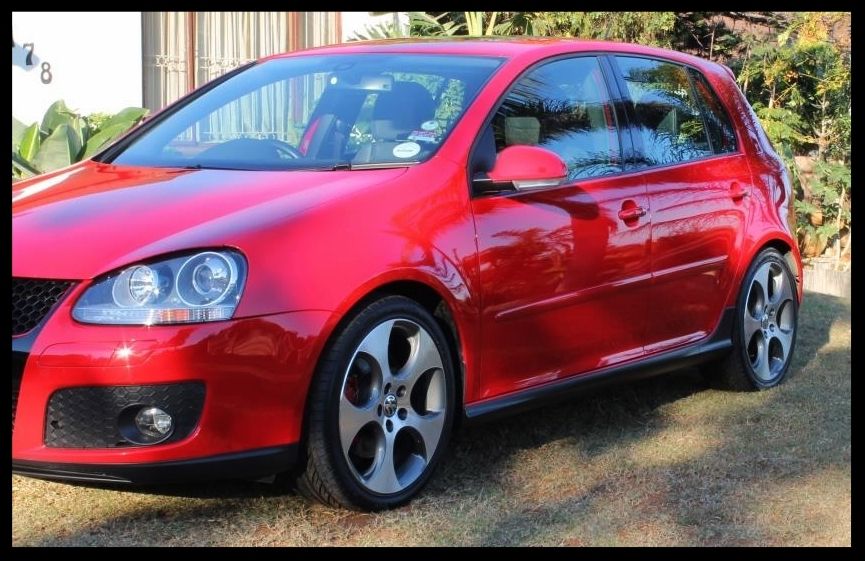
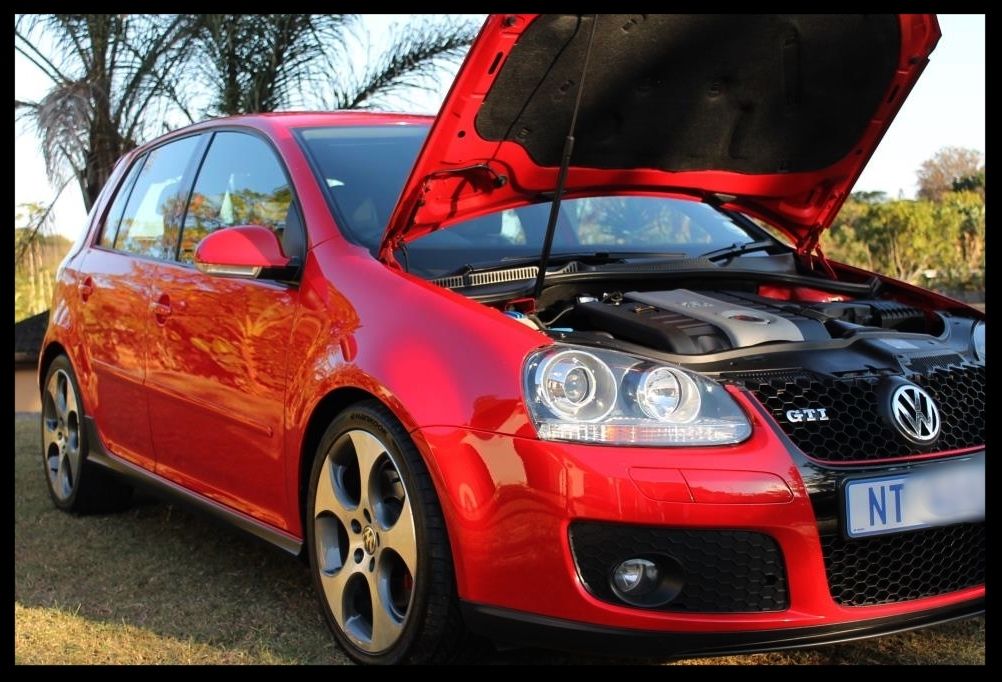
Tornado Red Golf 5 Gti - Detailed by Lawrence
Two red cars in a row.... ah..... the detailing gods.... they be smiling on me :hurray: :grin:
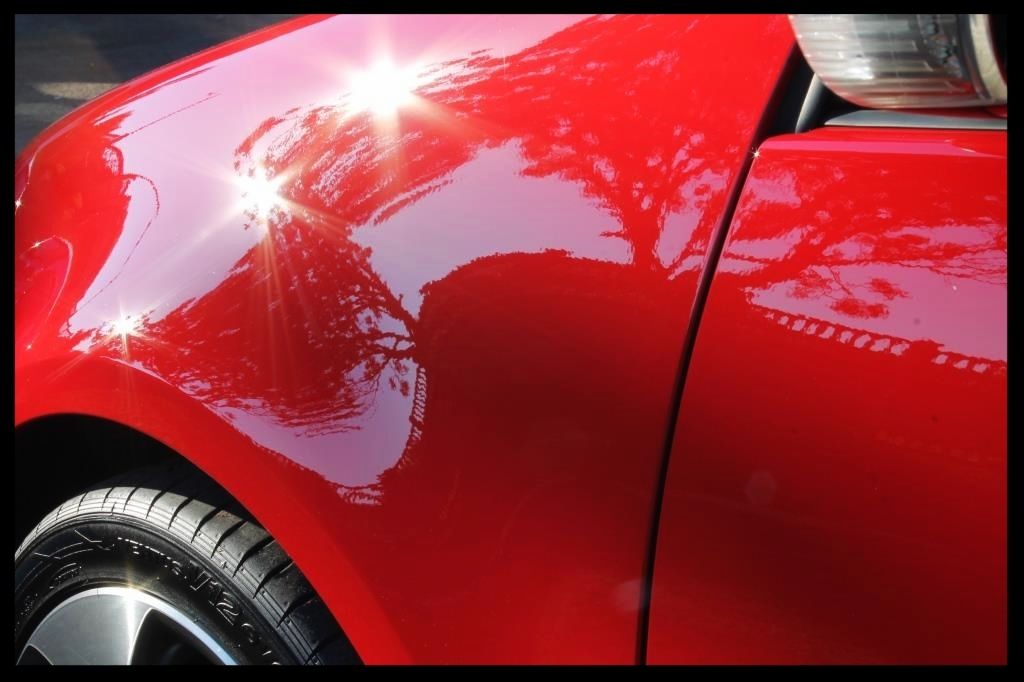
Seriously, I know a lot of detailers (myself included) love polishing black paint - it really shows the results of your hard work and gazing into puddles of wet blackness is something special for us nutters.... but for me personally, the more I see properly polished red paint, the more I think its just an absolute winner.
Unfortunately this example wasn't quite in that condition when it arrived - fortunately after a nice 3 week break I was chomping at the bit and so early Saturday morning I got set up and started...
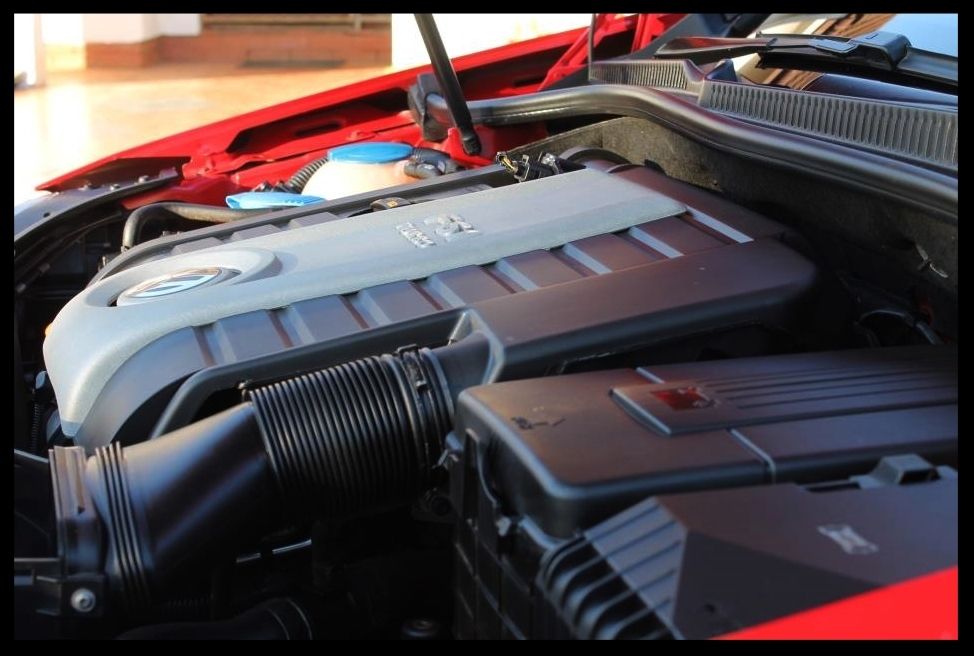
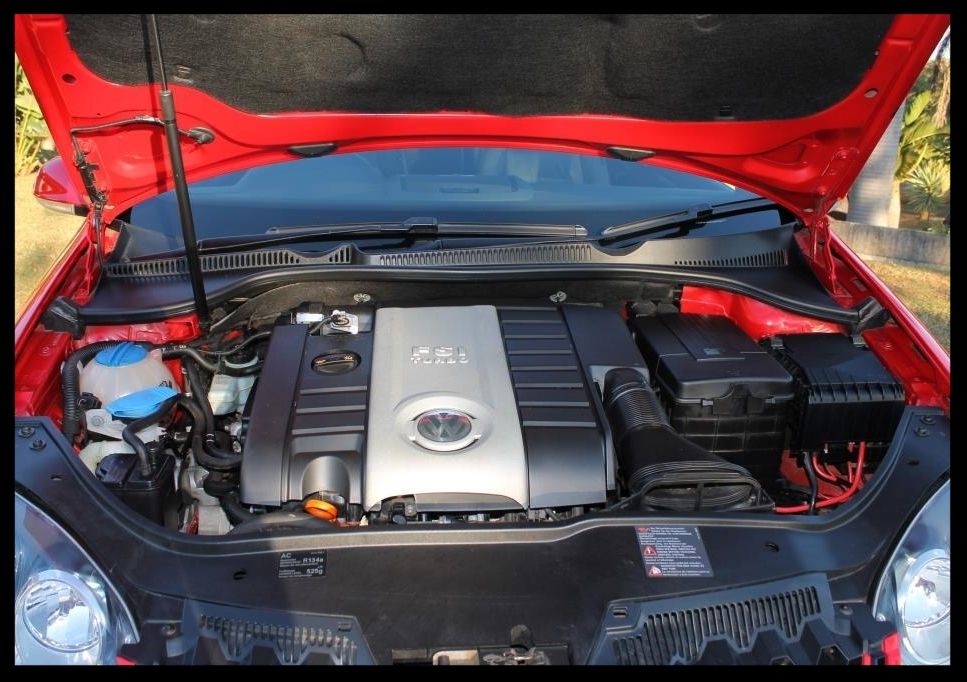
As always, with the dirtiest parts of the car.... in this case, the engine bay, which according to the owner (they have had it from new), had never been cleaned...
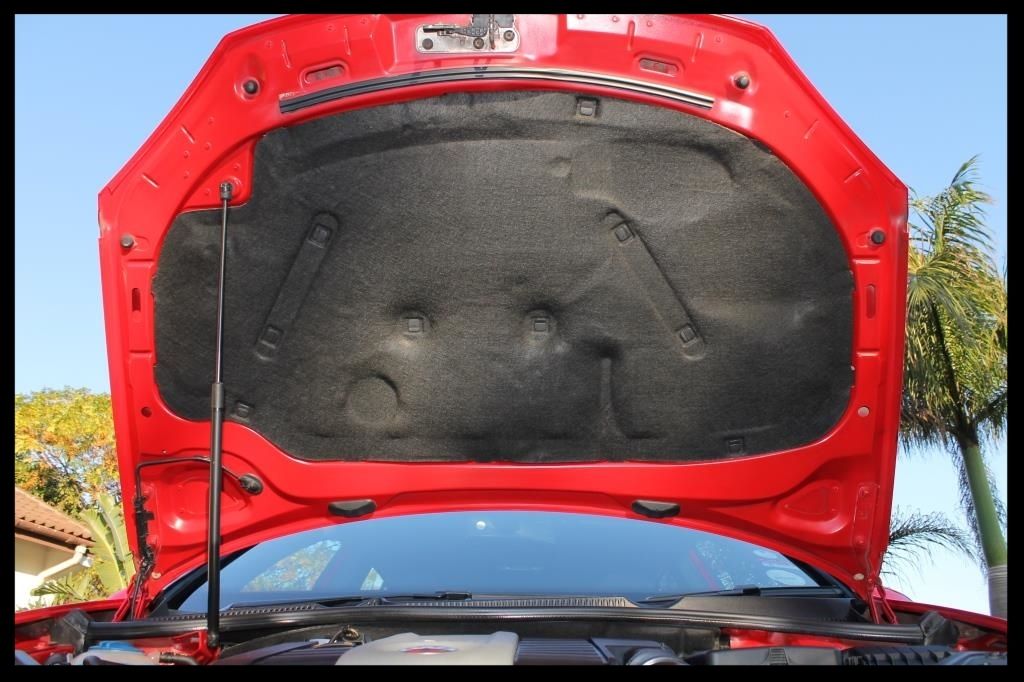
Starting with the section under the bonnet.
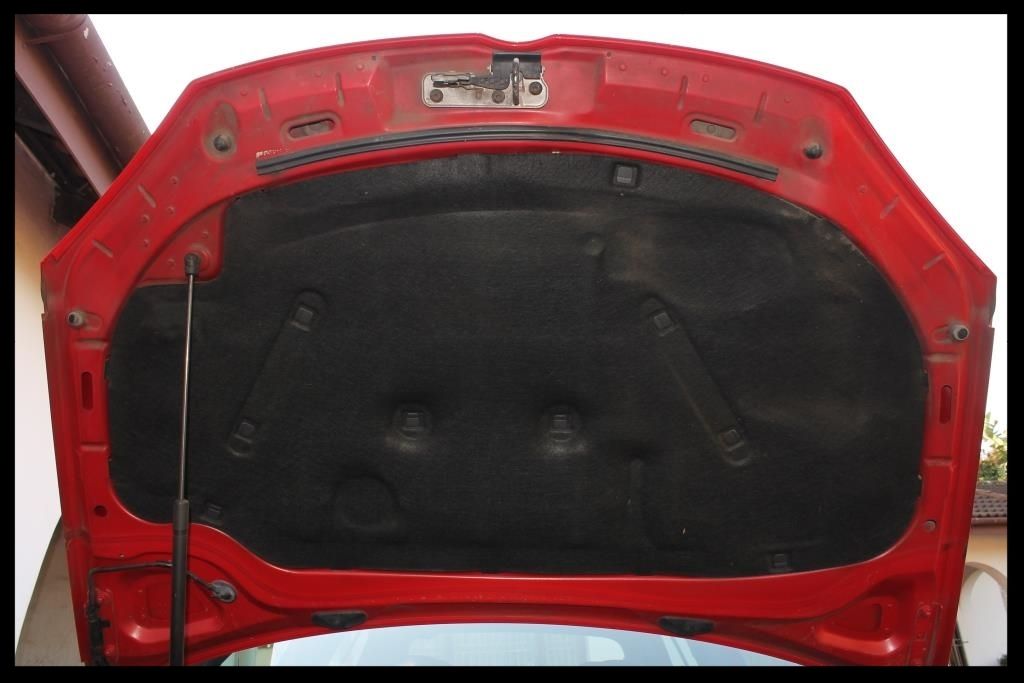
First the 'carpeted-under-the-bonnet-cover-thingy' <-----  ops: :lol: was removed ops: :lol: was removed
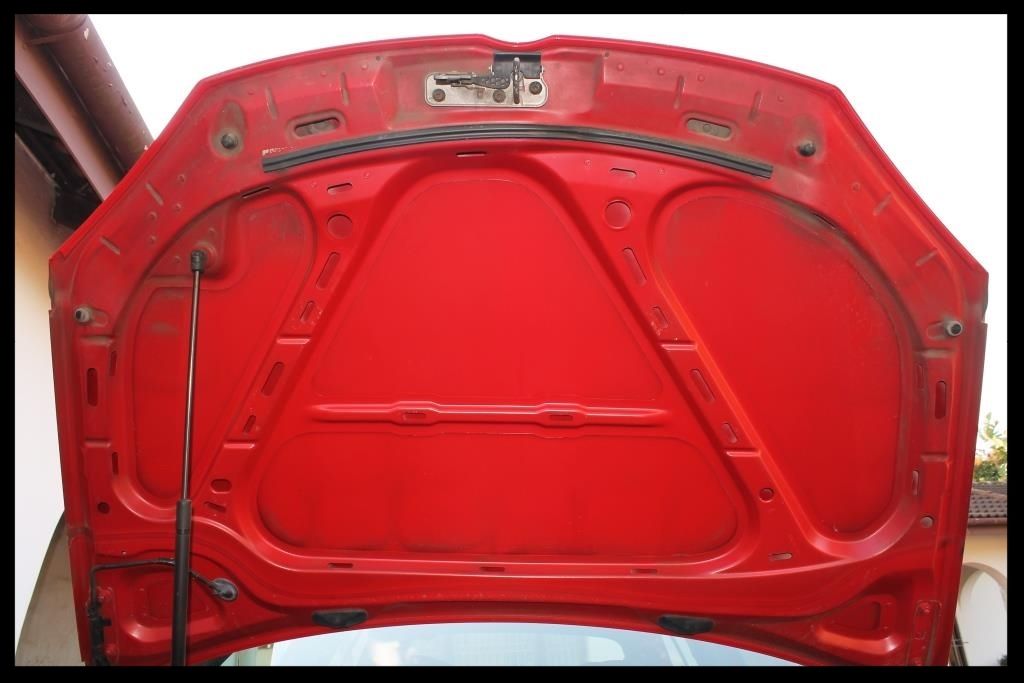
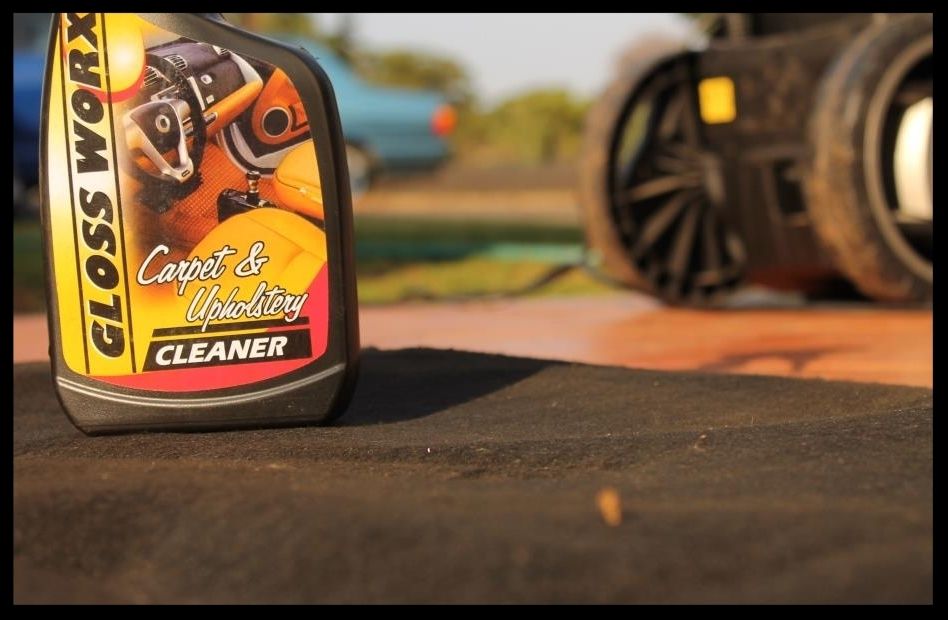
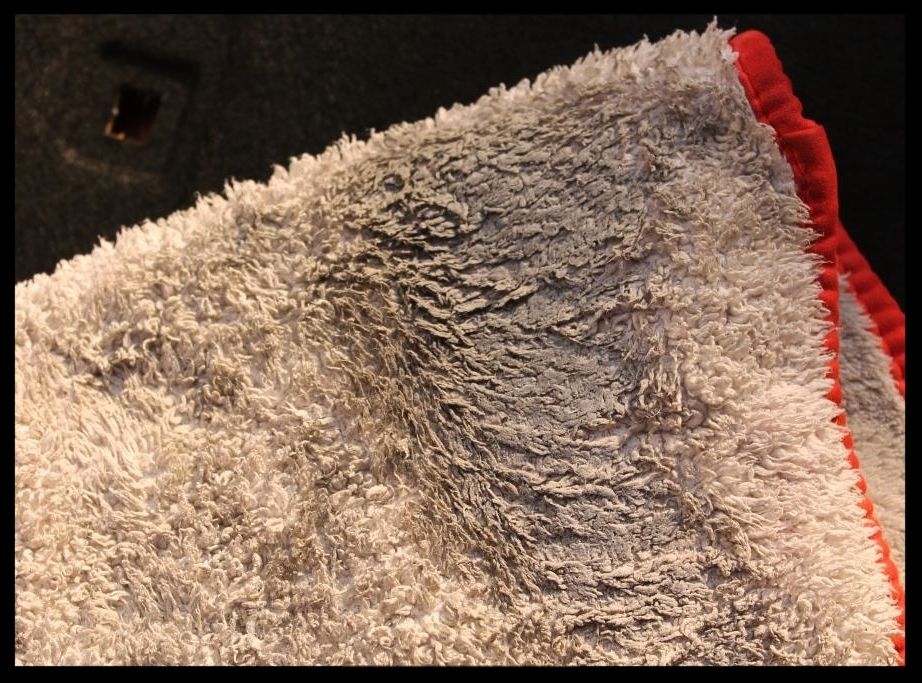
It was then vacuumed and Glossworx Carpet and Upholstery Cleaner was used on a MF towel to remove the dirt.
Eeuw
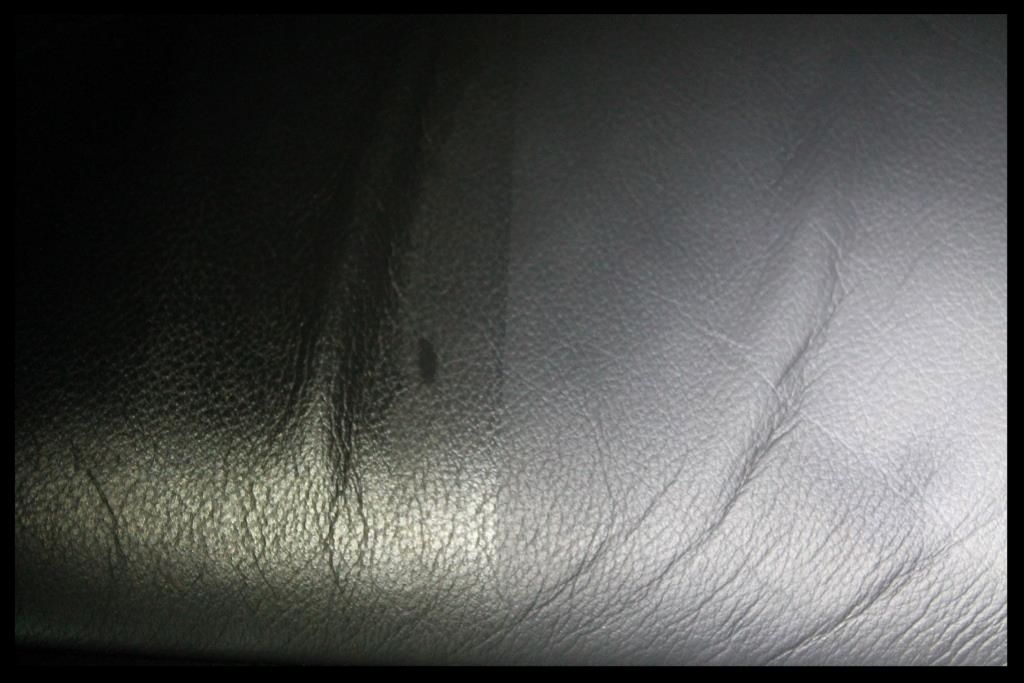
The paint was then HP rinsed and sprayed with Carchem APC which was left to dwell before being agitated with various brushes. Another HP rinse followed. Later the paint would be cleaned/polished/protected using Autofinesse Tripple by hand using a MF Applicator which was worked in, left to haze dry and then wiped off with a MF Towel. The rubbers were cleaned using Shield Heavy Duty Vinyl and Rubber cleaner and dressed with Aerospace 303.
Then onto the actual engine bay itself.
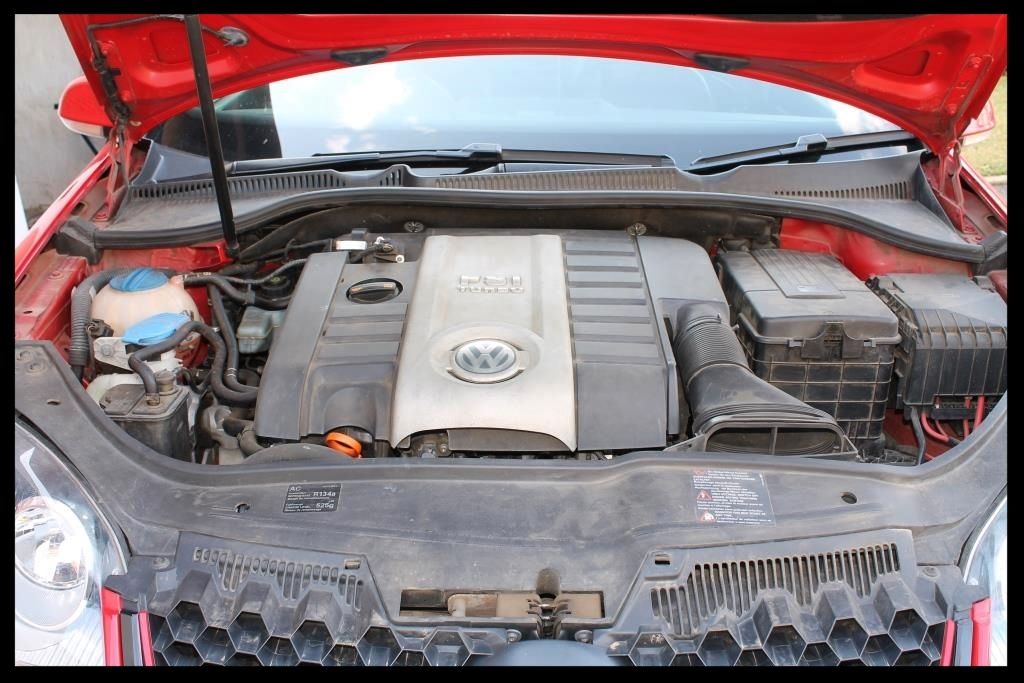
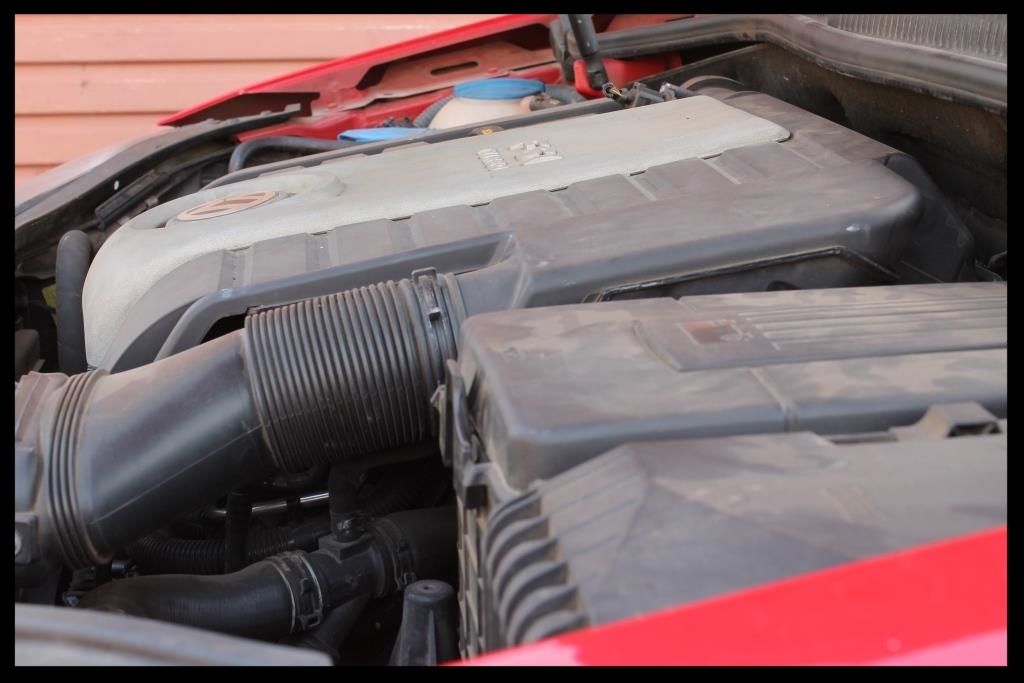
This section was cleaned using Carchem APC and various brushes then HP rinsed (from a few feet away on with a very fine mist) and then blown dry using a electric blower.
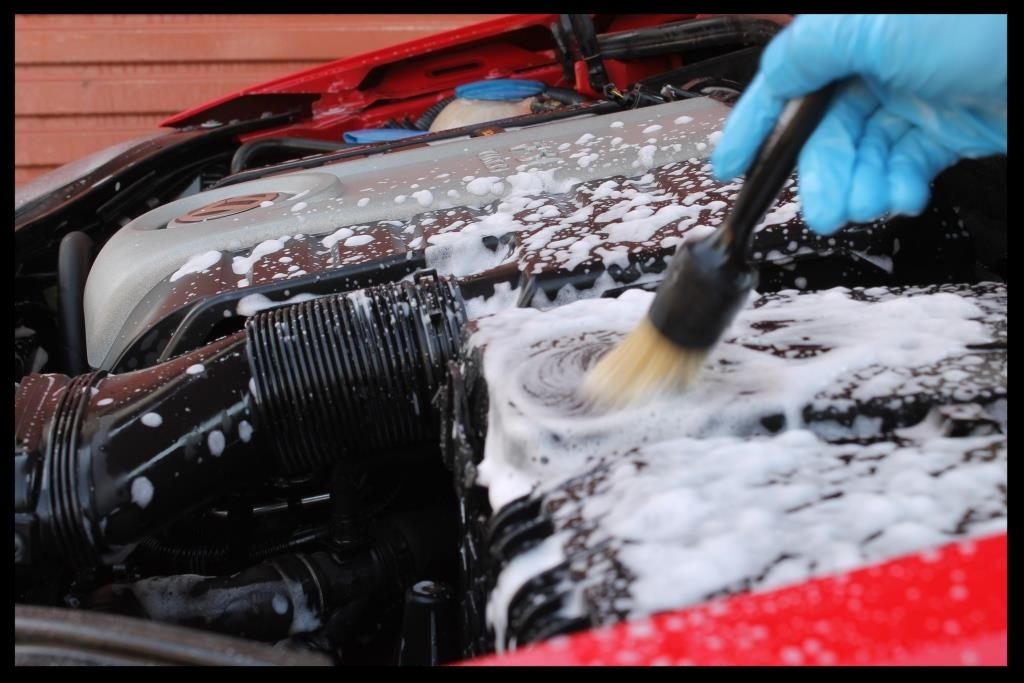
Shield sheen was sprayed in the bay and left to settle overnight and any excess product was then wiped off.
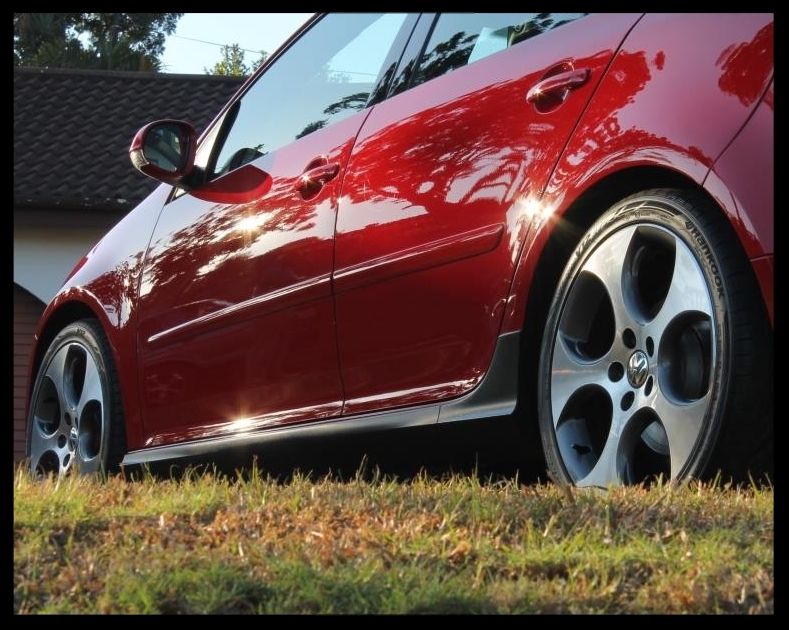
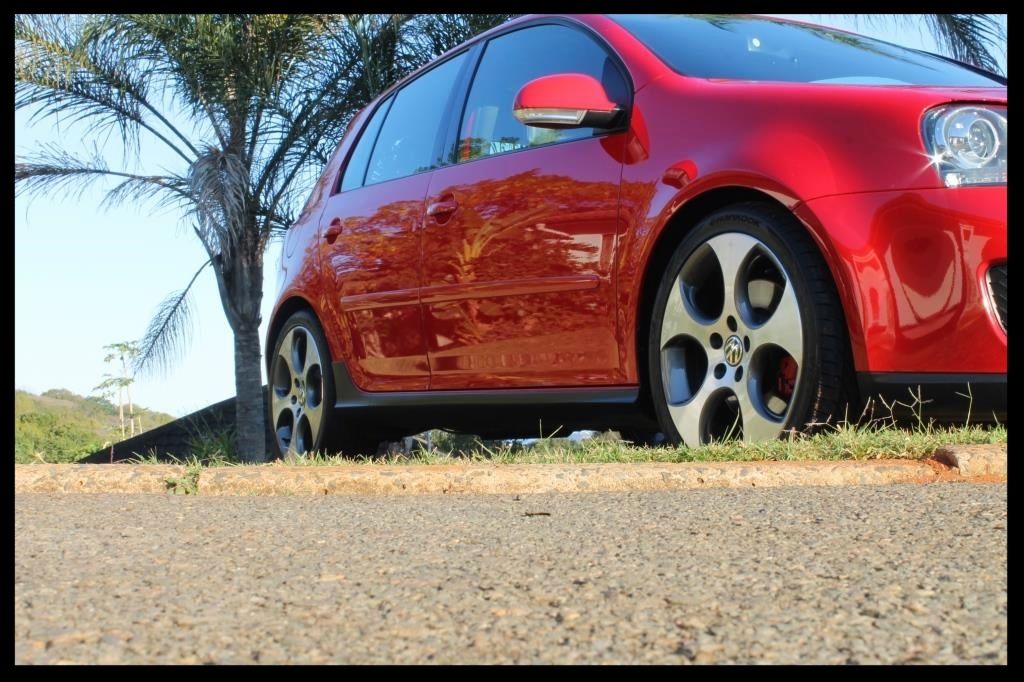
This was the end result
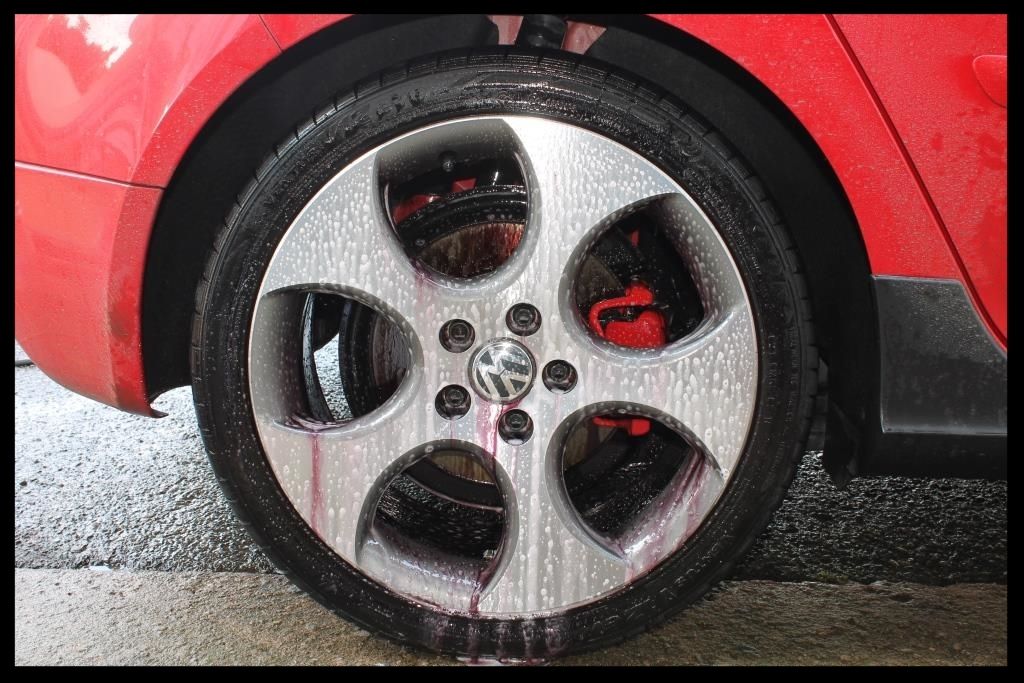
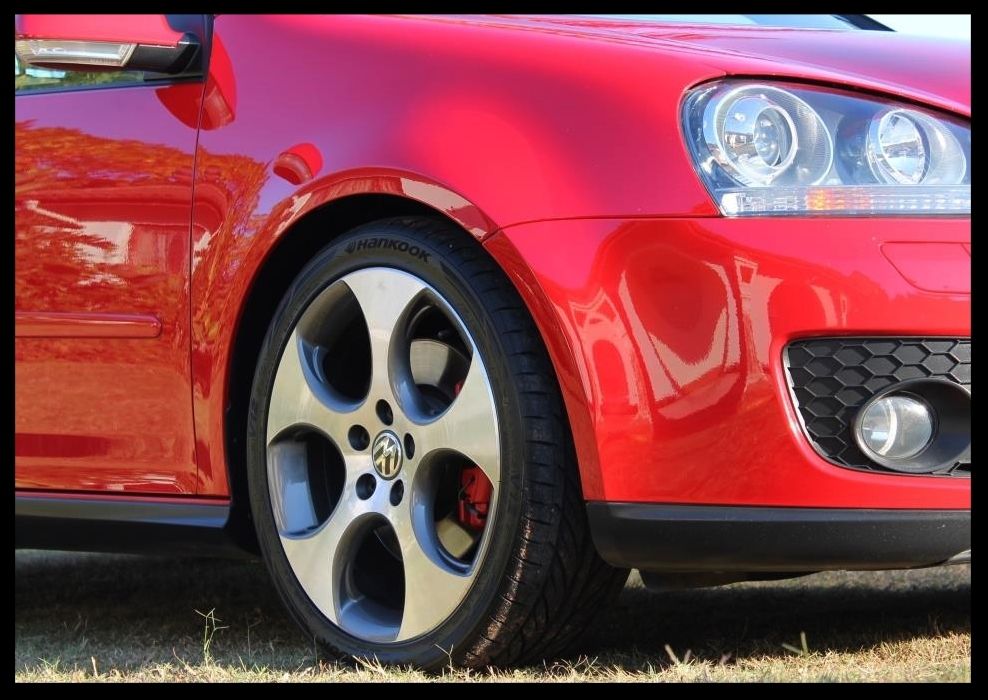
Next up was the wheel wells, tires, wheels and brake calipers.
The approach was to remove all the wheel nut covers and throw them in my wheel brush bucket (containing hot water and some car shampoo) - it keeps the brushes nice and wet, with some cleaning power, and pretty much washes the wheel nut covers while you detail the wheels - HP rinse, spray Carchem APC into the wheel well and on to the tire. Agitate the wells with a Mothers Fender Well Brush and the tires with a Mothers Tire Brush, then HP rinse.
Here is a dirty wheel
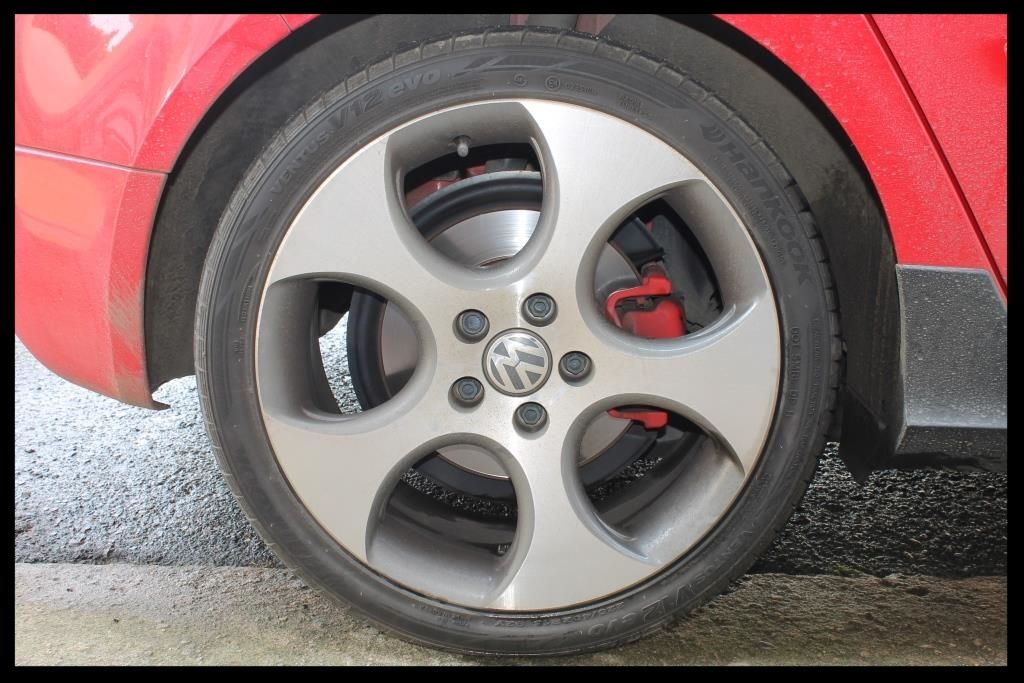
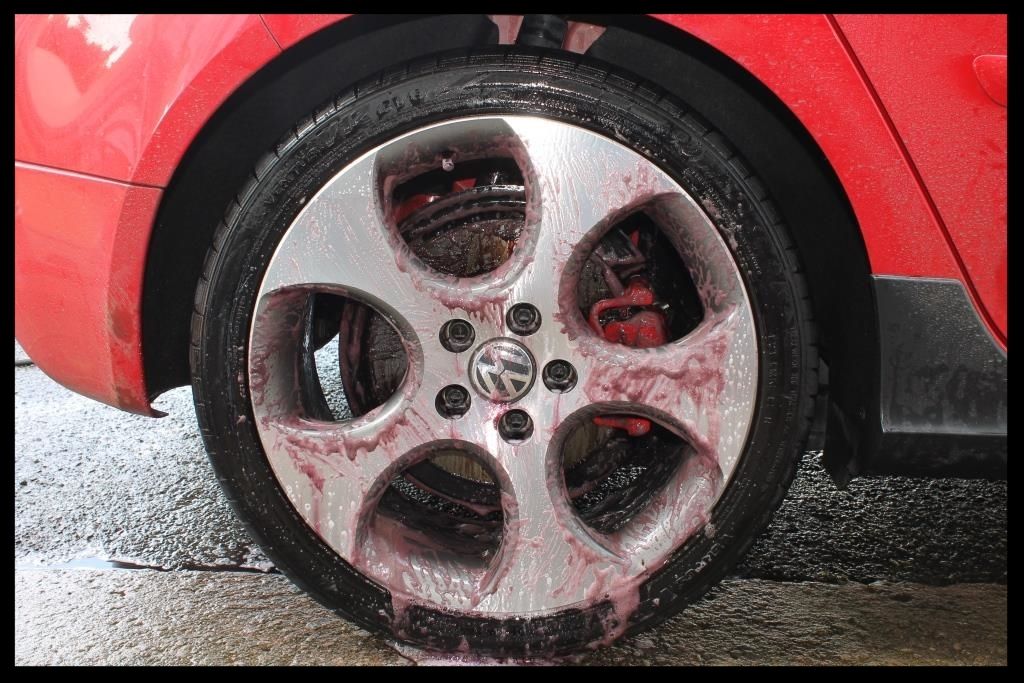
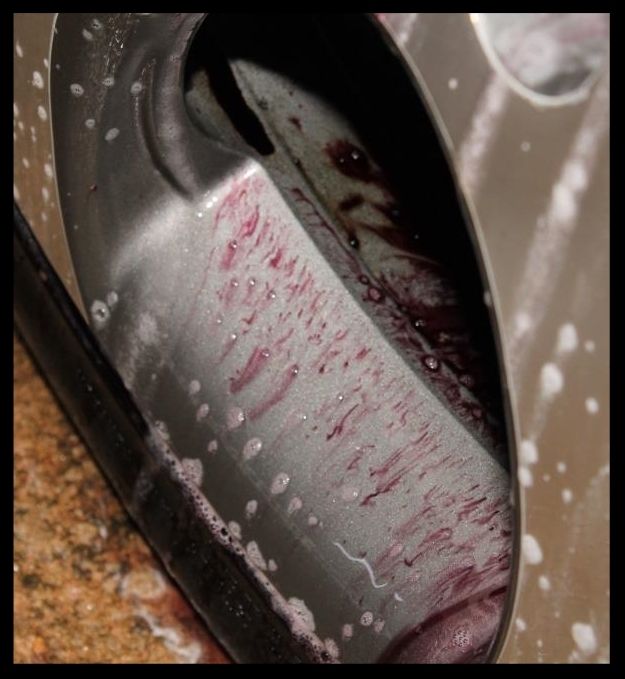
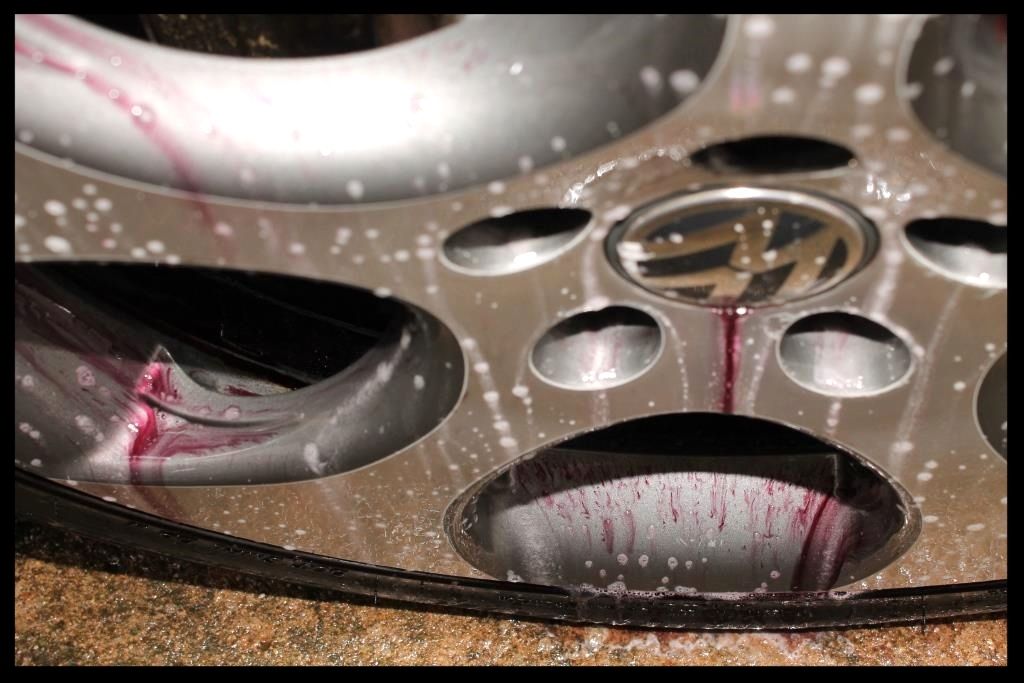
After applying the APC onto the tires you can see it starting to pull the dirt off the tire.
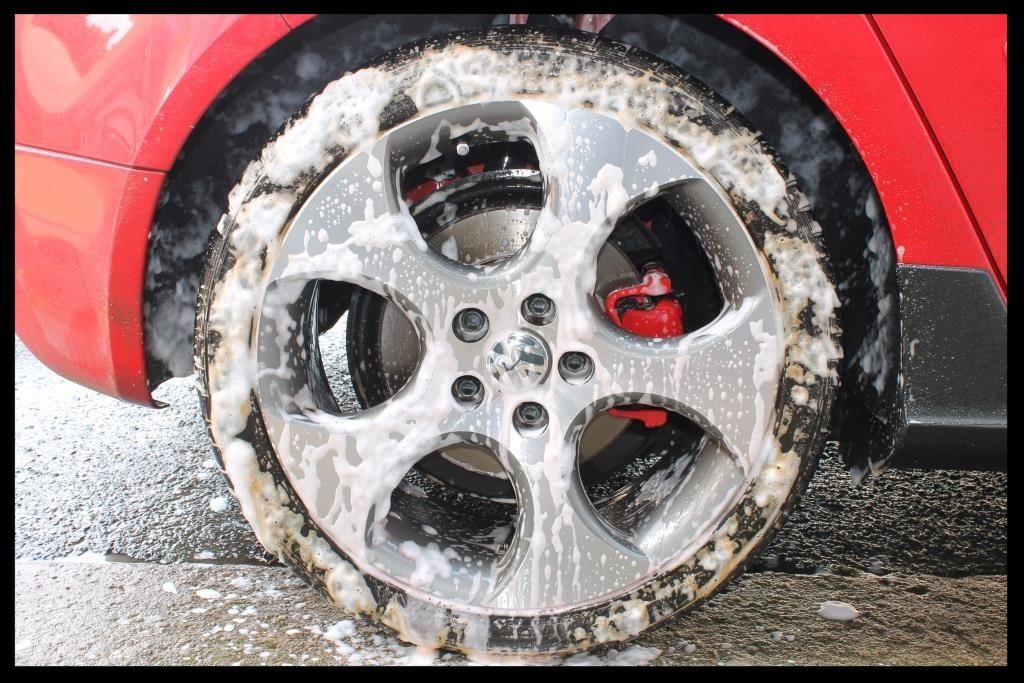
Apply Valet Pro Billberry to the barrels and wheel faces, let it dwell, agitate with a Daytona (the big and small) and a Valet Pro Boars Hair Brush. Use Valet Pro Citrus Tar Remover to remove the tar spots on the faces and barrels, followed by Valet Pro Dragon's Breath for iron removal. The same process, sans the tar removal, was used to clean the calipers.

The barrels and faces were then protected using Collinite 845 which was applied Sat afternoon and removed Sunday morning.... and it came off very easily for anyone wondering :thumbup:
The tires were dressed with 2 coats of Carchem Tire and Trim Gel, one on Sat lunchtime and the other on Sunday morning.
This was the end result
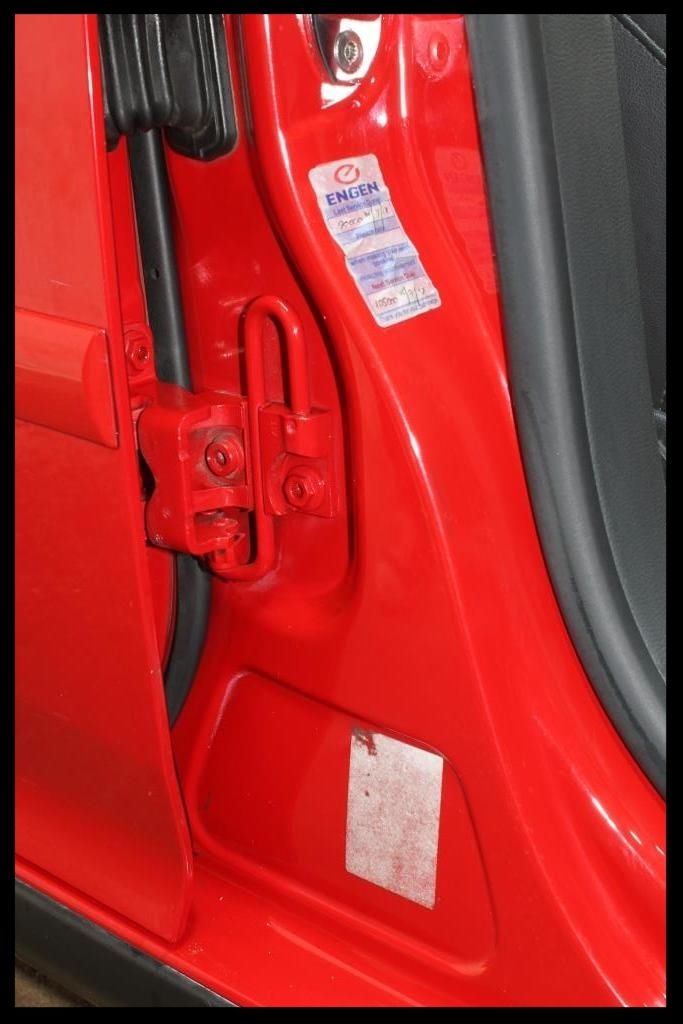
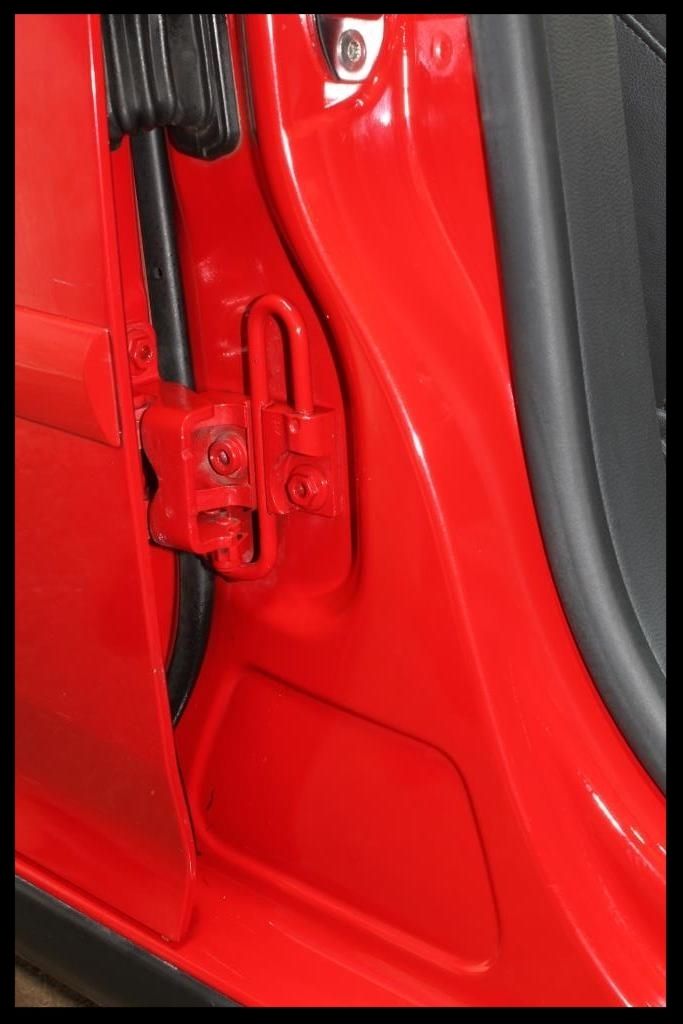
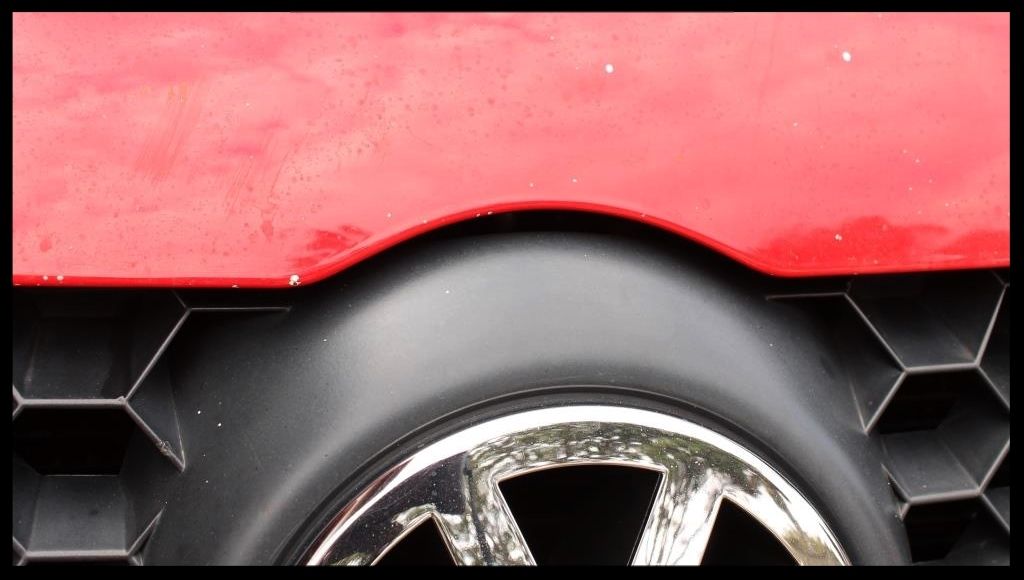
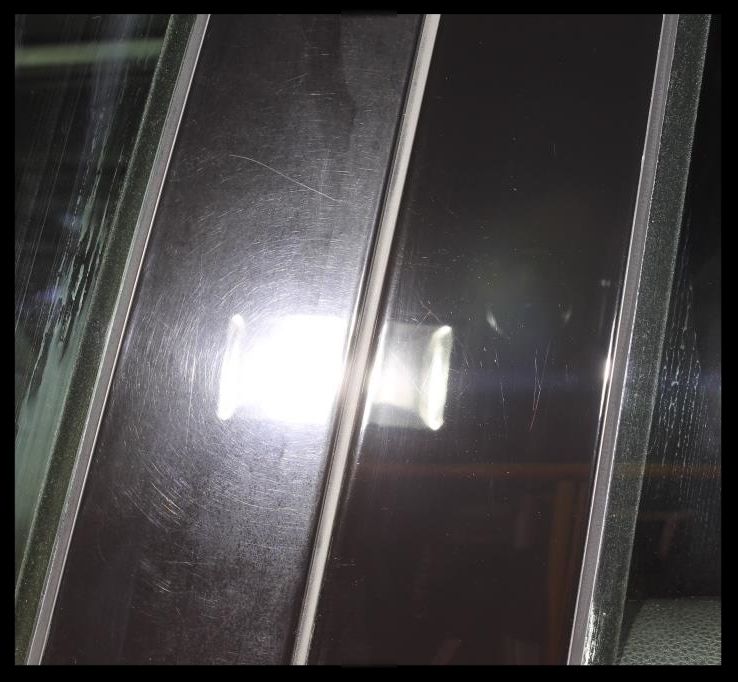
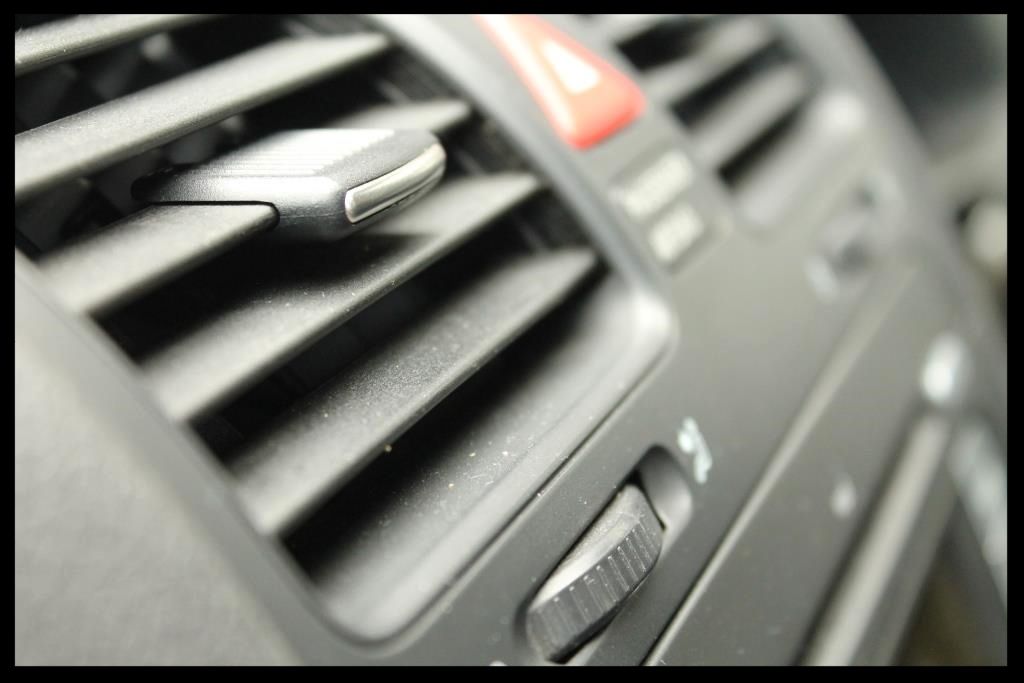
Next up it was time to tackle the honeycomb section. HP rinse, apply Carchem APC, agitate, HP Rinse.
The door shuts and boot shut received the same treatment
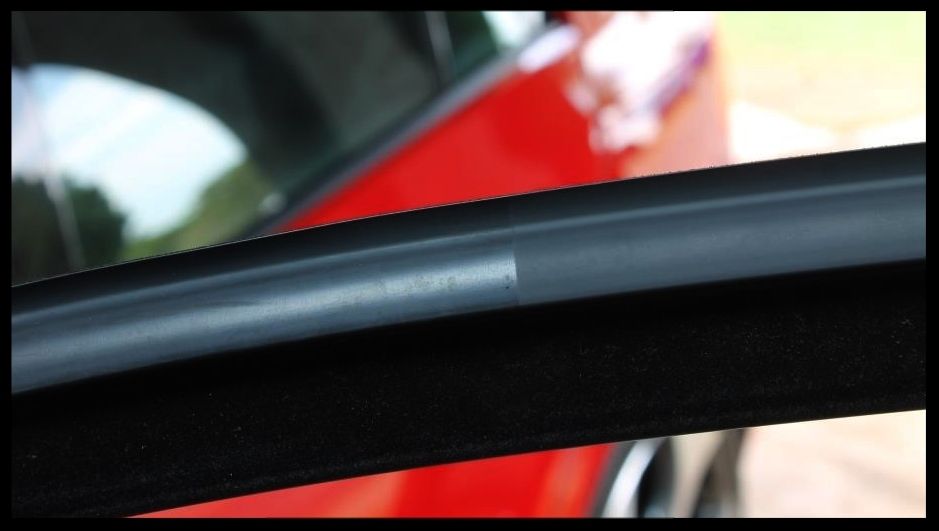
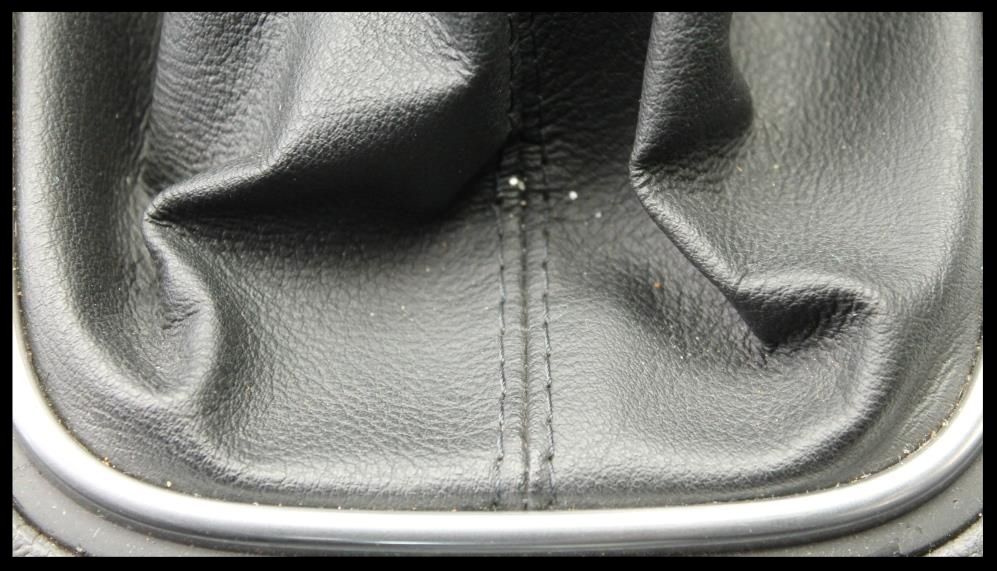
Later all of these rubbers would be cleaned with Shield Heavy Duty Vinyl and Rubber Cleaner
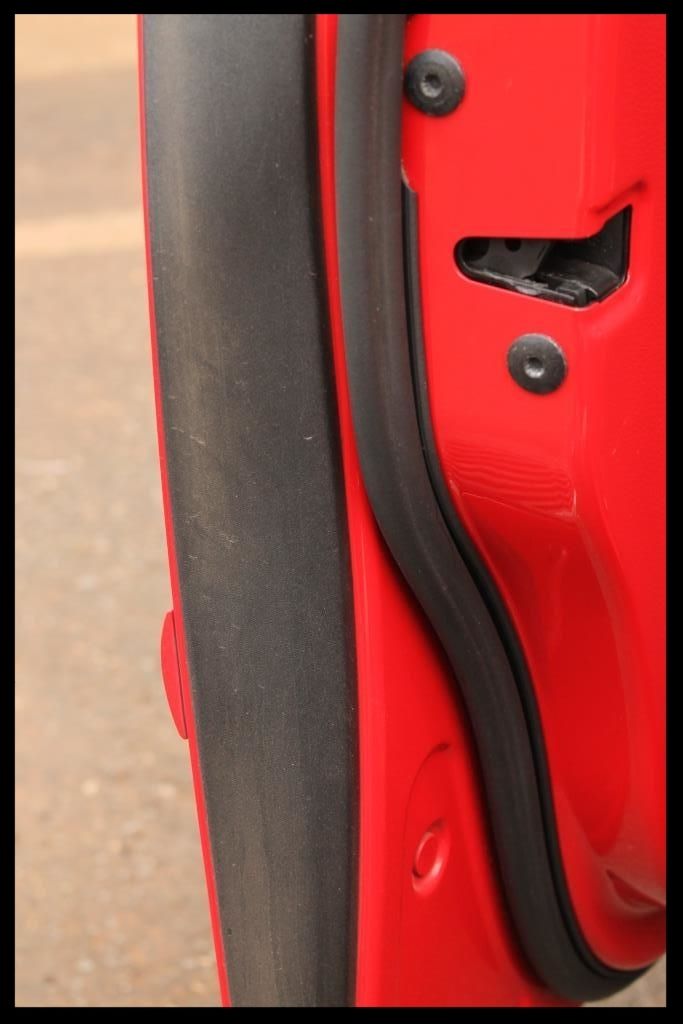
As would all the exterior rubbers and all would have Aerospace 303 applied for protection.
Here is a 50/50 showing the cleaning
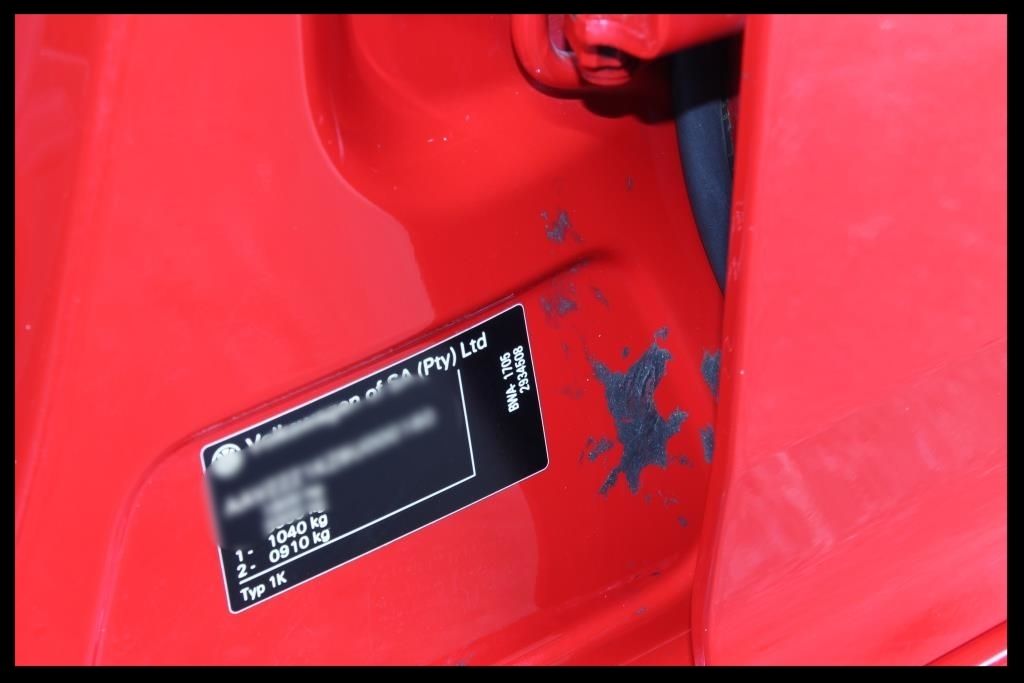
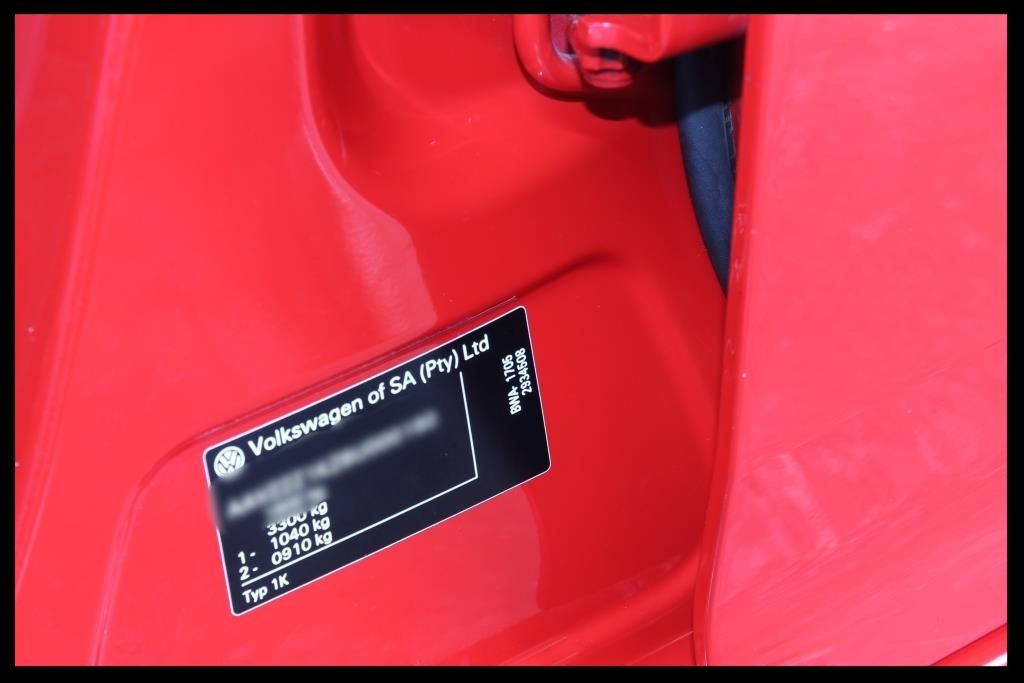
There was also some greasy substance on the passenger side. Plastic razor blades and Valet Pro Citrus Tar and Glue Remover was used to clean it up.
Along with some stickers on the driver side
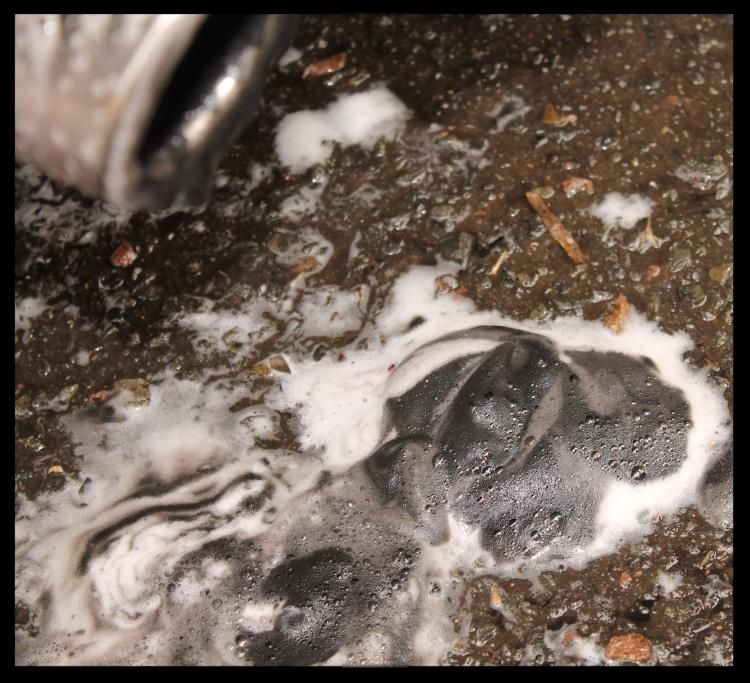
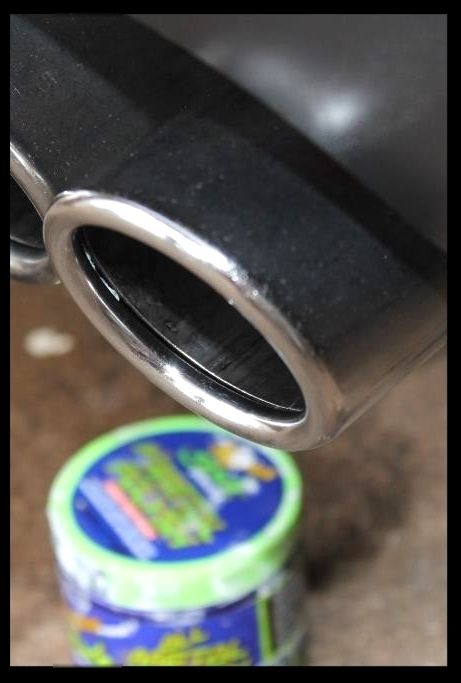
Continuing with all the dirty stuff the exhaust tips were given a clean using Carchem APC and a Daytona Jnr.
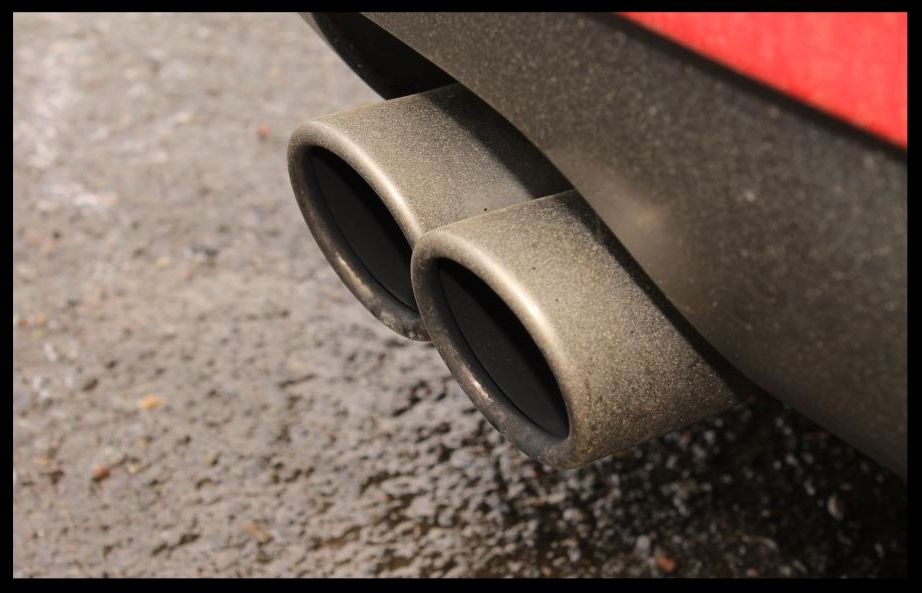
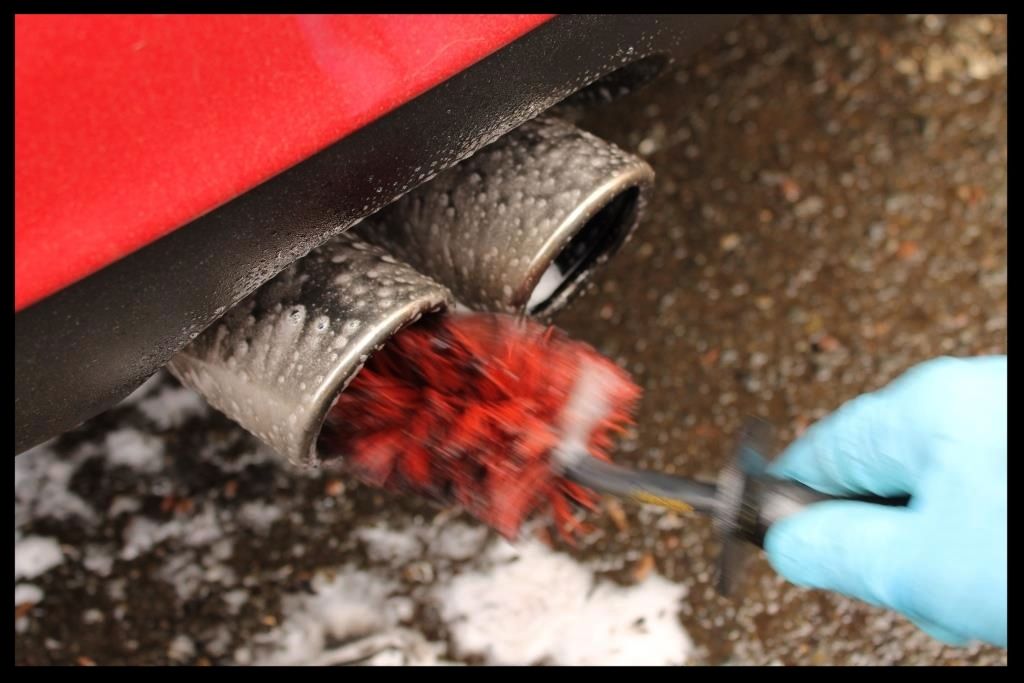
Can you imagine not cleaning them like this and going straight to polishing :fear: and grinding all of this into the finish.
They would then be polished using Meguiars NXT All Metal Polish, some MF Towels and a Mothers Powerball Mini.
-
Super Member
Re: Tornado Red Golf 5 Gti - Detailed by Lawrence
Finally it was time to wash the car. As you can see it had a lot of surface dirt on it
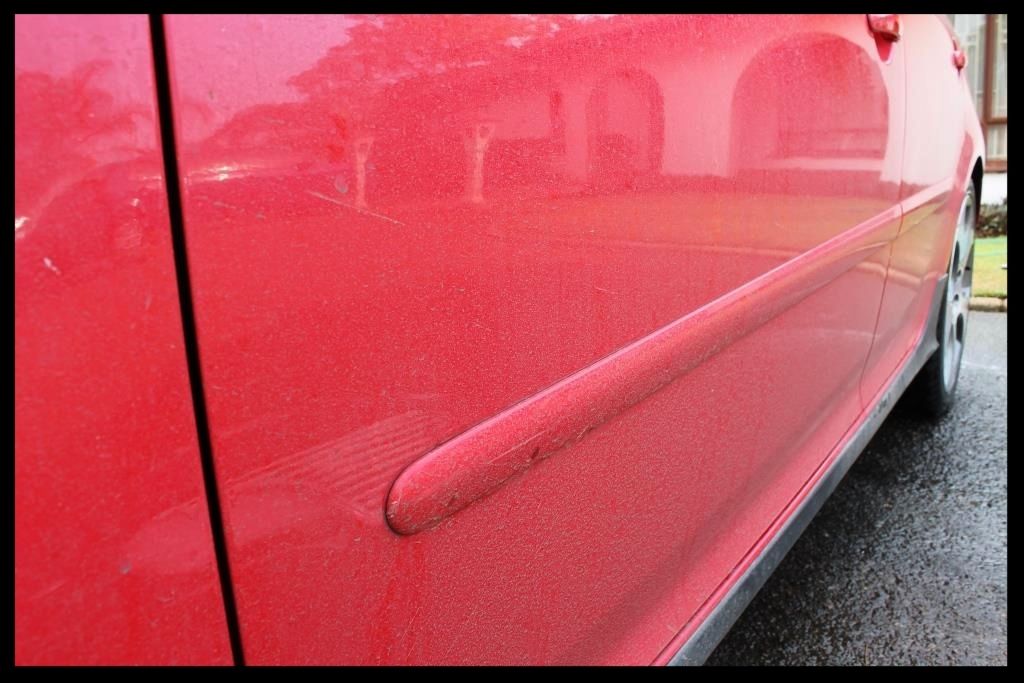
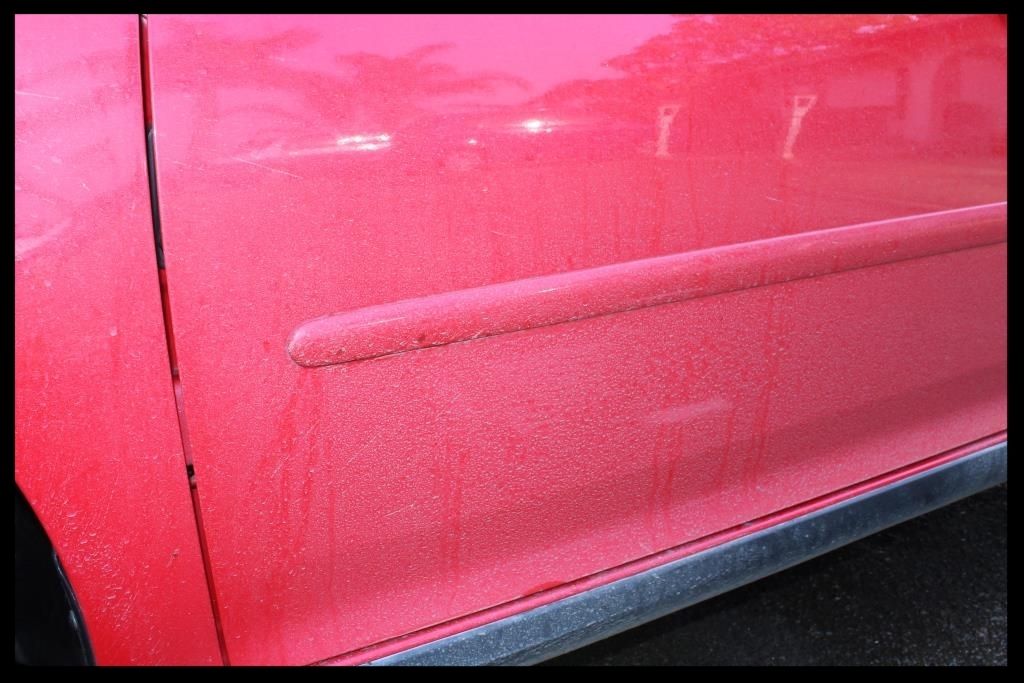
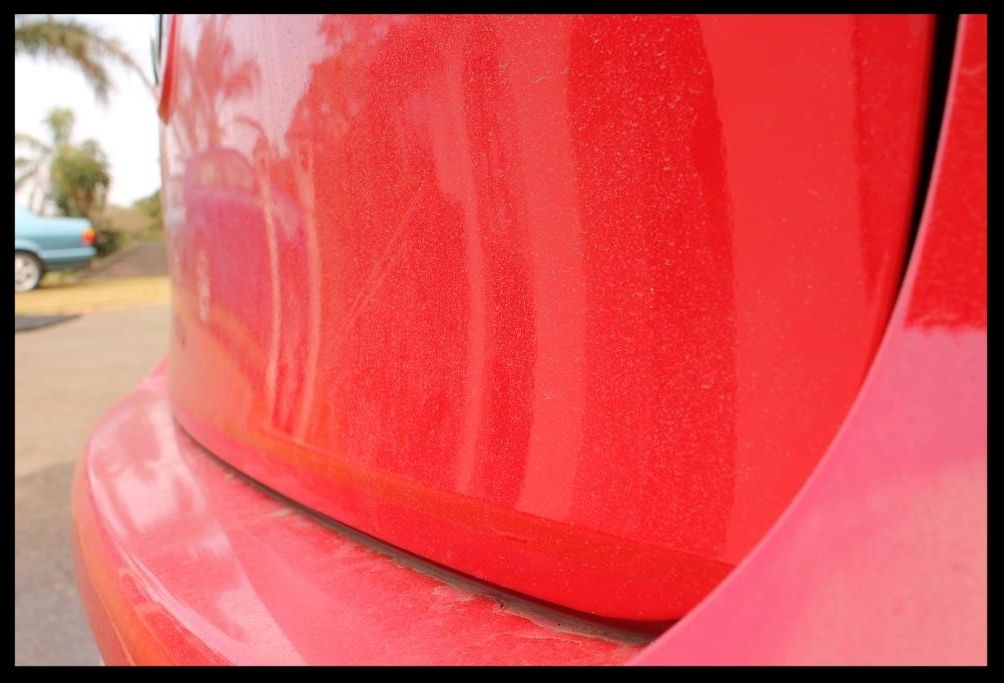
With the car so dirty and the lighting overcast, capturing swirls wasn't easy but as you will see later the paint was really in a really sad state. There was some significant orange peel too 
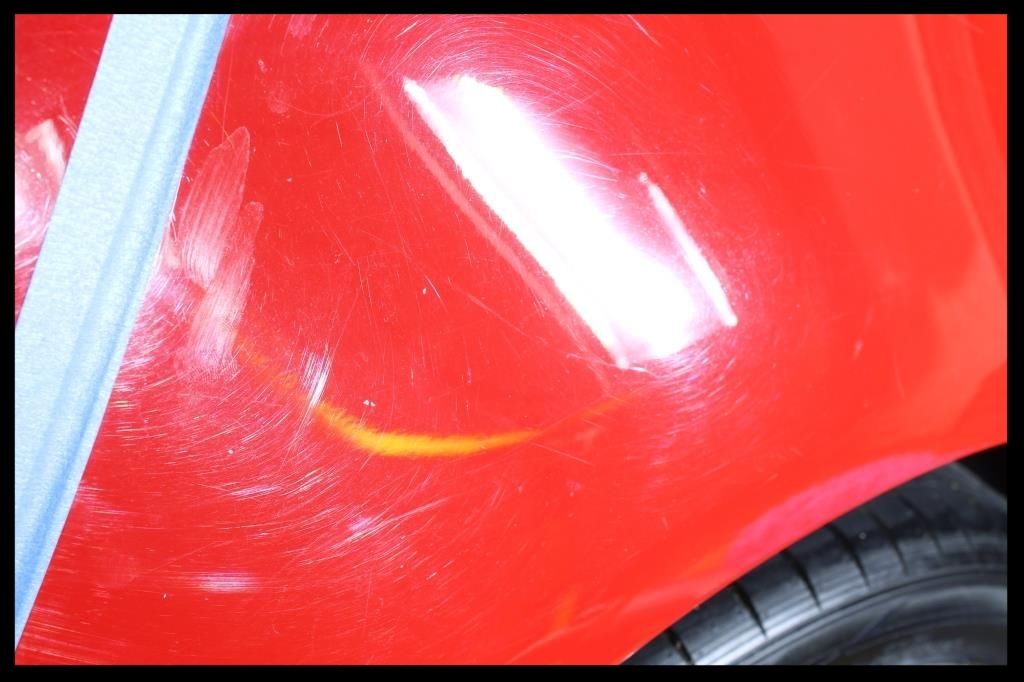
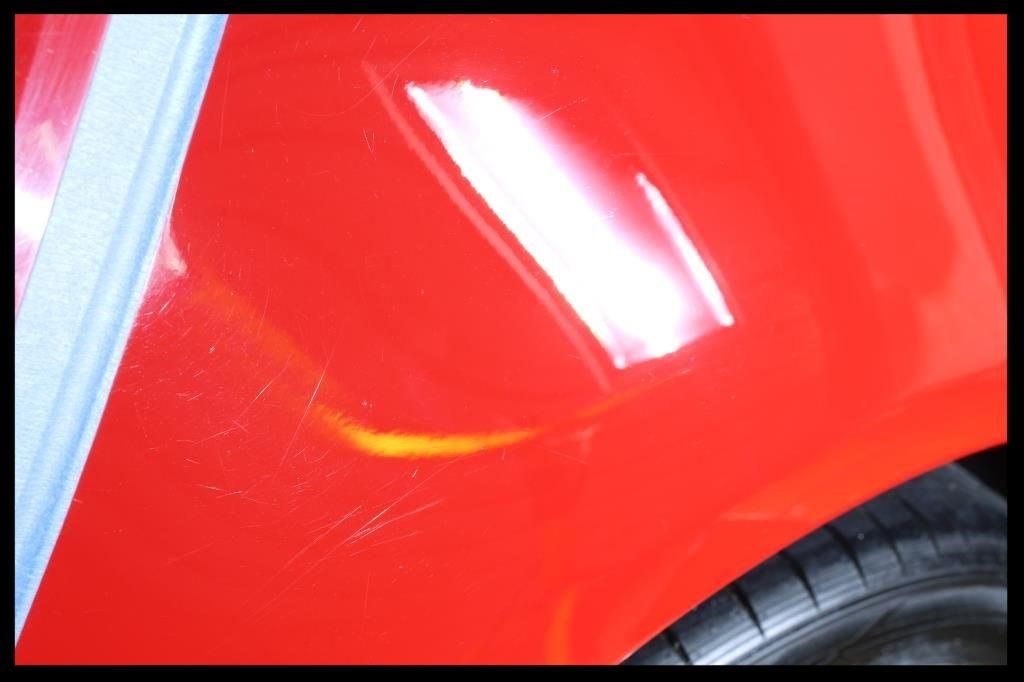
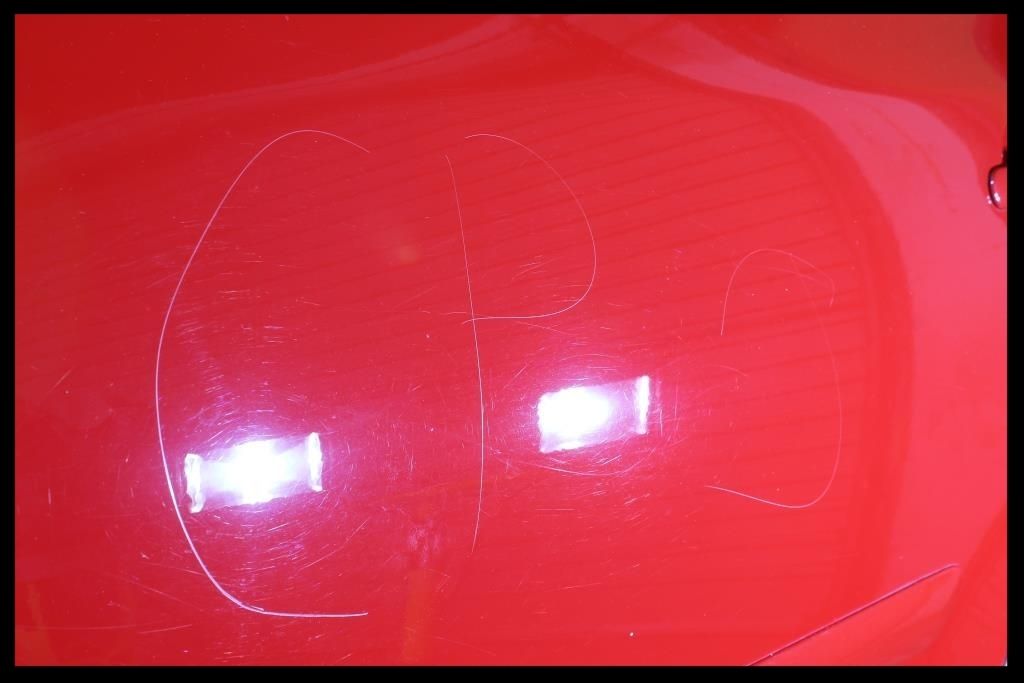
And some rather unfortunate evidence of someone vandalizing the car

And although these all look like paint chips (the few on the leading edge to the left are) a lot of it is white paint. This was clayed off the paint, and removed from the plastics using Shield Heavy Duty Vinyl and Rubber cleaner.
The first step was to thoroughly HP rinse the car to try and remove as much dirt as possible. This was then followed by a full foaming using Gyeon Foam. This was followed by another HP rinse, then I sprayed Valet Pro Citrus Prewash through a pump sprayer, let that sit on the paint for around 5 minutes and HP rinsed that off. I then did a 2 bucket wash using 4 Lambswool wash mitts, and CarChem's Luxury Shampoo. The vehicle was then flood rinsed, sprayed with ONR at QD dilution as a drying aid and dried using 3 x waffle weave drying towels. The paint was then fully decontaminated using Valet Pro Citrus Tar Remover, Valet Pro Dragons Breath - which was sprayed on, left to dwell, covered with Gyeon Foam to extend the working time, before being HP rinsed off. The car was then clayed using Shield Heavy Duty Clay with ONR as lube.
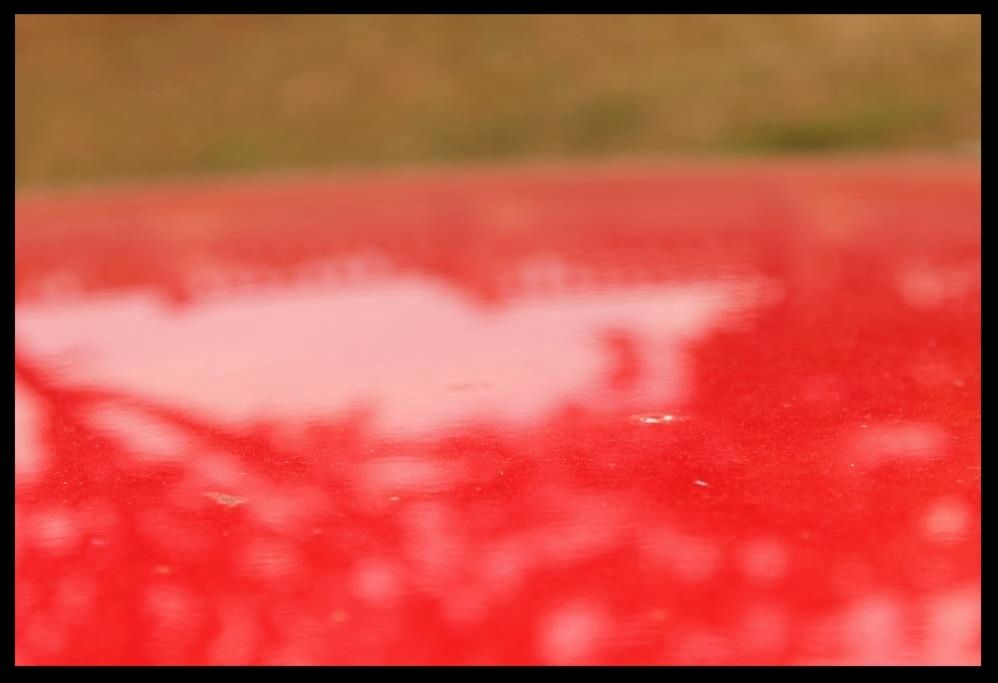
So what did the paint look like you ask....well like this mostly...
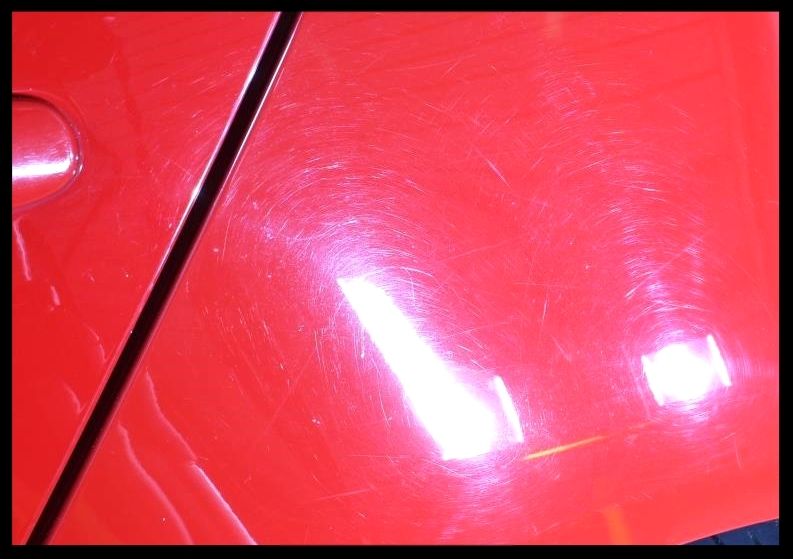
Paint readings were in the 120µ to 140µ range which was fortunate as a lot of the damage was deep scratches. For the most part I got away with the Flex 3401, a Blue Lake Country Hybrid Wool pad and Menzerna FG400 but as you can see some sections like the one below still had a lot of remaining RIDS after one set with the above combo, necessitating a second set.
Before
After one set
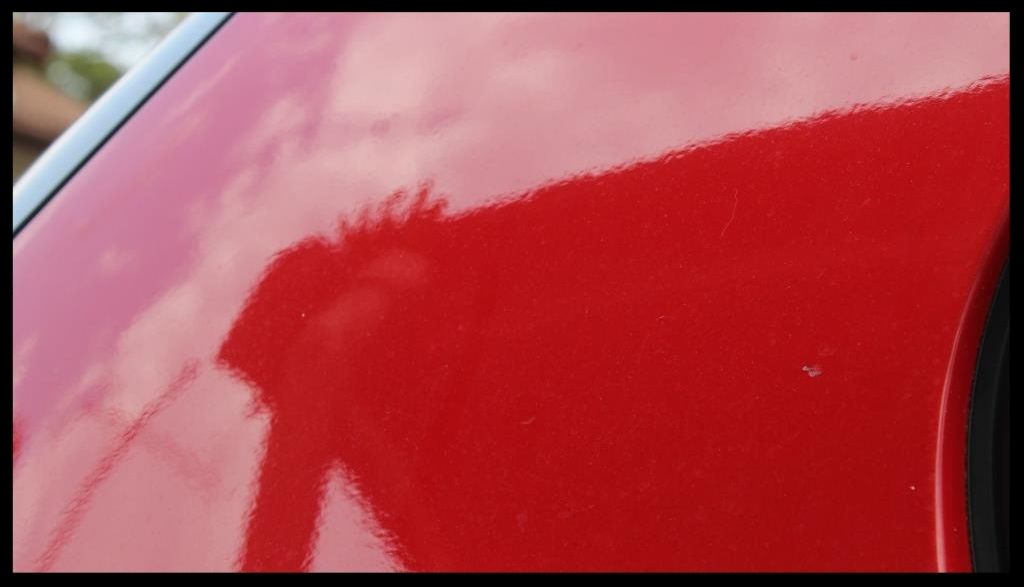
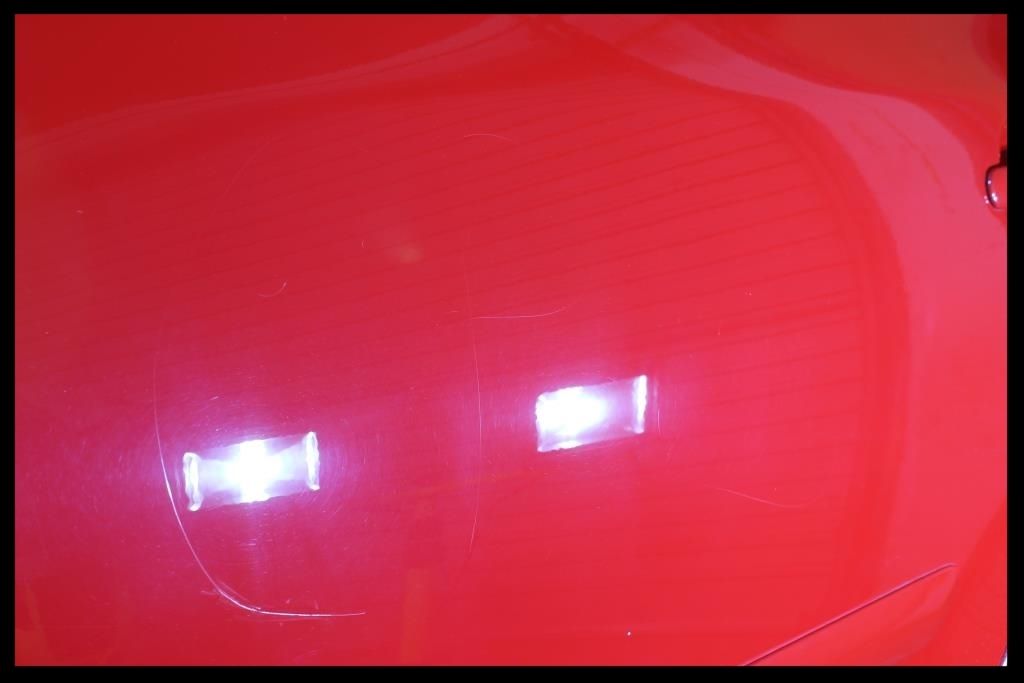
Then it was time to tackle the vandalized area.... with some of the scratches being right through the clear and into the base coat, polishing was never going to 'fix' it.... I just wanted to make it less visible.
After a bit of wet-sanding I used the same FG400/Blue wool combo to remove the sanding marks.... this left the paint with some hazing
Which was cleaned up using Menzerna SF4000 on a Black Lake Country Hybrid pad.
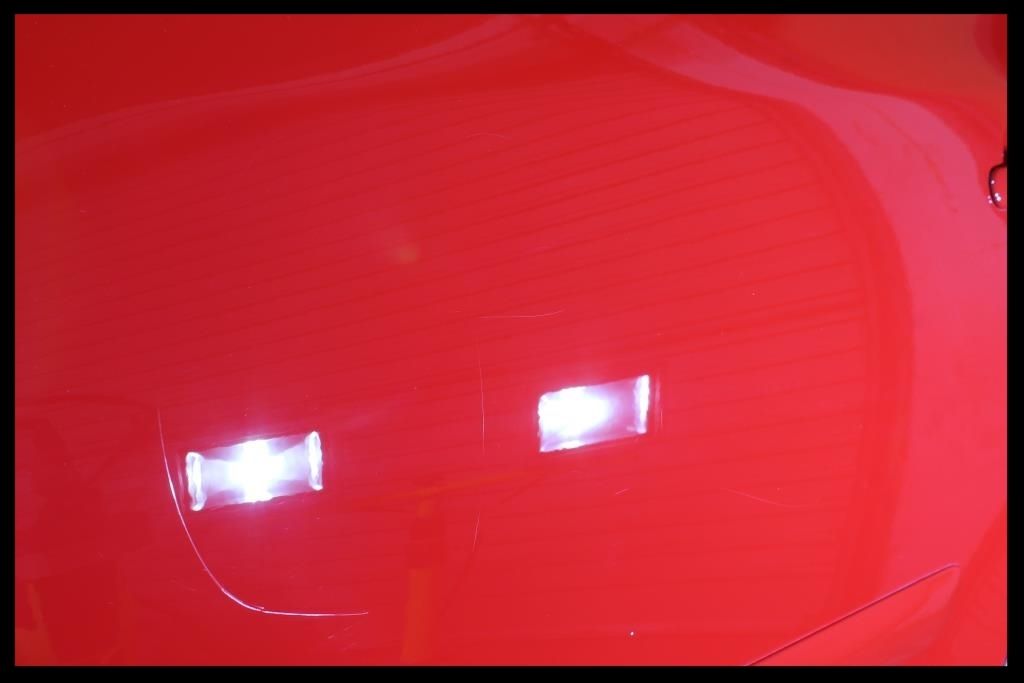
Out in normal light it was only the lower half of the C that was noticeable and on very close inspection if you went hunting for it, a small bit of the P... the owner seemed quite chuffed with the results, so mission accomplished... obviously with a full on touch up repair and some more time, the results would have been even better, but you can only do what you can do in the time you have.
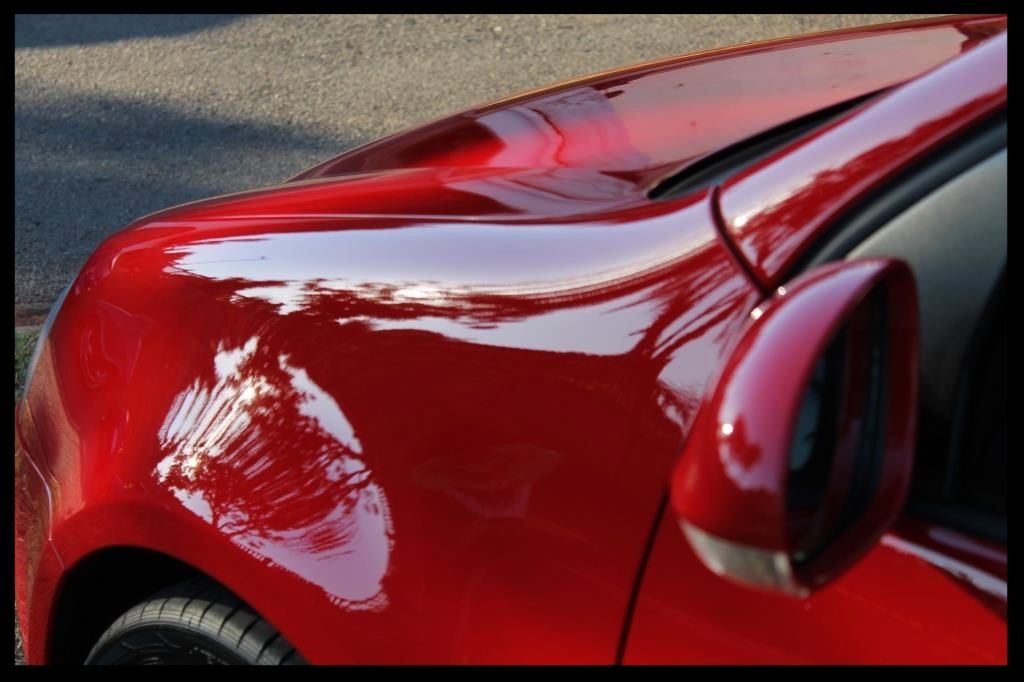
That same 2-step combo was used to complete the rest of the paint using both 5" and 6.5" hybrids. For the B pillars I used the Shield DA with 4" White Lake Country pads with Menzerna PF2300 as a one step to improve the look. These pillars are much softer, generally take a beating and so again, all out correction was not the objective.
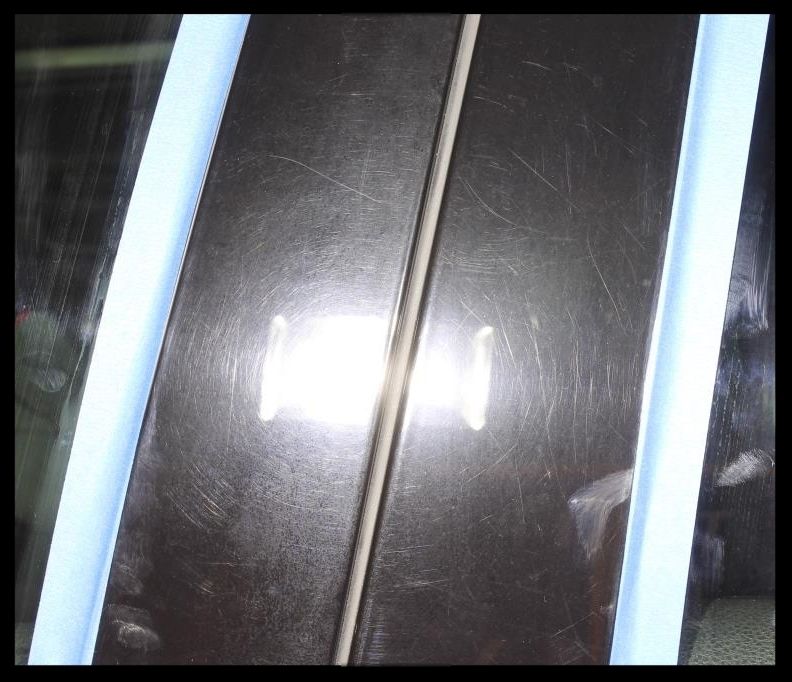
A decent enough improvement for a 1-step
The taillights received the same treatment.
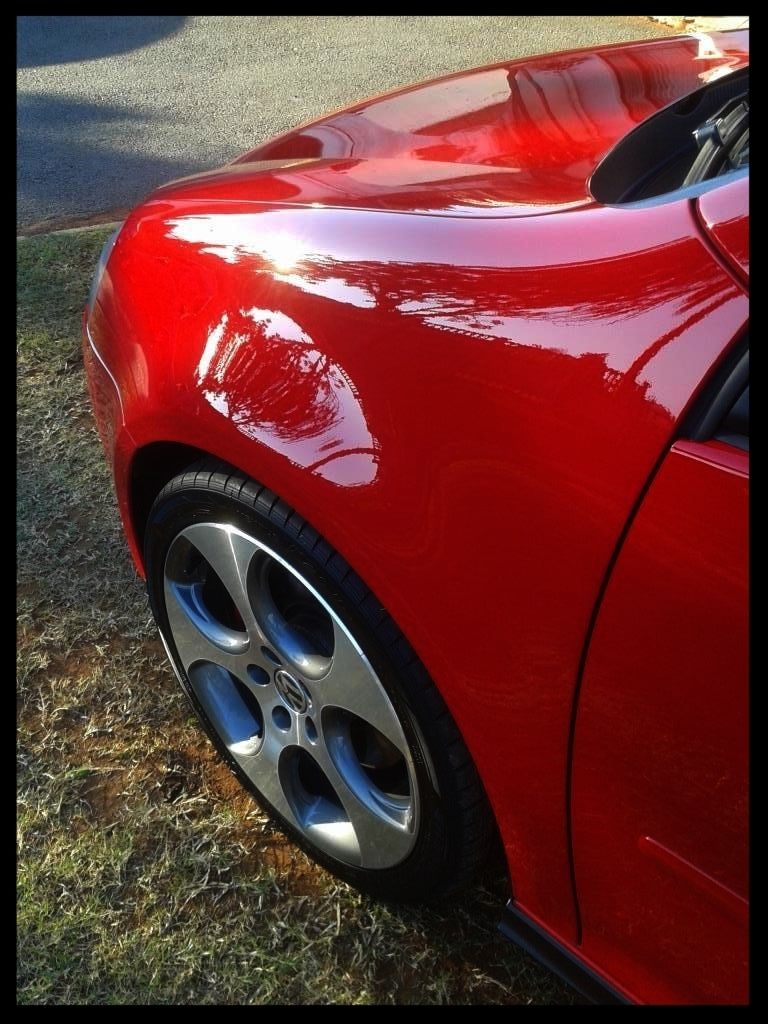
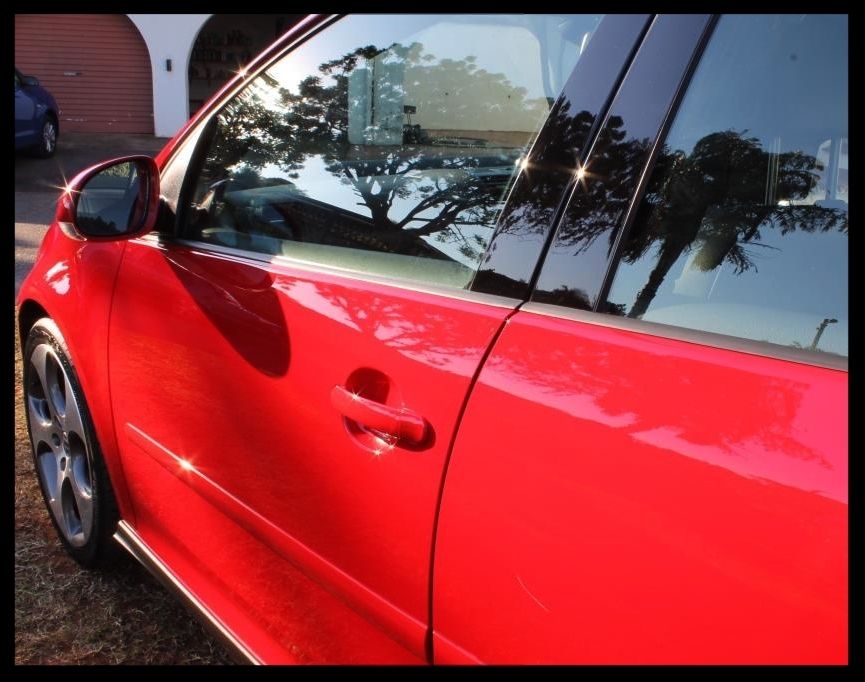
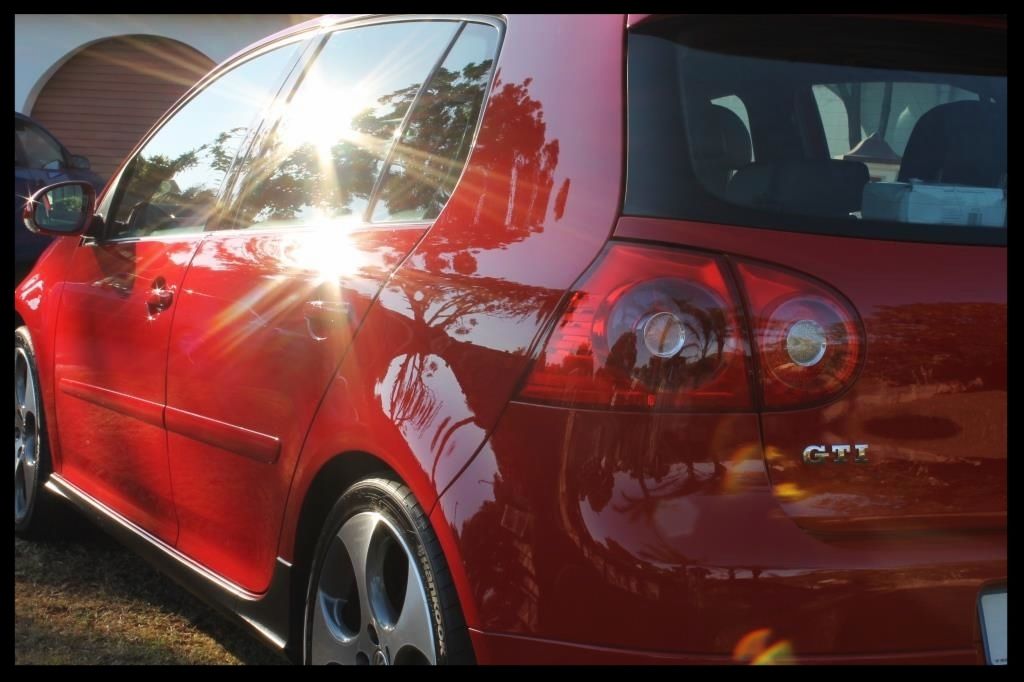
Once all the paint correction was completed the car was protected using Collinite 915.
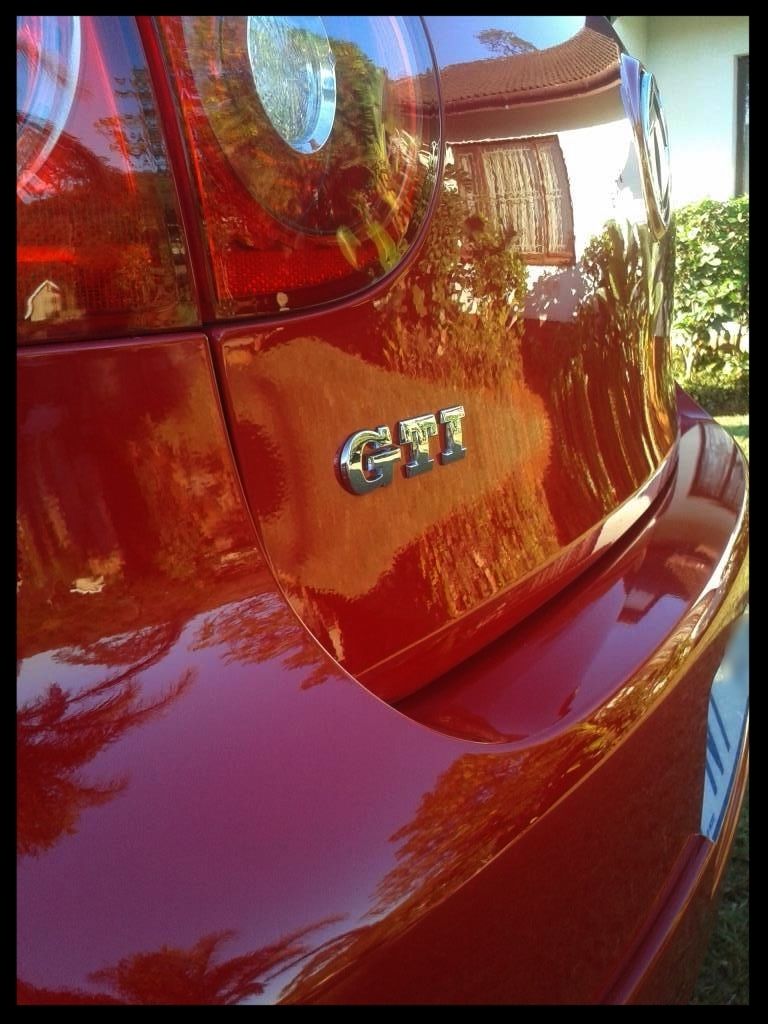
The Gti badge also needed some attention, despite being given a good clean during the wash phase. This was done using Autofinesse Tripple and some Q-tips. Unfortunately the area had been left dirty for so long that the shiny coating on the badges had started failing.
Before
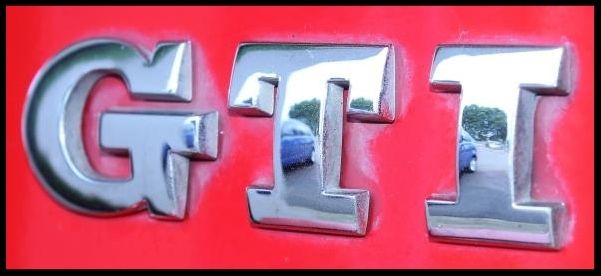
After

-
Super Member
-
Re: Tornado Red Golf 5 Gti - Detailed by Lawrence
-
Super Member

Re: Tornado Red Golf 5 Gti - Detailed by Lawrence
Great work as always
HUMP
-
Super Member

Re: Tornado Red Golf 5 Gti - Detailed by Lawrence
Excellent work again Lawrence!
-
Re: Tornado Red Golf 5 Gti - Detailed by Lawrence
Wow, over the top work Lawrence! I love your thorough attention to detail.
Always a pleasure to view your work.
Thanks for sharing.
-
Super Member
Re: Tornado Red Golf 5 Gti - Detailed by Lawrence
 Originally Posted by Ebg18t

As always awesome work!
Thank you very much
Originally Posted by HUMP DIESEL
Great work as always
HUMP
Thanks Hump - appreciate you taking the time to read and post your comment
Originally Posted by FrankS
Excellent work again Lawrence!
Thank you Frank - much appreciated
Originally Posted by Mike@DedicatedPerfection
Wow, over the top work Lawrence! I love your thorough attention to detail.
Always a pleasure to view your work.
Thanks for sharing.
Thanks Mike....I truly do appreciate you taking the time to always read and comment on my work
-
Super Member

Re: Tornado Red Golf 5 Gti - Detailed by Lawrence
Great work as usual Lawrence! The red looks dripping wet!
Amazing detail and photography!
2011 SEMA Meguiar's Car Crazy Showcase Team
2016 Competition Ready Barn Find Porsche Team
-
Super Member
Re: Tornado Red Golf 5 Gti - Detailed by Lawrence
Originally Posted by Marc08EX
Great work as usual Lawrence! The red looks dripping wet!
Amazing detail and photography!
Thank you very much indeed
Similar Threads
-
By lawrenceSA in forum Show N' Shine
Replies: 18
Last Post: 02-22-2016, 04:52 AM
-
By lawrenceSA in forum Show N' Shine
Replies: 7
Last Post: 09-06-2015, 03:26 PM
-
By lawrenceSA in forum Show N' Shine
Replies: 22
Last Post: 07-29-2015, 01:50 PM
-
By lawrenceSA in forum Show N' Shine
Replies: 12
Last Post: 09-15-2014, 08:08 AM
-
By lawrenceSA in forum Show N' Shine
Replies: 12
Last Post: 07-30-2013, 01:09 AM
 Members who have read this thread: 0
There are no members to list at the moment.
Posting Permissions
- You may not post new threads
- You may not post replies
- You may not post attachments
- You may not edit your posts
-
Forum Rules
|
| S |
M |
T |
W |
T |
F |
S |
| 31 |
1
|
2
|
3
|
4
|
5
|
6
|
|
7
|
8
|
9
|
10
|
11
|
12
|
13
|
|
14
|
15
|
16
|
17
|
18
|
19
|
20
|
|
21
|
22
|
23
|
24
|
25
|
26
|
27
|
|
28
|
29
|
30
| 1 | 2 | 3 | 4 |
|


 Reply With Quote


Bookmarks